docker
直接操作的环境:https://labs.play-with-docker.com/基于模板克隆一个虚拟机命名为docker,并配置静态IP 192.168.108.30,主机名改为dockerDocker 支持几乎所有的 Linux 发行版,也支持 Mac 和 Windows。各操作系统的安装方法可以访问:https://docs.docker.com/engine/installation/参
安装docker
直接操作的环境:https://labs.play-with-docker.com/
环境选择
容器需要管理工具、runtime 和操作系统,我们的选择如下:
- 管理工具 - Docker Engine,Docker 最流行使用最广泛。
- runtime - runc,Docker 的默认 runtime
- 操作系统 - CentOS Stream8
安装操作系统
基于CentOS-Stream-8模板克隆一个虚拟机命名为docker,并配置静态IP 192.168.108.30,主机名改为docker
安装 Docker
Docker 支持几乎所有的 Linux 发行版,也支持 Mac 和 Windows。各操作系统的安装方法可以访问:https://docs.docker.com/engine/installation/
卸载旧版本(可选)
[root@docker ~]# yum remove docker-ce
安装必要工具
# devicemapper 存储驱动已经在 docker 18.09 版本中被废弃,所以在后续的安Docker装中无需安装devicemapper支持。
[root@localhost ~]# yum install -y yum-utils device-mapper-persistent-data lvm2 vim
[root@localhost ~]# yum-config-manager --add-repo https://mirrors.aliyun.com/docker-ce/linux/centos/docker-ce.repo
Adding repo from: https://mirrors.aliyun.com/docker-ce/linux/centos/docker-ce.repo
[root@localhost ~]# yum makecache
Docker CE Stable - x86_64                                                                             57 kB/s |  66 kB     00:01
CentOS Stream 8 - BaseOS                                                                             8.3 kB/s | 3.9 kB     00:00
CentOS Stream 8 - AppStream                                                                          9.8 kB/s | 4.4 kB     00:00
Metadata cache created.
allinone部署
安装软件
[root@docker ~]# yum install -y docker-ce
配置服务
[root@docker ~]# systemctl enable docker.service --now
验证安装
查看docker版本
[root@docker ~]# docker --version
Docker version 26.1.3, build b72abbb
验证docker状态
[root@docker ~]# systemctl status docker
● docker.service - Docker Application Container Engine
   Loaded: loaded (/usr/lib/systemd/system/docker.service; enabled; vendor preset: disabled)
   Active: active (running) since Wed 2025-09-03 13:51:07 CST; 36s ago
     Docs: https://docs.docker.com
 Main PID: 1813 (dockerd)
    Tasks: 10
   Memory: 135.7M
   CGroup: /system.slice/docker.service
           └─1813 /usr/bin/dockerd -H fd:// --containerd=/run/containerd/containerd.sock
配置镜像加速器(阿里云)
阿里云官网:阿里云-计算,为了无法计算的价值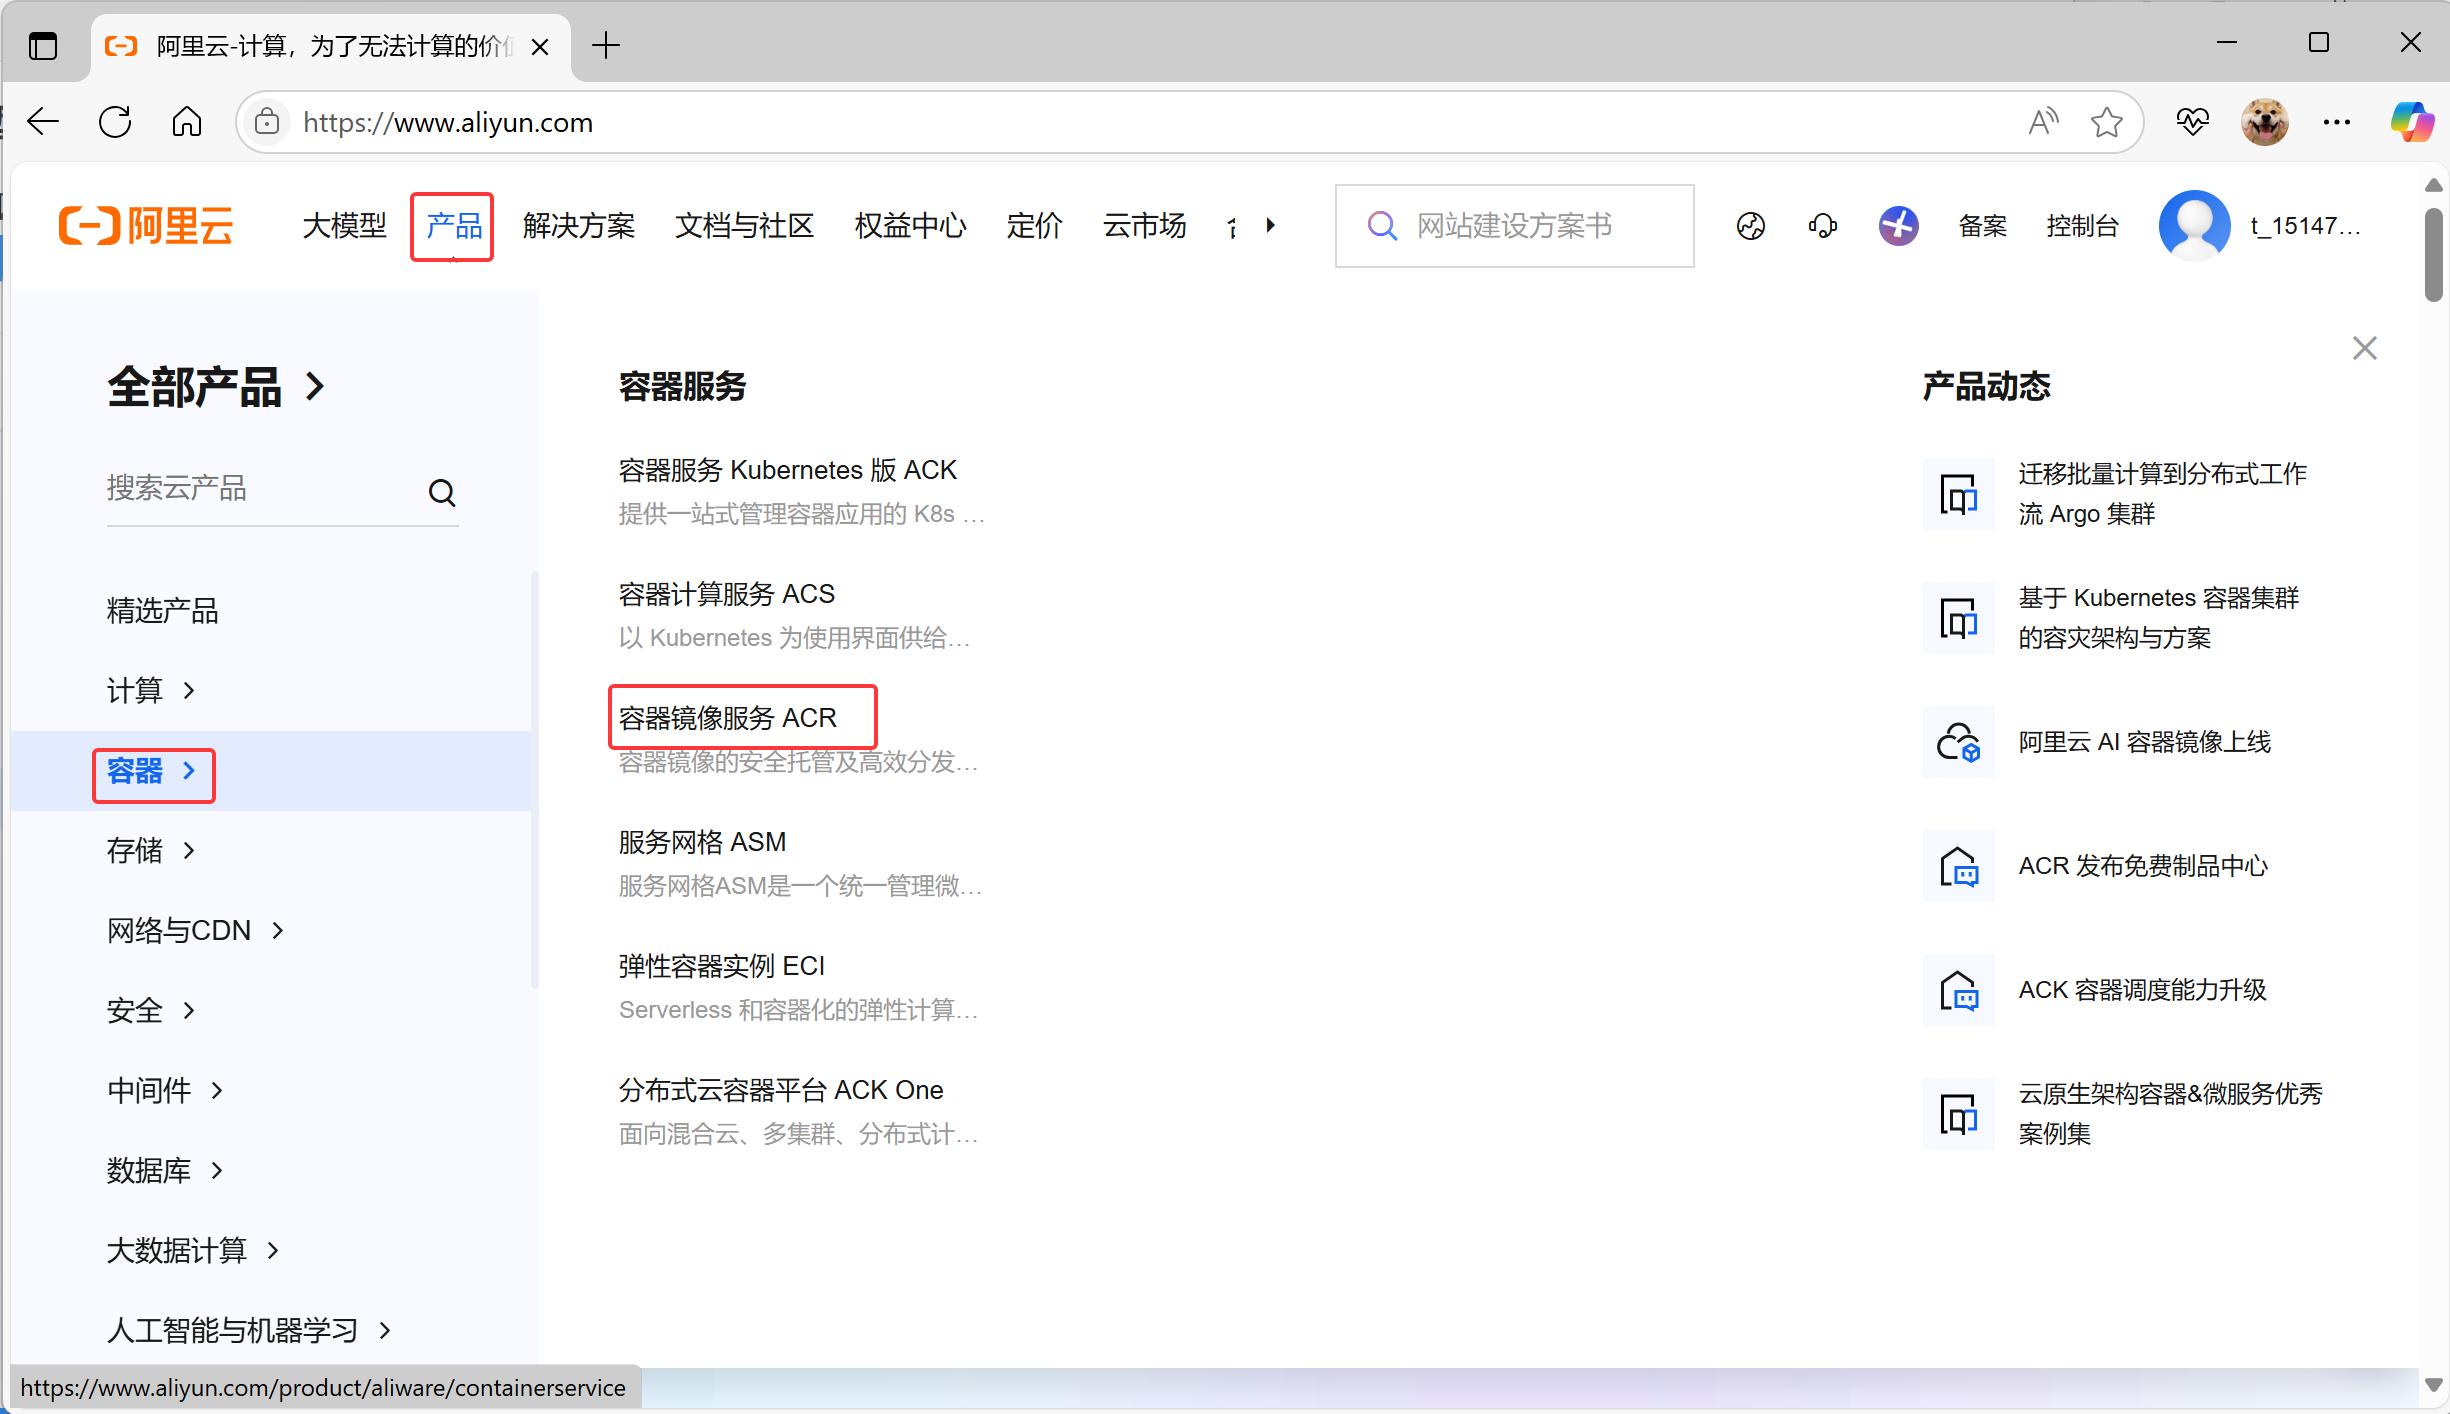
参考操作文档,操作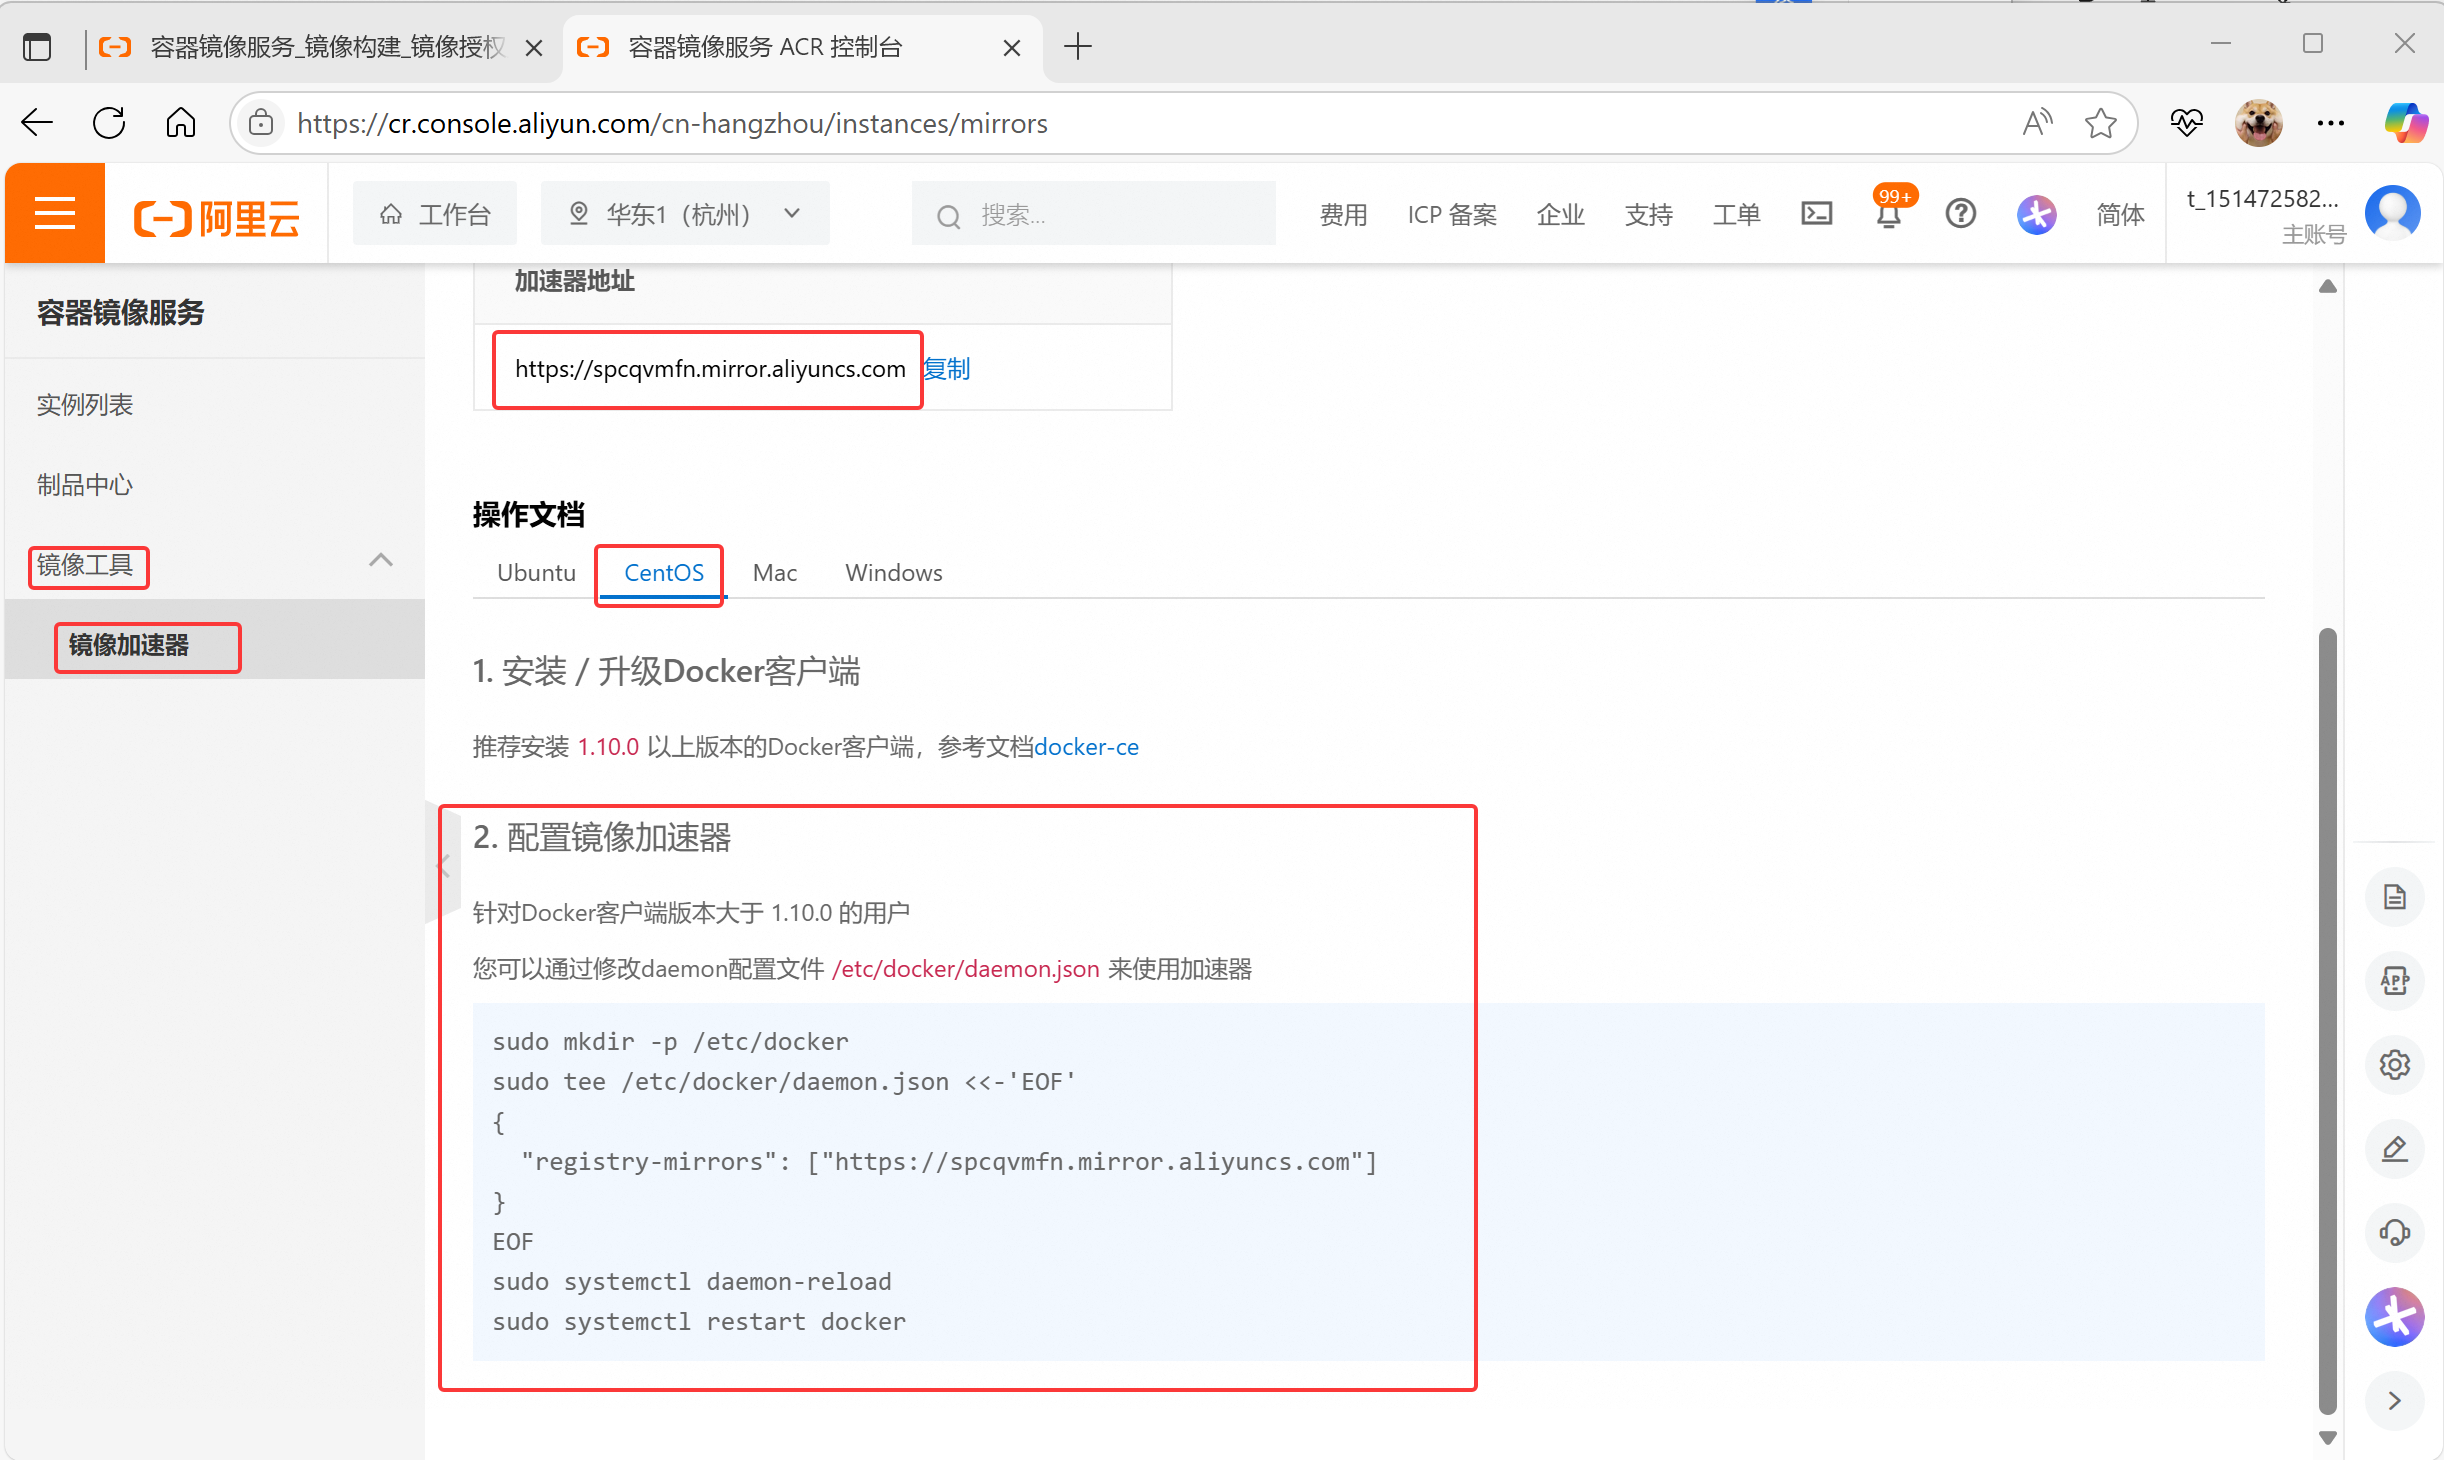
[root@docker ~]# sudo mkdir -p /etc/docker

[root@docker ~]# sudo tee /etc/docker/daemon.json <<-'EOF'
{
  "registry-mirrors": ["https://spcqvmfn.mirror.aliyuncs.com"]
}
EOF

[root@docker ~]# sudo systemctl daemon-reload
[root@docker ~]# sudo systemctl restart docker

#检查镜像加速器配置
[root@docker ~]# docker info
Client: Docker Engine - Community
 Version:    26.1.3
 Context:    default
 Debug Mode: false
 Plugins:
  buildx: Docker Buildx (Docker Inc.)
    Version:  v0.14.0
    Path:     /usr/libexec/docker/cli-plugins/docker-buildx
  compose: Docker Compose (Docker Inc.)
    Version:  v2.27.0
    Path:     /usr/libexec/docker/cli-plugins/docker-compose

Server:
 Containers: 0
  Running: 0
  Paused: 0
  Stopped: 0
 Images: 0
 Server Version: 26.1.3
 Storage Driver: overlay2
  Backing Filesystem: xfs
  Supports d_type: true
  Using metacopy: false
  Native Overlay Diff: true
  userxattr: false
 Logging Driver: json-file
 Cgroup Driver: cgroupfs
 Cgroup Version: 1
 Plugins:
  Volume: local
  Network: bridge host ipvlan macvlan null overlay
  Log: awslogs fluentd gcplogs gelf journald json-file local splunk syslog
 Swarm: inactive
 Runtimes: io.containerd.runc.v2 runc
 Default Runtime: runc
 Init Binary: docker-init
 containerd version: 8b3b7ca2e5ce38e8f31a34f35b2b68ceb8470d89
 runc version: v1.1.12-0-g51d5e94
 init version: de40ad0
 Security Options:
  seccomp
   Profile: builtin
 Kernel Version: 4.18.0-553.6.1.el8.x86_64
 Operating System: CentOS Stream 8
 OSType: linux
 Architecture: x86_64
 CPUs: 4
 Total Memory: 7.486GiB
 Name: docker
 ID: 96160847-9a97-40f4-997c-d12efaaef738
 Docker Root Dir: /var/lib/docker
 Debug Mode: false
 Experimental: false
 Insecure Registries:
  127.0.0.0/8
 Registry Mirrors:
  `https://spcqvmfn.mirror.aliyuncs.com/               <---看这
 Live Restore Enabled: false
配置镜像加速器(华为云)
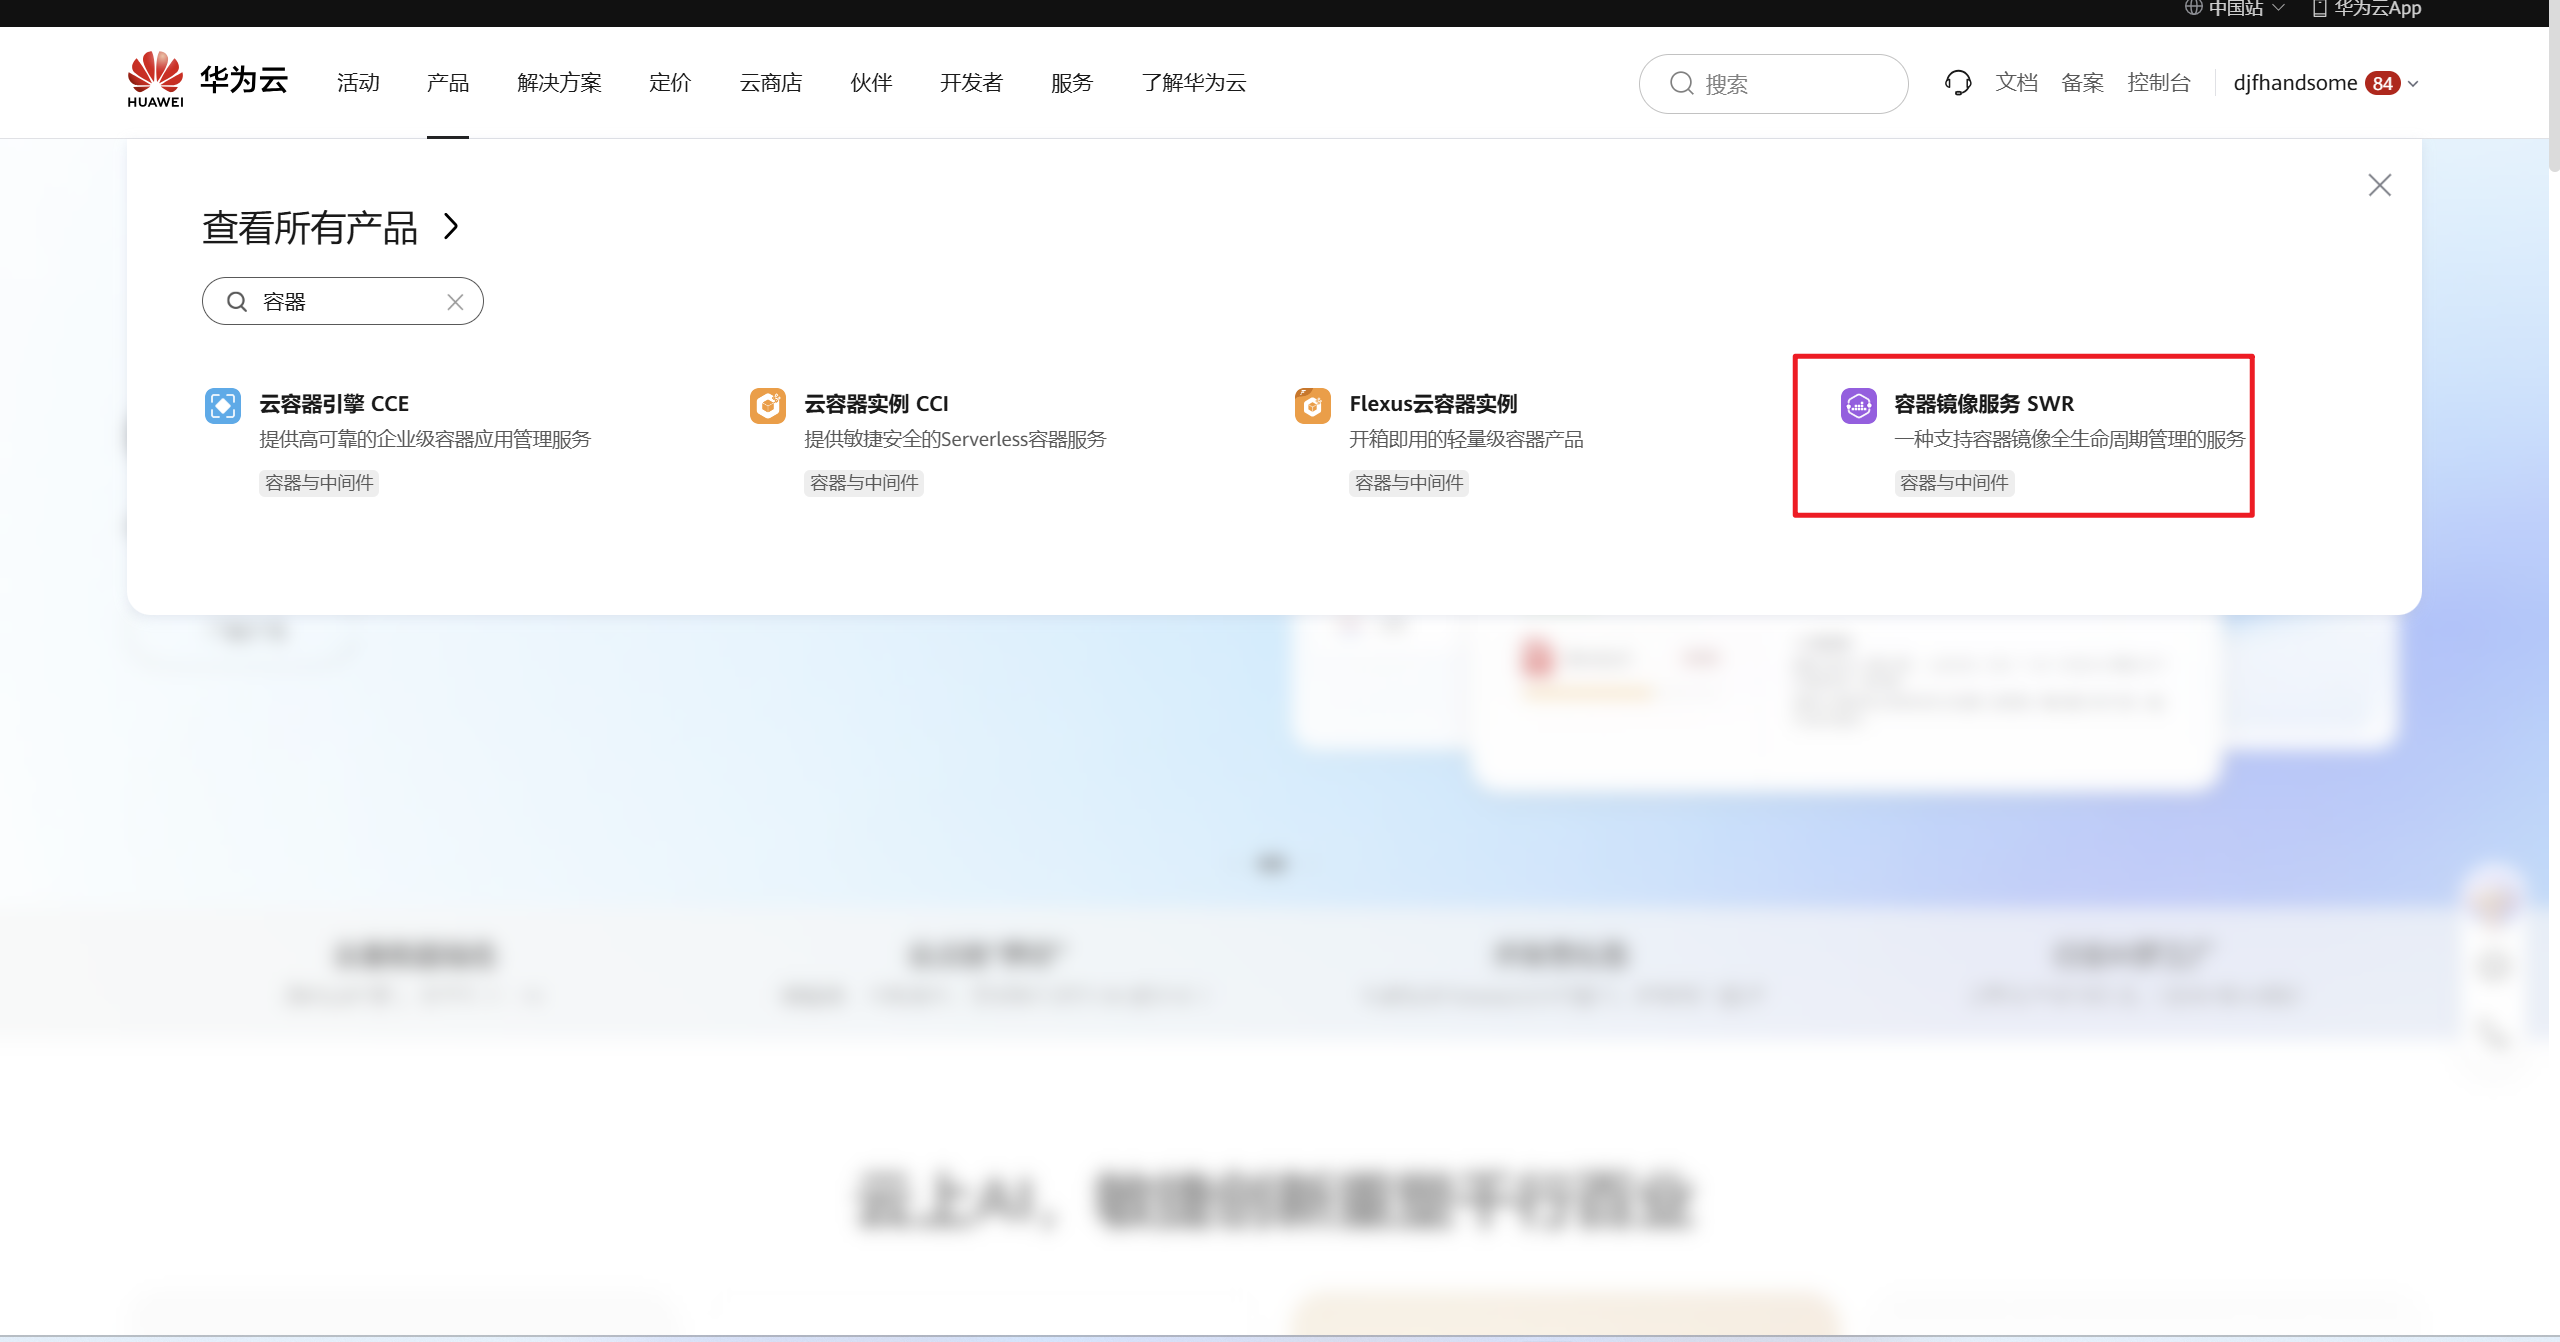
看镜像加速器如何使用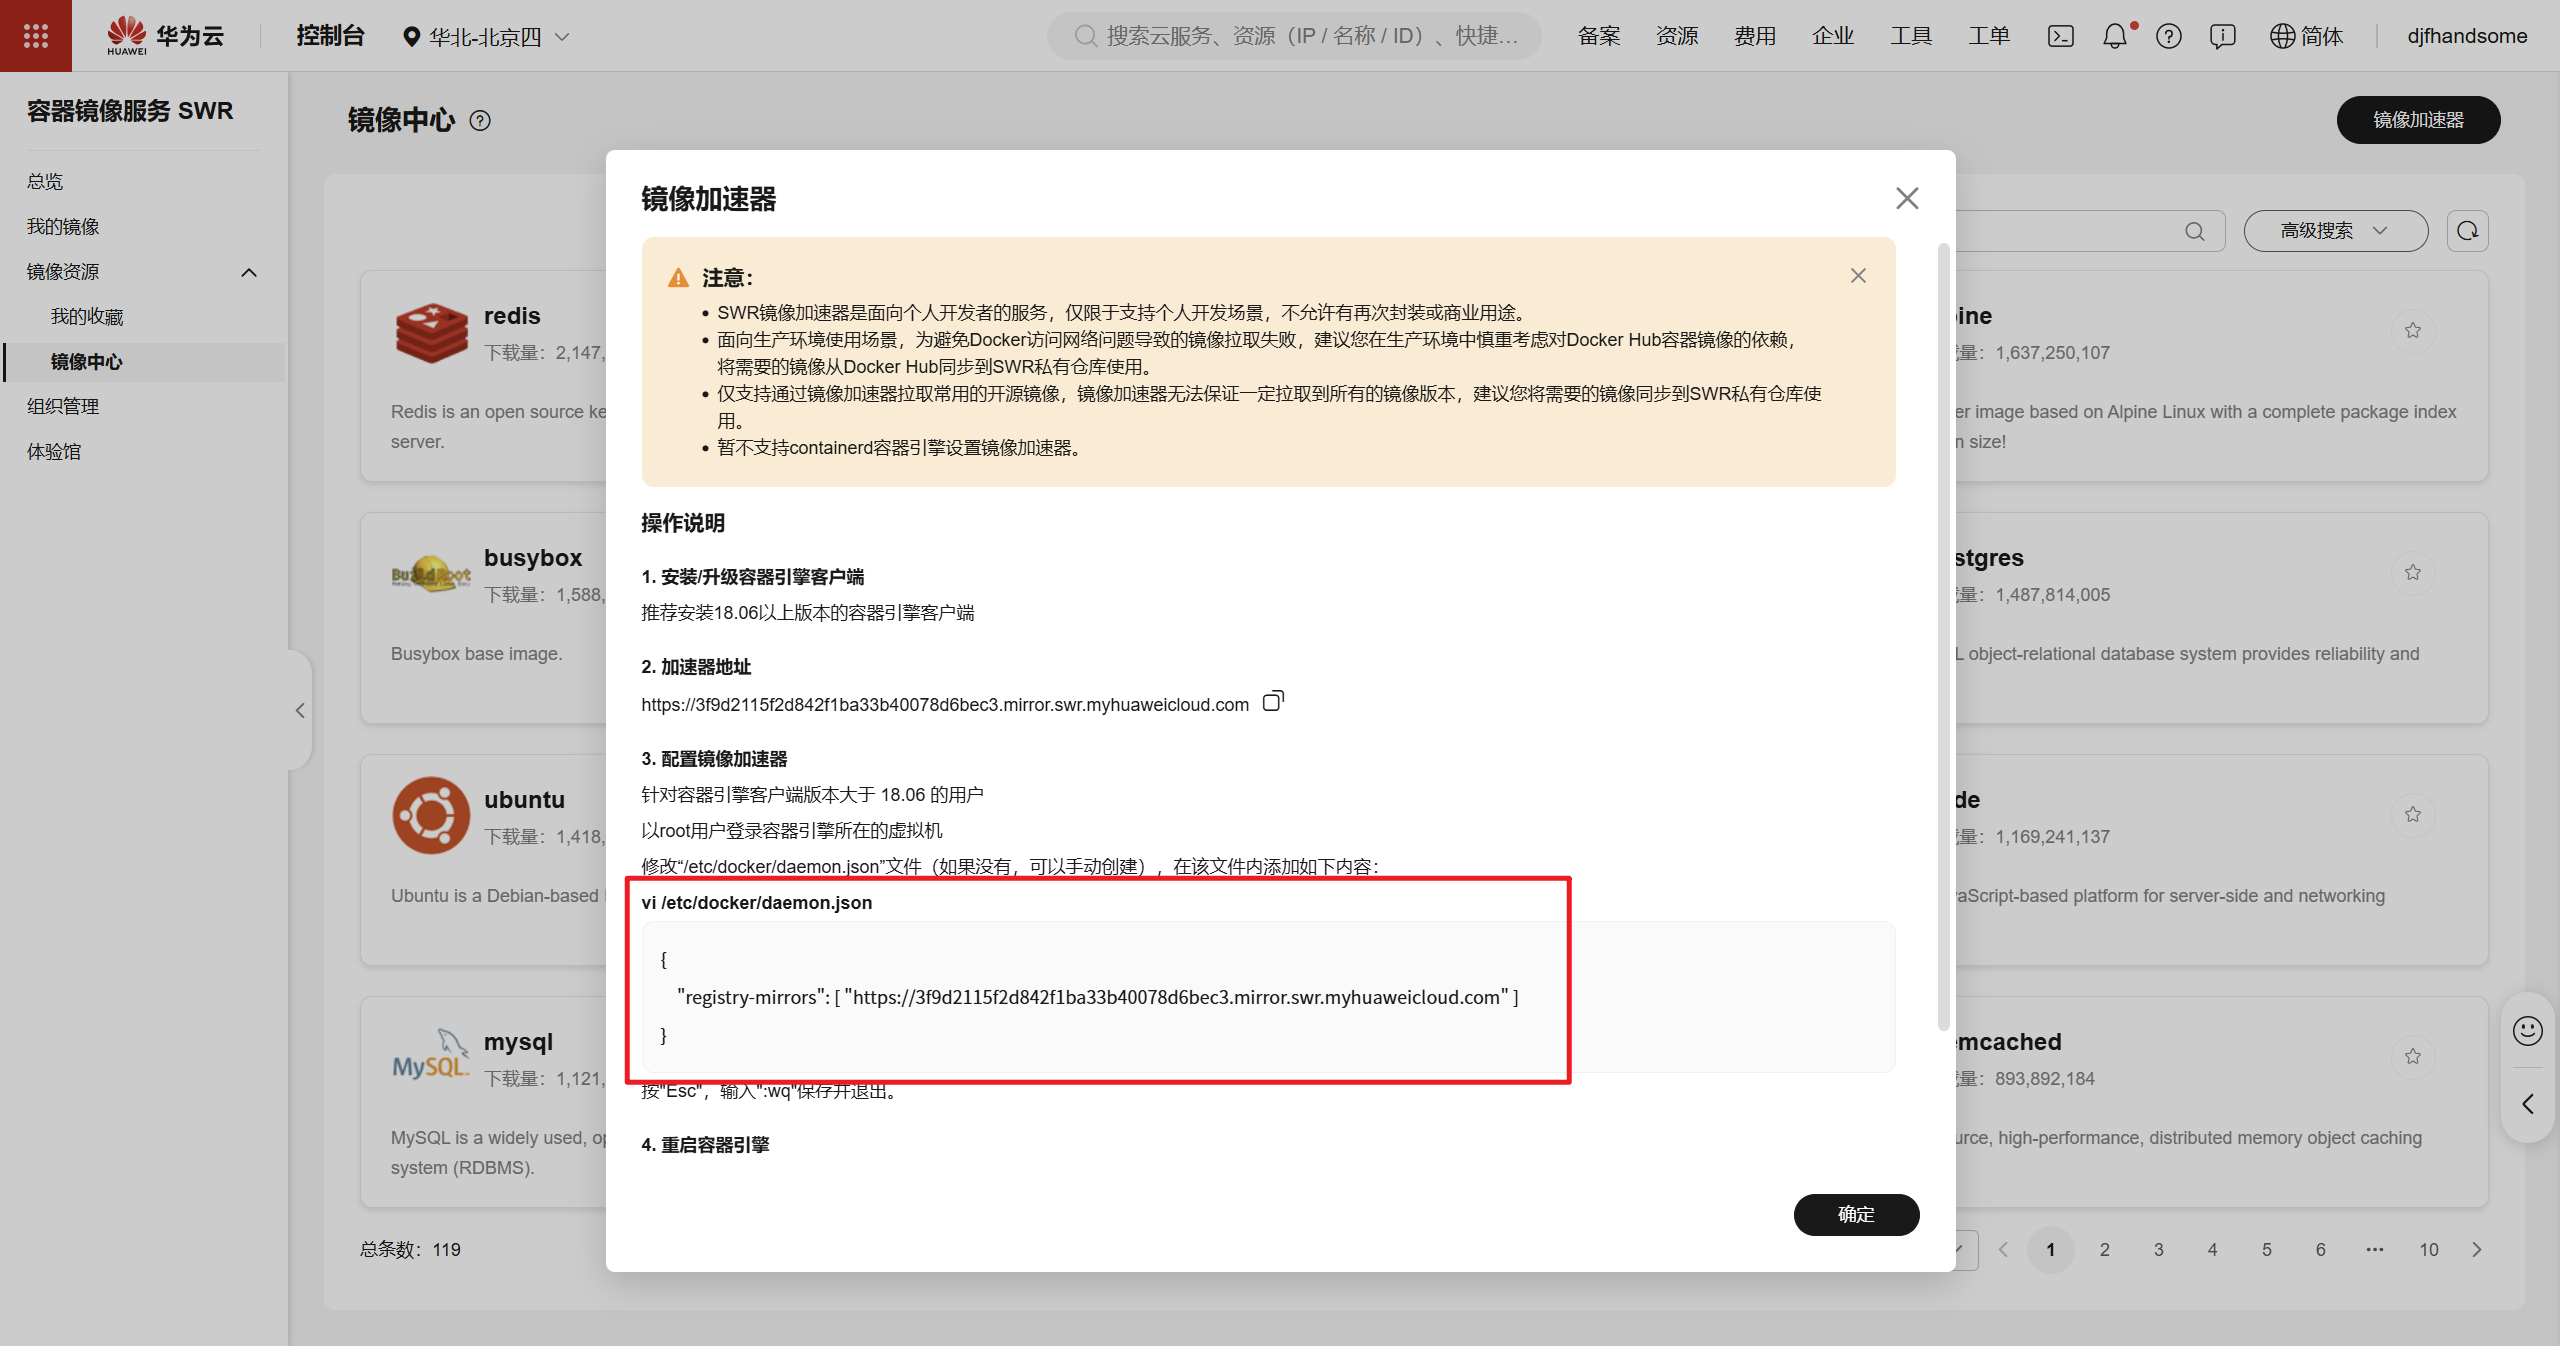
[root@docker ~]# vi /etc/docker/daemon.json
{
    "registry-mirrors": [ "https://3f9d2115f2d842f1ba33b40078d6bec3.mirror.swr.myhuaweicloud.com" ]
}
# 按“Esc”,输入:wq保存并退出。

#重启容器引擎
[root@docker ~]# systemctl restart docker

#确认配置结果
[root@docker ~]# docker info
Client: Docker Engine - Community
 Version:    26.1.3
 Context:    default
 Debug Mode: false
 Plugins:
  buildx: Docker Buildx (Docker Inc.)
    Version:  v0.14.0
    Path:     /usr/libexec/docker/cli-plugins/docker-buildx
  compose: Docker Compose (Docker Inc.)
    Version:  v2.27.0
    Path:     /usr/libexec/docker/cli-plugins/docker-compose

Server:
 Containers: 0
  Running: 0
  Paused: 0
  Stopped: 0
 Images: 0
 Server Version: 26.1.3
 Storage Driver: overlay2
  Backing Filesystem: xfs
  Supports d_type: true
  Using metacopy: false
  Native Overlay Diff: true
  userxattr: false
 Logging Driver: json-file
 Cgroup Driver: cgroupfs
 Cgroup Version: 1
 Plugins:
  Volume: local
  Network: bridge host ipvlan macvlan null overlay
  Log: awslogs fluentd gcplogs gelf journald json-file local splunk syslog
 Swarm: inactive
 Runtimes: io.containerd.runc.v2 runc
 Default Runtime: runc
 Init Binary: docker-init
 containerd version: 8b3b7ca2e5ce38e8f31a34f35b2b68ceb8470d89
 runc version: v1.1.12-0-g51d5e94
 init version: de40ad0
 Security Options:
  seccomp
   Profile: builtin
 Kernel Version: 4.18.0-553.6.1.el8.x86_64
 Operating System: CentOS Stream 8
 OSType: linux
 Architecture: x86_64
 CPUs: 4
 Total Memory: 7.486GiB
 Name: docker
 ID: 96160847-9a97-40f4-997c-d12efaaef738
 Docker Root Dir: /var/lib/docker
 Debug Mode: false
 Experimental: false
 Insecure Registries:
  127.0.0.0/8
 Registry Mirrors:
  `https://054b8ac70e8010d90f2ac00ef29e6580.mirror.swr.myhuaweicloud.com/   <---看这
 Live Restore Enabled: false
docker C/S分离部署
docker server端配置
配置ip 192.168.108.30
配置hostname docker_server
[root@localhost ~]# hostnamectl set-hostname docker_server
[root@localhost ~]# nmcli connection modify ens160 ipv4.method manual ipv4.addresses 192.168.108.30/24 ipv4.gateway 192.168.108.2 ipv4.dns 192.168.108.2 autoconnect yes
[root@localhost ~]# nmcli con up ens160
安装软件
[root@docker_server ~]# yum install -y yum-utils device-mapper-persistent-data lvm2 vim
[root@localhost ~]# yum-config-manager --add-repo https://mirrors.aliyun.com/docker-ce/linux/centos/docker-ce.repo
Adding repo from: https://mirrors.aliyun.com/docker-ce/linux/centos/docker-ce.repo
[root@docker_server ~]# yum makecache
[root@docker_server ~]# yum install -y docker-ce
[root@docker_server ~]# systemctl enable docker.service --now
[root@docker_server ~]# vi /etc/docker/daemon.json
{
     "registry-mirrors": [ "https://3f9d2115f2d842f1ba33b40078d6bec3.mirror.swr.myhuaweicloud.com" ]
}
# 按“Esc”,输入:wq保存并退出。

#重启容器引擎
[root@docker_server ~]# systemctl restart docker
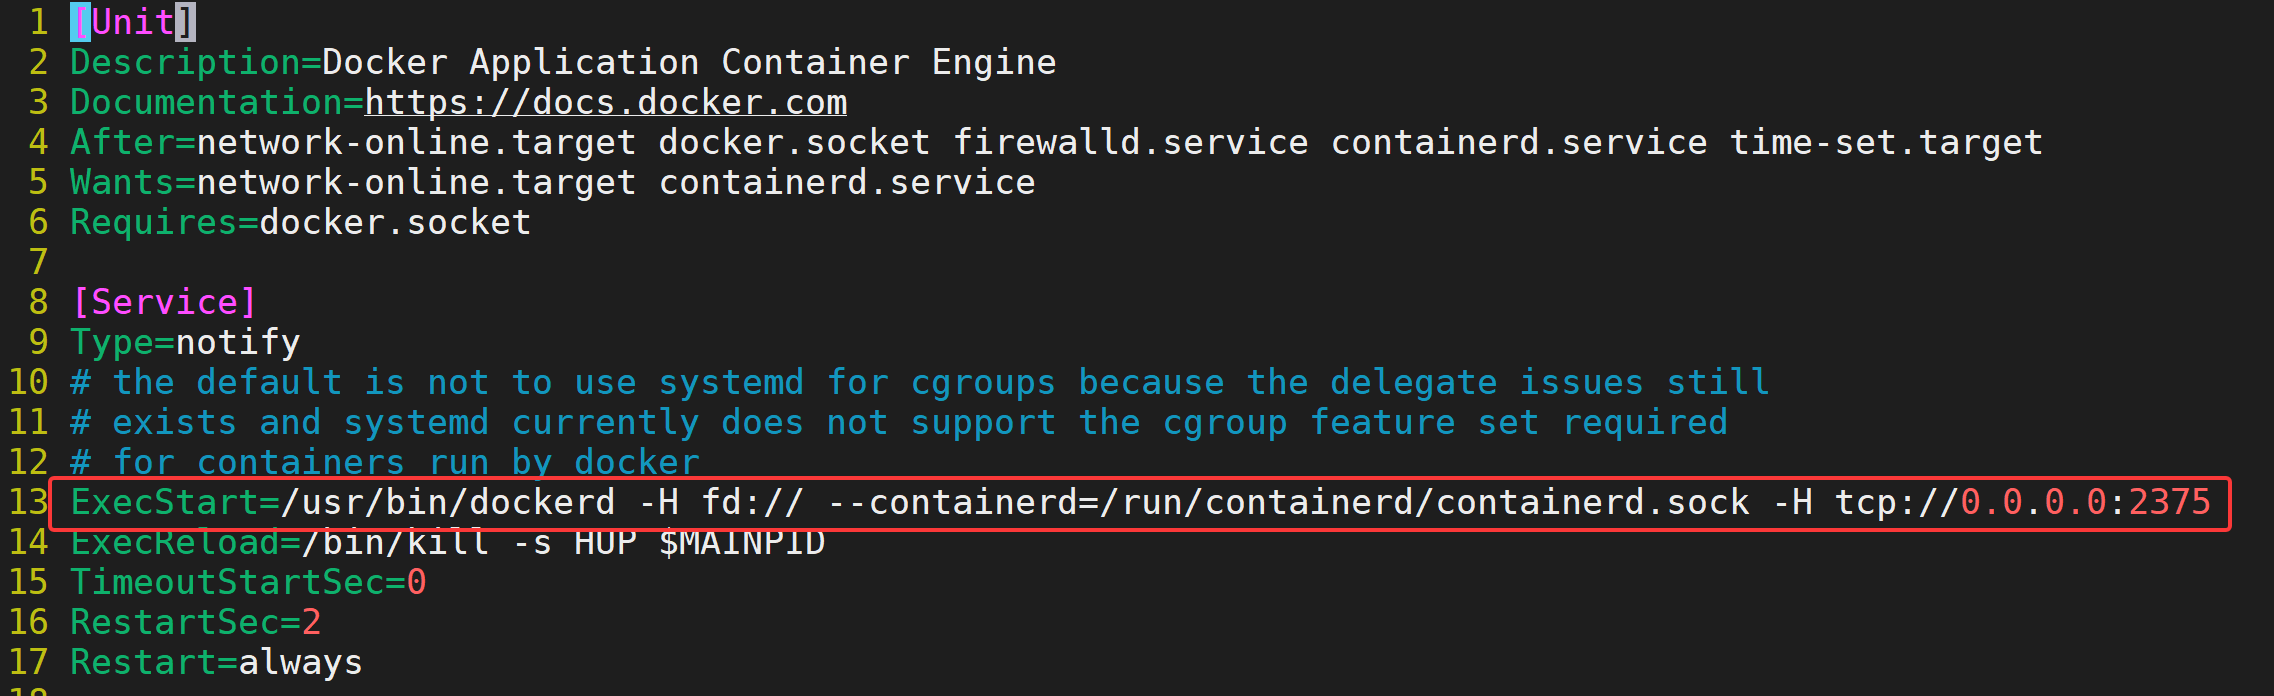
配置服务
[root@docker_server ~]# vim /usr/lib/systemd/system/docker.service
# 在ExecStart参数中最后添加 -H tcp://0.0.0.0:2375,docker默认监听2375
ExecStart=/usr/bin/dockerd -H fd:// --containerd=/run/containerd/containerd.sock -H tcp://0.0.0.0:2375
[root@docker_server ~]# systemctl daemon-reload
[root@docker_server ~]# systemctl restart docker.service
[root@docker_server ~]# systemctl stop firewalld
配置效果如下
验证
[root@docker_server ~]# yum install lsof

[root@docker_server ~]# lsof -i :2375
COMMAND  PID USER   FD   TYPE DEVICE SIZE/OFF NODE NAME
dockerd 5440 root    3u  IPv6  44991      0t0  TCP *:docker (LISTEN)
docker_client端
配置ip 192.168.108.31
[root@localhost ~]# hostnamectl set-hostname docker_client
[root@localhost ~]# nmcli connection modify ens160 ipv4.method manual ipv4.addresses 192.168.108.31/24 ipv4.gateway 192.168.108.2 ipv4.dns 192.168.108.2 autoconnect yes
[root@localhost ~]# nmcli con up ens160
只安装docker客户端
[root@docker-client ~]# yum install -y yum-utils device-mapper-persistent-data lvm2 vim
[root@docker-client ~]# yum-config-manager --add-repo https://mirrors.aliyun.com/docker-ce/linux/centos/docker-ce.repo
Adding repo from: https://mirrors.aliyun.com/docker-ce/linux/centos/docker-ce.repo
[root@docker-client ~]# yum makecache
[root@docker-client ~]# yum install -y docker-ce-cli
验证
[root@docker_client ~]# docker run hello-world          #client直接执行报错,没有装服务端
docker: Cannot connect to the Docker daemon at unix:///var/run/docker.sock. Is the docker daemon running?.
See 'docker run --help'.

# client端连接server端执行命令
[root@docker-client ~]# docker -H 192.168.108.30 run hello-world

Hello from Docker!
This message shows that your installation appears to be working correctly.

To generate this message, Docker took the following steps:
 1. The Docker client contacted the Docker daemon.
 2. The Docker daemon pulled the "hello-world" image from the Docker Hub.
    (amd64)
 3. The Docker daemon created a new container from that image which runs the
    executable that produces the output you are currently reading.
 4. The Docker daemon streamed that output to the Docker client, which sent it
    to your terminal.

To try something more ambitious, you can run an Ubuntu container with:
 $ docker run -it ubuntu bash

Share images, automate workflows, and more with a free Docker ID:
 https://hub.docker.com/

For more examples and ideas, visit:
 https://docs.docker.com/get-started/

[root@docker-client ~]# docker -H 192.168.108.30 images
REPOSITORY    TAG       IMAGE ID       CREATED         SIZE
hello-world   latest    d2c94e258dcb   17 months ago   13.3kB
#这里也可以切换到Server端查看现象
说明:client只做管理,image和container存储在server端。

openEuler 是由开放原子开源基金会孵化的全场景开源操作系统项目,面向数字基础设施四大核心场景(服务器、云计算、边缘计算、嵌入式),全面支持 ARM、x86、RISC-V、loongArch、PowerPC、SW-64 等多样性计算架构
更多推荐


 3
3 0
0- 0


 已为社区贡献1条内容

所有评论(0)