嵌入式安防监控项目———CGIC移植与测试
CGIC移植与测试
CGI(Common Gateway Interface,通用网关接口) 是 Web 服务器与后端程序之间通信的一套标准规则。
它的作用很简单:让网页能“调用”服务器上的程序。
举个例子:你在网页上点一个“开灯”按钮,Web 服务器收到请求后,按照 CGI 规则启动一个 C 程序,这个程序再去控制硬件(比如 ARM 板子上的 LED),最后把结果返回给浏览器显示。
用一句话总结:CGI 是连接 HTML 网页和后端程序的桥梁。
CGIC 是一个专门为 C 语言 开发者准备的 CGI 辅助库。原生 CGI 用 C 语言编写起来相当繁琐:
- 需要手动解析 HTTP 参数(例如从 ?name=张三&age=18 中提取数据)
- 还要处理 GET、POST、URL 编码等诸多底层细节
而 CGIC 将这些脏活累活都封装好了,让开发者能够专注于业务逻辑的实现。
下面我们进行CGIC的移植与测试。
1.下载GCIC库的源码
tong@tong-virtual-machine:~/桌面$ git clone https://github.com/boutell/cgic.git
打开后包含如下文件: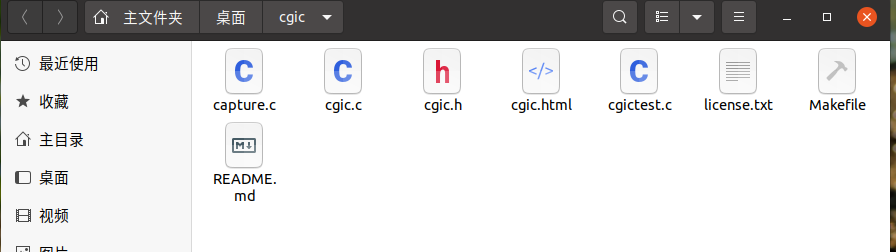
2.配置MakeFile文件
如果要在Ubuntu测试得话,不用修改。如果想让程序运行在ARM板,则需要配置交叉编译环境。
如果想要运行在ARM上可以参考以下配置。
# 编译器工具链改为 ARM 版本
CC = arm-linux-gcc
AR = arm-linux-ar
RANLIB = arm-linux-ranlib

# 其他标志保持不变
CFLAGS = -g -Wall
LIBS = -L./ -lcgic

# 目标文件
all: libcgic.a cgictest.cgi capture

install: libcgic.a
	cp libcgic.a /usr/local/lib
	cp cgic.h /usr/local/include
	@echo libcgic.a is in /usr/local/lib. cgic.h is in /usr/local/include.

# 生成静态库
libcgic.a: cgic.o cgic.h
	rm -f libcgic.a
	$(AR) rc libcgic.a cgic.o
	$(RANLIB) libcgic.a

# 链接时使用 CC 变量和 CFLAGS 变量
cgictest.cgi: cgictest.o libcgic.a
	$(CC) $(CFLAGS) cgictest.o -o cgictest.cgi $(LIBS)

capture: capture.o libcgic.a
	$(CC) $(CFLAGS) capture.o -o capture $(LIBS)

# 清理
clean:
	rm -f *.o *.a cgictest.cgi capture cgicunittest

# 测试(注意:交叉编译后的程序不能在 x86 上直接运行,此条规则可能需要额外处理)
test:
	$(CC) -D UNIT_TEST=1 cgic.c -o cgicunittest
	./cgicunittest
我们这里按Ubuntu上来,不配置MakeFile。
3.CGIC测试
我们创建一个mycgic.c的文件,然后在MakeFile中添加它的信息。这样我们只要执行make,就能获取编译得到的cgi文件,而不用手动去链接相关文件。
红色方格框选的是新加入的文件信息。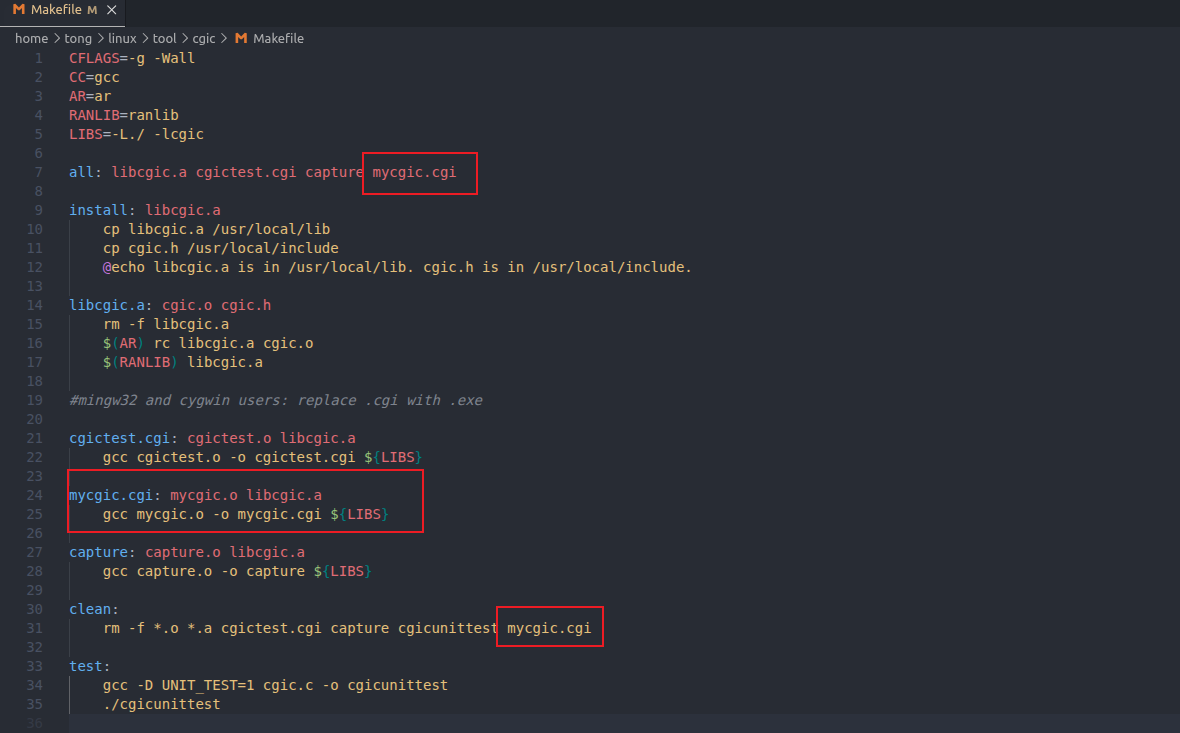
其中mycgic.c内容如下,具体的CGIC库的使用可以自己查询或者AI。
/**
 * mycgic.c
 * 编译:make mycgic.cgi
 */

#include <stdio.h>
#include <string.h>
#include "cgic.h"

int cgiMain() {
    char led_action[16] = {0};

    // 获取 URL 参数 ?led=xxx
    cgiFormString("led", led_action, sizeof(led_action));

    // 输出 HTTP 头
    printf("Content-Type: text/html;charset=utf-8\n\n");

    // 输出 HTML 结果页面
    printf("<!DOCTYPE html>\n");
    printf("<html>\n");
    printf("<head><meta charset=\"UTF-8\"><title>控制结果</title>");
    printf("<style>body{text-align:center;margin-top:100px;font-family:Arial;}");
    printf(".success{color:green;font-size:32px;}");
    printf("a{display:inline-block;margin-top:30px;padding:10px20px;background:#4CAF50;color:white;text-decoration:none;border-radius:5px;}");
    printf("</style>\n");
    printf("</head>\n");
    printf("<body>\n");

    if (strcmp(led_action, "on") == 0) {
        printf("<div class=\"success\">✅ LED 已开启</div>");
    } else if (strcmp(led_action, "off") == 0) {
        printf("<div class=\"success\">✅ LED 已关闭</div>");
    } else {
        printf("<div style=\"color:red;\">❌ 未知指令</div>");
    }

    printf("<br><a href=\"/mycgic.html\">← 返回控制</a>");
    printf("</body></html>\n");

    return 0;
}
将其添加到boa服务器目录下的cgi-bin下。
同样我们也创建一个HTML网页用于与CGI文件进行交互。
在boa/www下创建mycgic.html文件,内容如下:
<!DOCTYPE html>
<html>
<head>
    <meta charset="UTF-8">
    <title>LED 控制器 - Ubuntu测试版</title>
    <style>
        body {
            font-family: Arial, sans-serif;
            max-width: 500px;
            margin: 50px auto;
            padding: 20px;
            background-color: #f5f5f5;
        }
        .box {
            background: white;
            padding: 30px;
            border-radius: 10px;
            box-shadow: 0 2px 10px rgba(0,0,0,0.1);
            text-align: center;
        }
        h1 {
            color: #333;
            margin-bottom: 30px;
        }
        button {
            font-size: 20px;
            padding: 12px 30px;
            margin: 10px;
            border: none;
            border-radius: 5px;
            cursor: pointer;
            color: white;
        }
        .btn-on {
            background-color: #4CAF50;
        }
        .btn-on:hover {
            background-color: #45a049;
        }
        .btn-off {
            background-color: #f44336;
        }
        .btn-off:hover {
            background-color: #da190b;
        }
        a {
            text-decoration: none;
        }
        .note {
            margin-top: 30px;
            padding: 10px;
            background-color: #e9ecef;
            border-radius: 5px;
            font-size: 14px;
            color: #555;
        }
    </style>
</head>
<body>
    <div class="box">
        <h1>🔧 LED 控制器</h1>

        <!-- 点击"开灯"按钮 → 跳转到 led.cgi?led=on -->
        <a href="/cgi-bin/led.cgi?led=on">
            <button class="btn-on">💡 开灯</button>
        </a>

        <!-- 点击"关灯"按钮 → 跳转到 led.cgi?led=off -->
        <a href="/cgi-bin/led.cgi?led=off">
            <button class="btn-off">🌙 关灯</button>
        </a>

        <div class="note">
            ⚡ 点击按钮后,会自动跳转到 CGI 程序执行结果页面
        </div>
    </div>
</body>
</html>
然后启动boa服务器。
打开网页输入http://127.0.0.1/mycgic.html进入网页。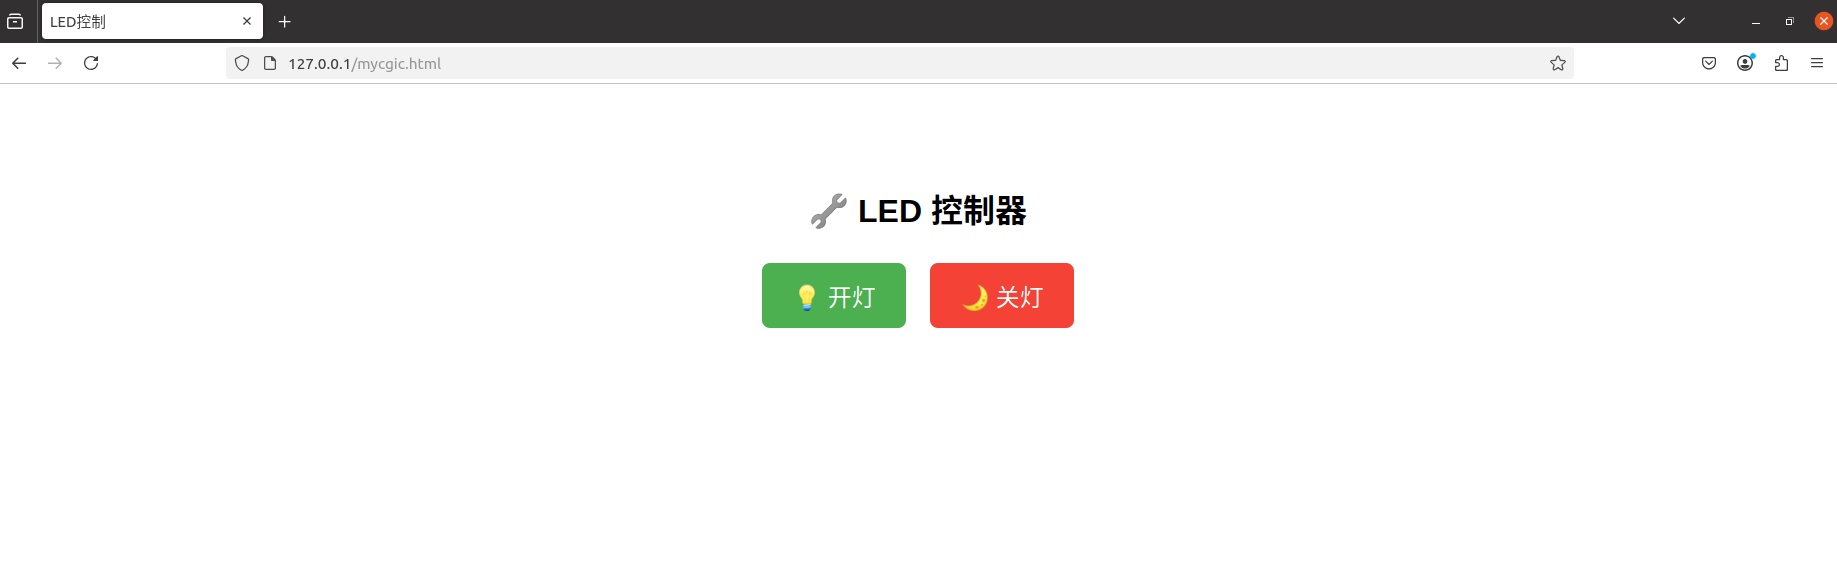
点击按钮交互后,就会执行相应的CGI程序,服务器把结果返回给浏览器。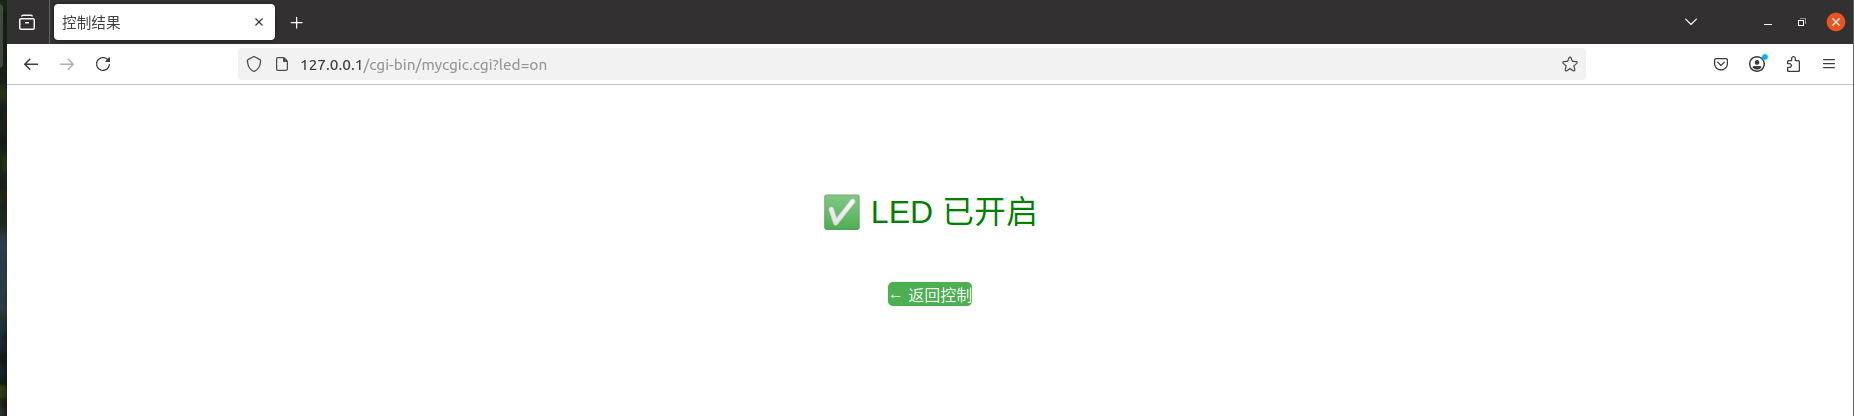

openEuler 是由开放原子开源基金会孵化的全场景开源操作系统项目,面向数字基础设施四大核心场景(服务器、云计算、边缘计算、嵌入式),全面支持 ARM、x86、RISC-V、loongArch、PowerPC、SW-64 等多样性计算架构
更多推荐


 13
13 0
0- 0


 已为社区贡献3条内容

所有评论(0)