Web——安装httpd服务(Tomcat)及Nginx+Tomcat负载均衡
1.Tomcat介绍
(1)tomcat简介
Tomcat是Apache软件基金会Jakarta项目的核心产品,是一个开源的轻量级Web应用服务器。它支持最新的Servlet和JSP规范,主要用于开发和调试Java Web应用。
Tomcat可以独立运行,也能与Apache等Web服务器配合使用。它主要处理JSP页面和Servlet请求,同时也能响应HTML页面,但在处理静态HTML方面性能不如专门的Web服务器。
作为免费、稳定且技术先进的服务器,Tomcat在中小型系统和开发环境中被广泛使用,是Java Web开发的首选服务器之一。
(2)web服务对比
以下是常见的Java Web应用服务器对比:
性能高,但商业收费
Resin服务器
- 由Caucho公司开发,支持Servlet和JSP
- 性能非常快,包含内置HTML Web服务器
- 既能显示动态内容,也能高效处理静态内容
- 许多网站使用Resin构建
Jetty服务器
- 纯Java实现的网页服务器和Servlet容器
- 通常用于计算机间通信,常作为大型软件框架的一部分
- Eclipse基金会下的自由开源项目
JBoss服务器
- 符合JavaEE规范的开源纯Java EJB服务器
- 对J2EE有良好支持,核心服务提供EJB服务器
- 不包含Servlet和JSP的Web容器,但可与Tomcat完美结合
WebSphere服务器
- IBM公司的产品系列,包括WebSphere Application Server等
- 基于Java的应用环境,支持多种操作系统平台
- 用于建立、部署和管理Internet/Intranet Web应用程序
WebLogic服务器
- BEA公司的产品系列,包括WebLogic Server等
- 功能强大,支持企业级、多层次和完全分布式的Web应用
- 配置简单、界面友好,是寻求完整Java平台功能用户的理想选择
性价比高,开源免费
Tomcat服务器
- Apache软件基金会的开源项目
- 轻量级Servlet容器,实现Java Servlet和JSP规范
- 配置简单,资源占用少,社区活跃
- 适合中小型项目和开发测试环境
(3)三大web服务对比(apache、nginx、tomcat)
| 特性 | Apache | Nginx | Tomcat |
|---|---|---|---|
| 主要用途 | 通用Web服务器 | 高性能Web服务器/反向代理 | Java Servlet容器 |
| 处理模型 | 多进程/多线程(MPM) | 事件驱动、异步非阻塞 | 多线程(Java线程池) |
| 性能 | 中等,连接数多时资源消耗大 | 高,适合高并发、静态资源 | 中等,主要用于动态Java应用 |
| 配置 | .htaccess、httpd.conf | nginx.conf(简洁) | server.xml、web.xml |
| 扩展性 | 模块丰富(mod_php、mod_ssl等) | 模块化,但需编译或动态加载 | 通过Servlet/JSP扩展 |
| 适用场景 | PHP网站、传统LAMP架构 | 静态文件、反向代理、负载均衡 | Java Web应用(JSP/Servlet) |
| 许可证 | Apache 2.0 | BSD | Apache 2.0 |
简洁总结:
- Apache:稳定、模块丰富,适合传统动态网站(如PHP)。
- Nginx:高性能、低内存,适合高并发静态服务和反向代理。
- Tomcat:专为Java Web应用设计,是Servlet/JSP容器,常与Nginx搭配(Nginx处理静态,Tomcat处理动态Java)。
2.Tomcat的安装和配置
1)环境准备
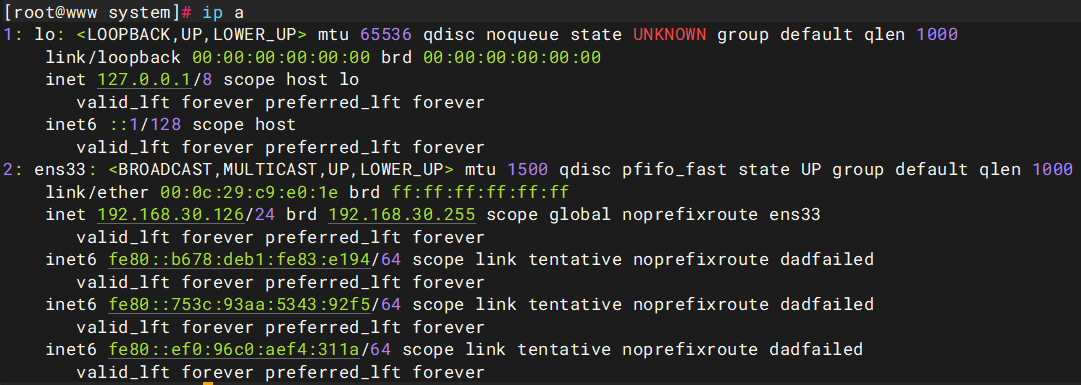
(1)IP规划
Tomcat服务器的ip为:192.168.30.126
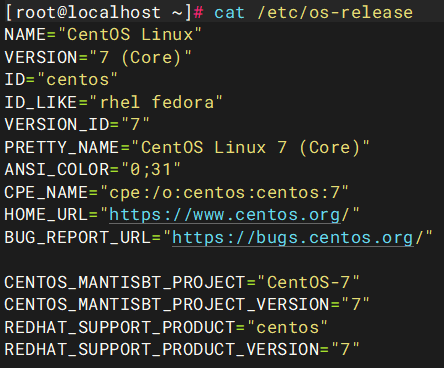
(2)服务器版本

(3)关闭防火墙
systemctl stop firewalld
systemctl disable firewalld


(4)关闭Selinux
setenforce 0

vim /etc/selinux/config
SELINUX=disabled
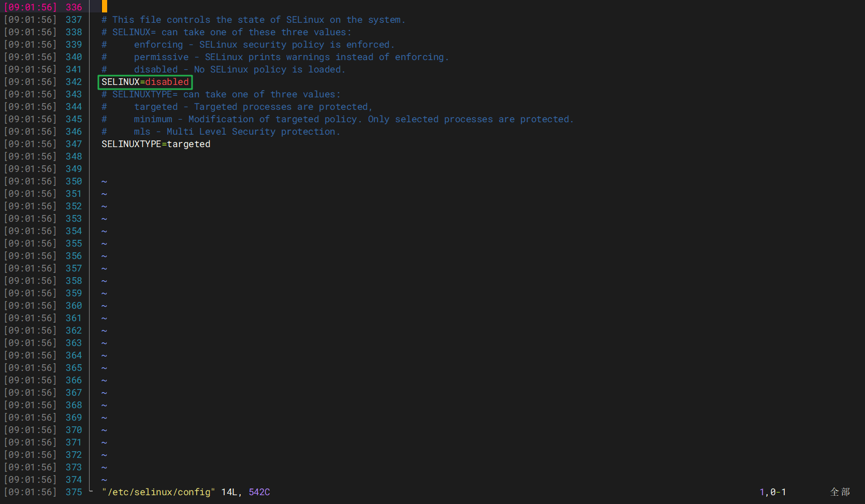
selinux改完重启后生效(init 0 / reboot)
(5)安装aliyun、epel、remi源(可选)
yum repolist

# 下载Aliyun源
curl -o /etc/yum.repos.d/CentOS-Base.repo http://mirrors.aliyun.com/repo/Centos-7.repo

# 下载阿Epel源
curl -o /etc/yum.repos.d/epel.repo https://mirrors.aliyun.com/repo/epel-7.repo

#下载Remi源(可选)
yum install -y http://rpms.remirepo.net/enterprise/remi-release-7.rpm
(6)创建存放目录并存放软件包
软件包下载地址
https://download.csdn.net/download/qq_44769717/92969448
创建存放软件包目录
mkdir -pv /usr/local/src/tomcat_jdk

存放软件包
2)安装tomcat
(1)解压tomcat和jdk8
tar -xvzf apache-tomcat-9.0.48.tar.gz -C /usr/local/
tar -xvzf jdk-8u261-linux-x64.tar.gz -C /usr/local/

mv apache-tomcat-9.0.48/ /usr/local/tomcat
mv jdk1.8.0_261/ /usr/local/jdk


(2)配置jdk的环境
配置 Java 环境变量
vim /etc/profile
export JAVA_HOME=/你的路径/ jdk1.8.0_261
export JRE_HOME=${JAVA_HOME}/jre
export CLASSPATH=.:${JAVA_HOME}/lib:${JRE_HOME}/lib
export PATH=${JAVA_HOME}/bin:$PATH

(3)刷新配置文件
source /etc/profile
java -version

(4)启动tomcat
# cd /你的tomcat路径/bin
cd /usr/local/tomcat/bin
chmod +x *.sh
bash startup.sh

注意
看到输出 Tomcat started.,说明启动指令已发送
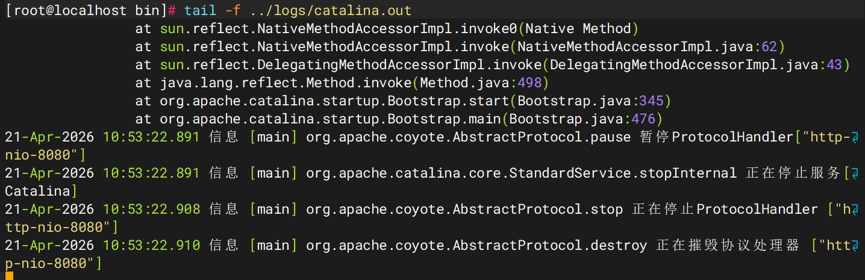
(5)验证
netstat -anpt | grep 8080

tail -f ../logs/catalina.out
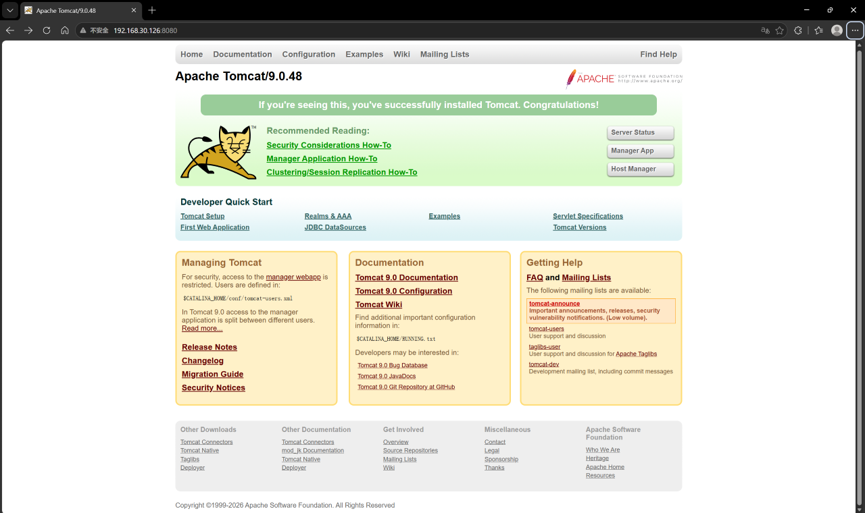
(6)页面访问
访问
 # 你的ip:8080
192.168.30.126:8080
注意:
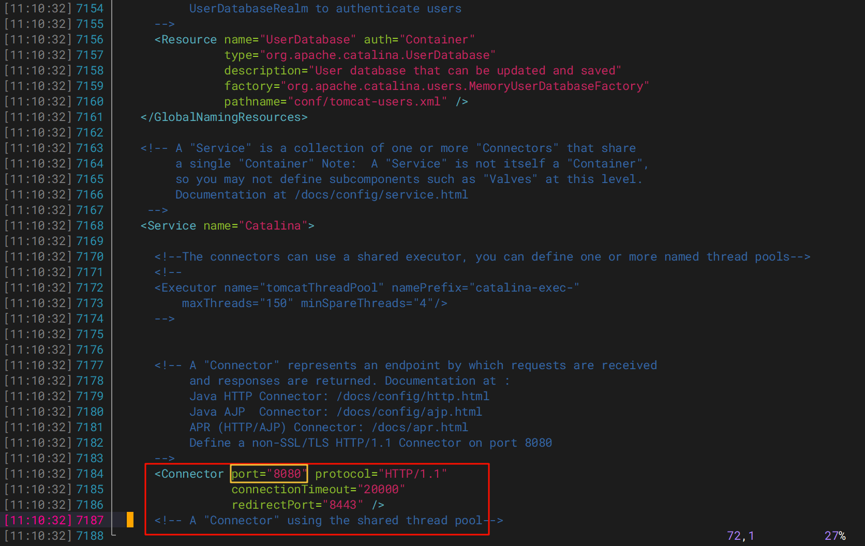
如果你的tomcat端口号和别的服务冲突了,请修改端口号
find / -name server.xml
找到server.xml这个文件进行编辑
找到修改 Connector 进行修改
修改 Connector 端口
修改完之后要进行重启
./shutdown.sh
./startup.sh
(7)配置服务启动脚本(推荐方式二)
1.服务脚本centos6、7通用
vim /etc/init.d/tomcat
#!/bin/bash
#chkconfig: 35 86 89
#description: Apache Tomcat version 9.0 web applications and web services.
TOMCATBIN=/usr/local/tomcat/bin/catalina.sh
export JAVA_HOME=/usr/local/java
start(){
 $TOMCATBIN start
}
stop(){
 $TOMCATBIN stop
}
restart(){
 stop
 start
}
status(){
 if [ -f '/var/run/tomcat.pid' ];then
     echo 'tomcat is running'
 else
     echo 'tomcat is not run'
 fi
}
configtest(){
 $TOMCATBIN configtest
}
case "$1" in
start)
   start;;
stop)
   stop;;
restart)
   restart;;
status)
   status;;
configtest)
   configtest;;
*)
   echo '{start|stop|restart|configtest|status}'
esac
添加权限
chmod +x /etc/init.d/tomcat
chkconfig --add tomcat
chkconfig tomcat on
service tomcat start
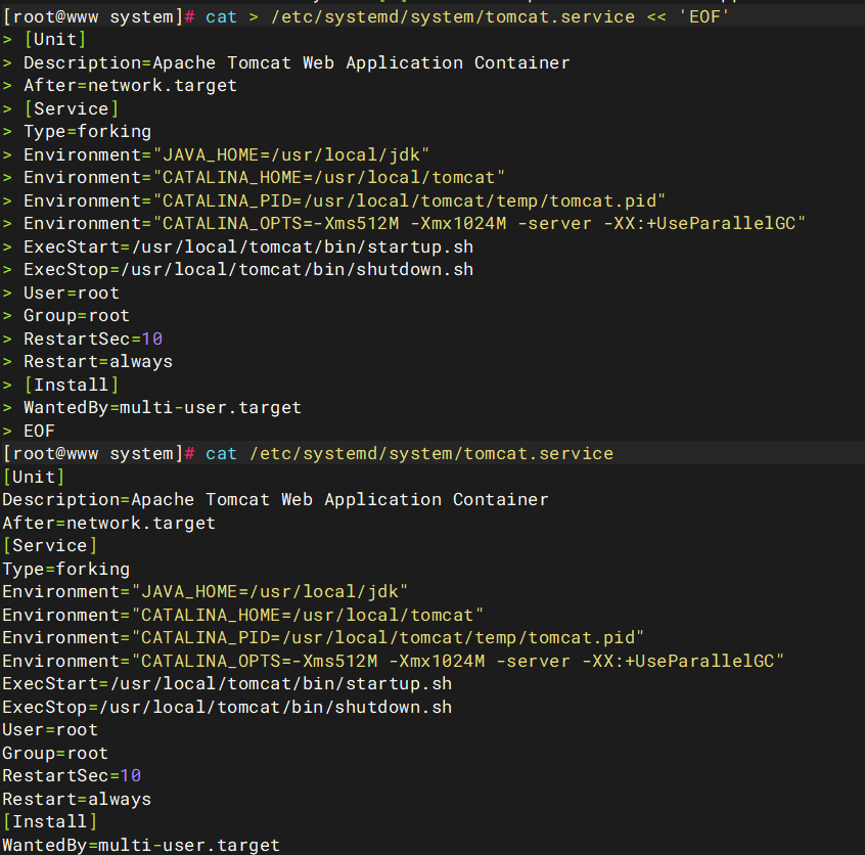
2.systemctl服务脚本centos7适用(本文使用,推荐使用)
cat > /etc/systemd/system/tomcat.service << 'EOF'
[Unit]
Description=Apache Tomcat Web Application Container
After=network.target
[Service]
Type=forking
Environment="JAVA_HOME=/usr/local/jdk"
Environment="CATALINA_HOME=/usr/local/tomcat"
Environment="CATALINA_PID=/usr/local/tomcat/temp/tomcat.pid"
Environment="CATALINA_OPTS=-Xms512M -Xmx1024M -server -XX:+UseParallelGC"
ExecStart=/usr/local/tomcat/bin/startup.sh
ExecStop=/usr/local/tomcat/bin/shutdown.sh
User=root
Group=root
RestartSec=10
Restart=always
[Install]
WantedBy=multi-user.target
EOF
注意
1.Environment=“JAVA_HOME=/usr/local/jdk” 后面的路径是解压安装后jdk的路径
2.Environment="CATALINA_HOME=/usr/local/tomcat"后面的路径是解压安装后tomcat的路径
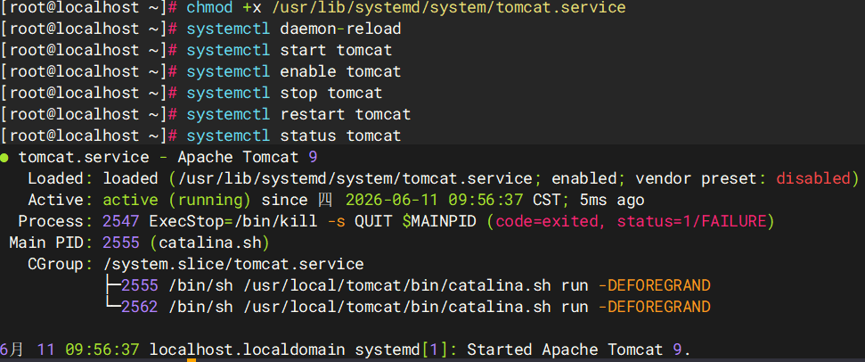
重载进程使其生效
# 添加执行权限
chmod +x /etc/systemd/system/tomcat.service
# 重载进程
systemctl daemon-reload
相关命令
# 启动tomcat
systemctl start tomcat
# 开机自启tomcat
systemctl enabled tomcat
# 停止tomcat
systemctl stop tomcat
# 重启tomcat
systemctl restart tomcat
# 查看tomcat的状态
systemctl status tomcat
(8)基于域名虚拟web主机
1.配置域名
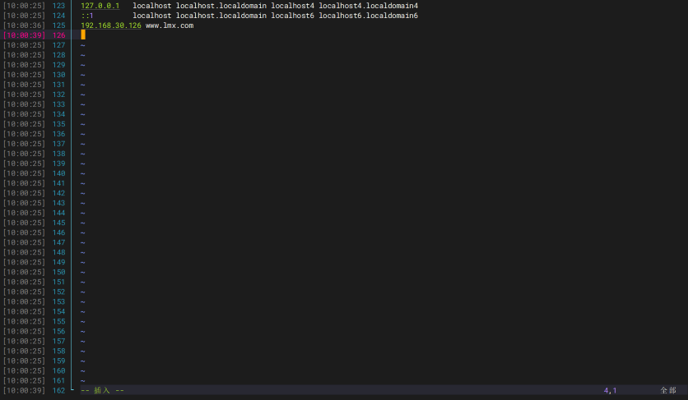
vim /etc/hosts
192.168.30.126 www.lmx.com
2.创建站点目录
mkdir -pv /web/webapp

3.编辑java网页
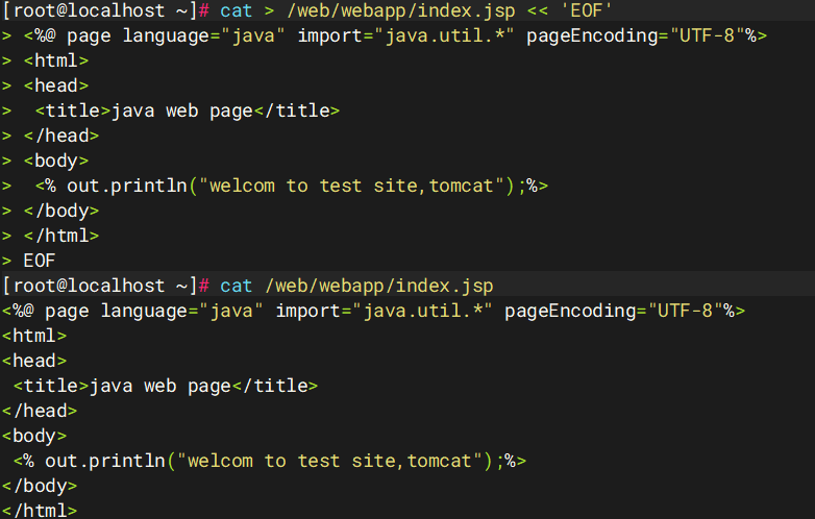
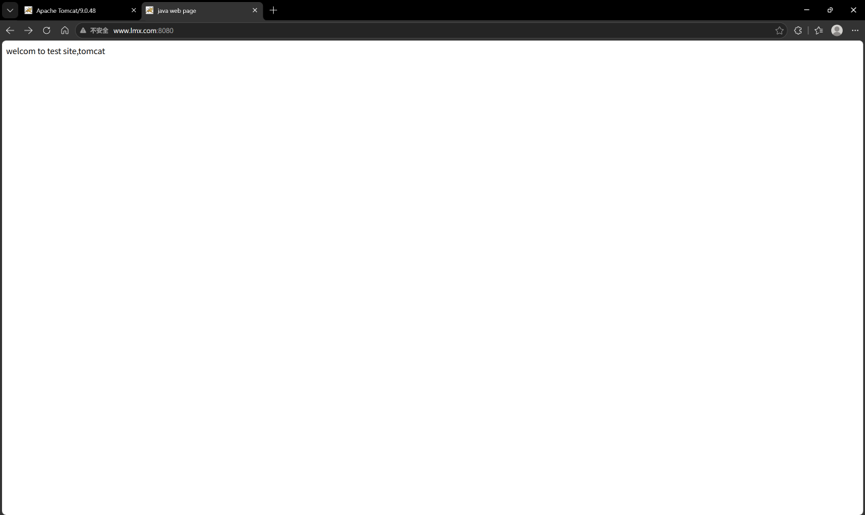
创建index.jsp默认首页
cat > /web/webapp/index.jsp << 'EOF'
<%@ page language="java" import="java.util.*" pageEncoding="UTF-8"%>
<html>
<head>
 <title>java web page</title>
</head>
<body>
 <% out.println("welcom to test site,tomcat");%>
</body>
</html>
EOF
cat /web/webapp/index.jsp
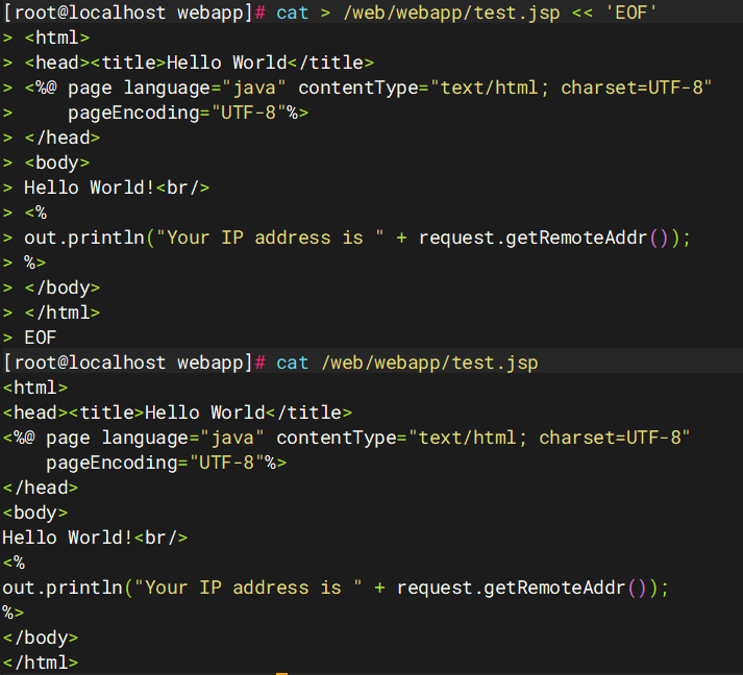
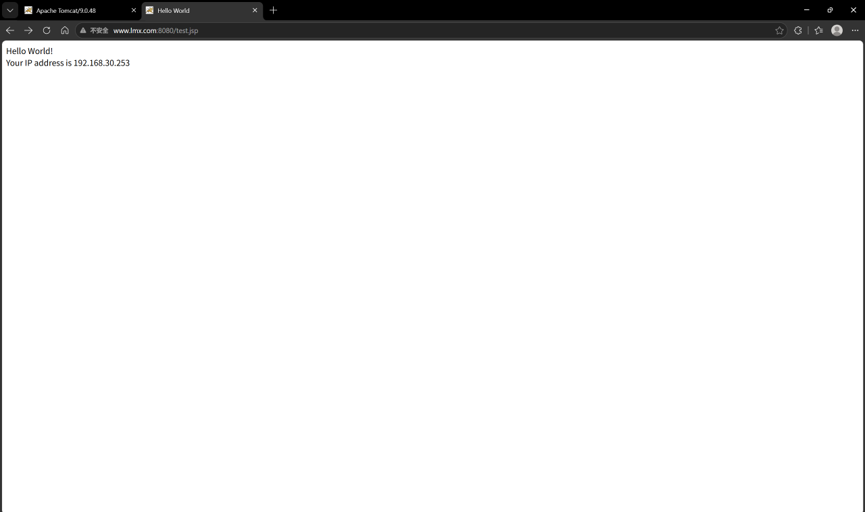
创建test.jsp测试页面
cat > /web/webapp/test.jsp << 'EOF'
<html>
<head><title>Hello World</title>
<%@ page language="java" contentType="text/html; charset=UTF-8"
    pageEncoding="UTF-8"%>
</head>
<body>
Hello World!<br/>
<%
out.println("Your IP address is " + request.getRemoteAddr());
%>
</body>
</html>
EOF
cat /web/webapp/test.jsp
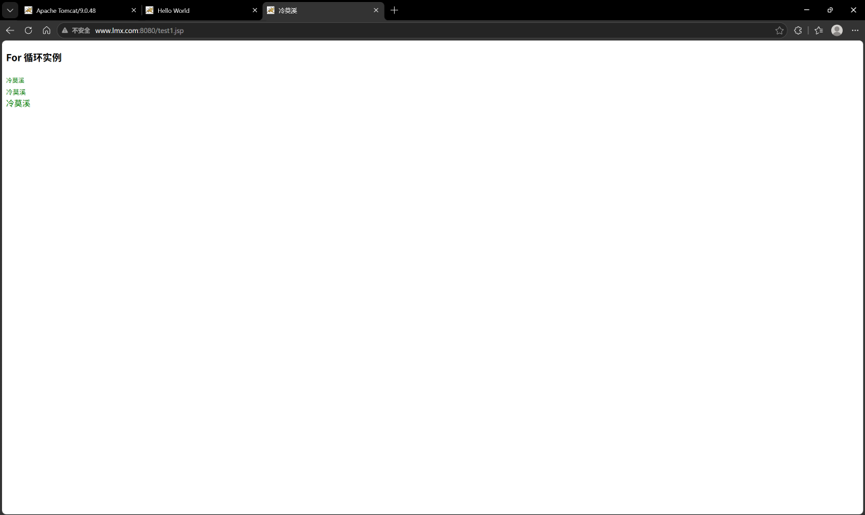
创建test1.jsp测试页面
cat > /web/webapp/test1.jsp << 'EOF'
<%@ page language="java" contentType="text/html; charset=UTF-8"
    pageEncoding="UTF-8"%>
<%! int fontSize; %>
<!DOCTYPE html>
<html>
<head>
<meta charset="utf-8">
<title>冷莫溪</title>
</head>
<body>
<h3>For 循环实例</h3>
<%for ( fontSize = 1; fontSize <= 3; fontSize++){ %>
   <font color="green" size="<%= fontSize %>">
    冷莫溪
   </font><br />
<%}%>
</body>
EOF
cat /web/webapp/test1.jsp

4.配置tomcat
编辑tomcat主配置文件server.xml文件
vim /usr/local/tomcat/conf/server.xml
在原本的Host name=”localhost”里添加
<Context docBase="/web/webapp" path="" reloadable="false"></Context>
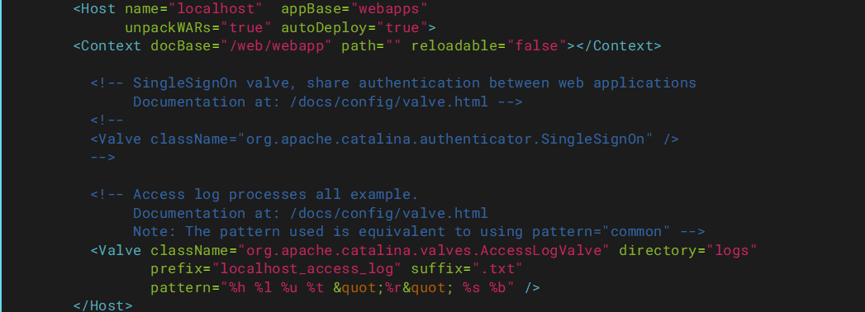
在复制一个,修改name为自己的域名
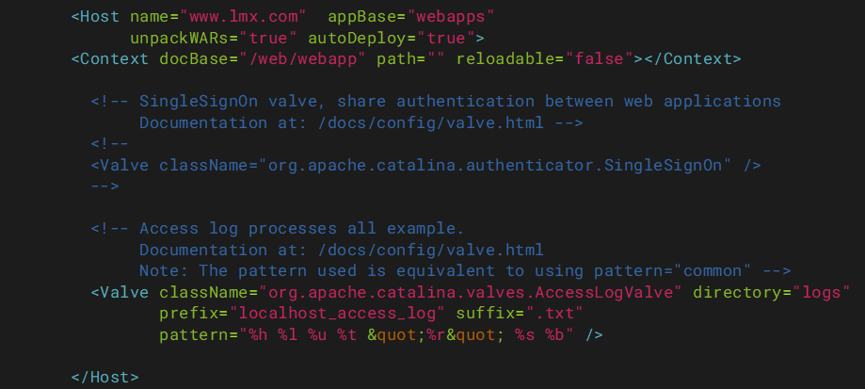
<Host name="www.lmx.com" appBase="webapps"
unpackWARs="true" autoDeploy="true">
<Context docBase="/web/webapp" path="" reloadable="false"></Context>
<!-- SingleSignOn valve, share authentication between web applications
Documentation at: /docs/config/valve.html -->
<!--
<Valve className="org.apache.catalina.authenticator.SingleSignOn" />
-->
<!-- Access log processes all example.
Documentation at: /docs/config/valve.html
Note: The pattern used is equivalent to using pattern="common" -->
<Valve className="org.apache.catalina.valves.AccessLogValve" directory="logs"
prefix="localhost_access_log" suffix=".txt"
pattern="%h %l %u %t "%r" %s %b" />
</Host>
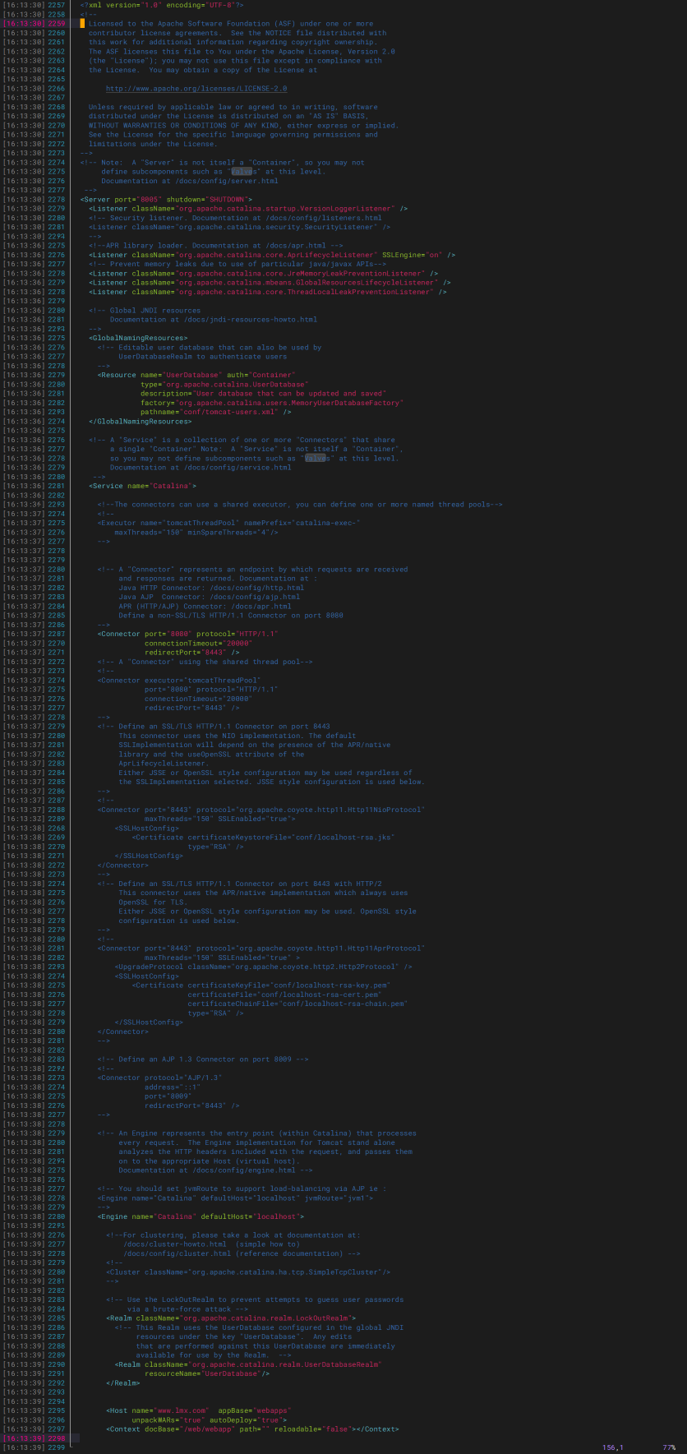
整体配置如下
<?xml version="1.0" encoding="UTF-8"?>
<!--
Licensed to the Apache Software Foundation (ASF) under one or more
contributor license agreements. See the NOTICE file distributed with
this work for additional information regarding copyright ownership.
The ASF licenses this file to You under the Apache License, Version 2.0
(the "License"); you may not use this file except in compliance with
the License. You may obtain a copy of the License at
http://www.apache.org/licenses/LICENSE-2.0
Unless required by applicable law or agreed to in writing, software
distributed under the License is distributed on an "AS IS" BASIS,
WITHOUT WARRANTIES OR CONDITIONS OF ANY KIND, either express or implied.
See the License for the specific language governing permissions and
limitations under the License.
-->
<!-- Note: A "Server" is not itself a "Container", so you may not
define subcomponents such as "Valves" at this level.
Documentation at /docs/config/server.html
-->
<Server port="8005" shutdown="SHUTDOWN">
<Listener className="org.apache.catalina.startup.VersionLoggerListener" />
<!-- Security listener. Documentation at /docs/config/listeners.html
<Listener className="org.apache.catalina.security.SecurityListener" />
-->
<!--APR library loader. Documentation at /docs/apr.html -->
<Listener className="org.apache.catalina.core.AprLifecycleListener" SSLEngine="on" />
<!-- Prevent memory leaks due to use of particular java/javax APIs-->
<Listener className="org.apache.catalina.core.JreMemoryLeakPreventionListener" />
<Listener className="org.apache.catalina.mbeans.GlobalResourcesLifecycleListener" />
<Listener className="org.apache.catalina.core.ThreadLocalLeakPreventionListener" />
<!-- Global JNDI resources
Documentation at /docs/jndi-resources-howto.html
-->
<GlobalNamingResources>
<!-- Editable user database that can also be used by
UserDatabaseRealm to authenticate users
-->
<Resource name="UserDatabase" auth="Container"
type="org.apache.catalina.UserDatabase"
description="User database that can be updated and saved"
factory="org.apache.catalina.users.MemoryUserDatabaseFactory"
pathname="conf/tomcat-users.xml" />
</GlobalNamingResources>
<!-- A "Service" is a collection of one or more "Connectors" that share
a single "Container" Note: A "Service" is not itself a "Container",
so you may not define subcomponents such as "Valves" at this level.
Documentation at /docs/config/service.html
-->
<Service name="Catalina">
<!--The connectors can use a shared executor, you can define one or more named thread pools-->
<!--
<Executor name="tomcatThreadPool" namePrefix="catalina-exec-"
maxThreads="150" minSpareThreads="4"/>
-->
<!-- A "Connector" represents an endpoint by which requests are received
and responses are returned. Documentation at :
Java HTTP Connector: /docs/config/http.html
Java AJP Connector: /docs/config/ajp.html
APR (HTTP/AJP) Connector: /docs/apr.html
Define a non-SSL/TLS HTTP/1.1 Connector on port 8080
-->
<Connector port="8080" protocol="HTTP/1.1"
connectionTimeout="20000"
redirectPort="8443" />
<!-- A "Connector" using the shared thread pool-->
<!--
<Connector executor="tomcatThreadPool"
port="8080" protocol="HTTP/1.1"
connectionTimeout="20000"
redirectPort="8443" />
-->
<!-- Define an SSL/TLS HTTP/1.1 Connector on port 8443
This connector uses the NIO implementation. The default
SSLImplementation will depend on the presence of the APR/native
library and the useOpenSSL attribute of the
AprLifecycleListener.
Either JSSE or OpenSSL style configuration may be used regardless of
the SSLImplementation selected. JSSE style configuration is used below.
-->
<!--
<Connector port="8443" protocol="org.apache.coyote.http11.Http11NioProtocol"
maxThreads="150" SSLEnabled="true">
<SSLHostConfig>
<Certificate certificateKeystoreFile="conf/localhost-rsa.jks"
type="RSA" />
</SSLHostConfig>
</Connector>
-->
<!-- Define an SSL/TLS HTTP/1.1 Connector on port 8443 with HTTP/2
This connector uses the APR/native implementation which always uses
OpenSSL for TLS.
Either JSSE or OpenSSL style configuration may be used. OpenSSL style
configuration is used below.
-->
<!--
<Connector port="8443" protocol="org.apache.coyote.http11.Http11AprProtocol"
maxThreads="150" SSLEnabled="true" >
<UpgradeProtocol className="org.apache.coyote.http2.Http2Protocol" />
<SSLHostConfig>
<Certificate certificateKeyFile="conf/localhost-rsa-key.pem"
certificateFile="conf/localhost-rsa-cert.pem"
certificateChainFile="conf/localhost-rsa-chain.pem"
type="RSA" />
</SSLHostConfig>
</Connector>
-->
<!-- Define an AJP 1.3 Connector on port 8009 -->
<!--
<Connector protocol="AJP/1.3"
address="::1"
port="8009"
redirectPort="8443" />
-->
<!-- An Engine represents the entry point (within Catalina) that processes
every request. The Engine implementation for Tomcat stand alone
analyzes the HTTP headers included with the request, and passes them
on to the appropriate Host (virtual host).
Documentation at /docs/config/engine.html -->
<!-- You should set jvmRoute to support load-balancing via AJP ie :
<Engine name="Catalina" defaultHost="localhost" jvmRoute="jvm1">
-->
<Engine name="Catalina" defaultHost="localhost">
<!--For clustering, please take a look at documentation at:
/docs/cluster-howto.html (simple how to)
/docs/config/cluster.html (reference documentation) -->
<!--
<Cluster className="org.apache.catalina.ha.tcp.SimpleTcpCluster"/>
-->
<!-- Use the LockOutRealm to prevent attempts to guess user passwords
via a brute-force attack -->
<Realm className="org.apache.catalina.realm.LockOutRealm">
<!-- This Realm uses the UserDatabase configured in the global JNDI
resources under the key "UserDatabase". Any edits
that are performed against this UserDatabase are immediately
available for use by the Realm. -->
<Realm className="org.apache.catalina.realm.UserDatabaseRealm"
resourceName="UserDatabase"/>
</Realm>
<Host name="www.lmx.com" appBase="webapps"
unpackWARs="true" autoDeploy="true">
<Context docBase="/web/webapp" path="" reloadable="false"></Context>
<!-- SingleSignOn valve, share authentication between web applications
Documentation at: /docs/config/valve.html -->
<!--
<Valve className="org.apache.catalina.authenticator.SingleSignOn" />
-->
<!-- Access log processes all example.
Documentation at: /docs/config/valve.html
Note: The pattern used is equivalent to using pattern="common" -->
<Valve className="org.apache.catalina.valves.AccessLogValve" directory="logs"
prefix="localhost_access_log" suffix=".txt"
pattern="%h %l %u %t "%r" %s %b" />
</Host>
<Host name="localhost" appBase="webapps"
unpackWARs="true" autoDeploy="true">
<Context docBase="/web/webapp" path="" reloadable="false"></Context>
<!-- SingleSignOn valve, share authentication between web applications
Documentation at: /docs/config/valve.html -->
<!--
<Valve className="org.apache.catalina.authenticator.SingleSignOn" />
-->
<!-- Access log processes all example.
Documentation at: /docs/config/valve.html
Note: The pattern used is equivalent to using pattern="common" -->
<Valve className="org.apache.catalina.valves.AccessLogValve" directory="logs"
prefix="localhost_access_log" suffix=".txt"
pattern="%h %l %u %t "%r" %s %b" />
</Host>
</Engine>
</Service>
</Server>
注意:
是对标签,成对出现的
5.重启tomcat
systemctl restart tomcat

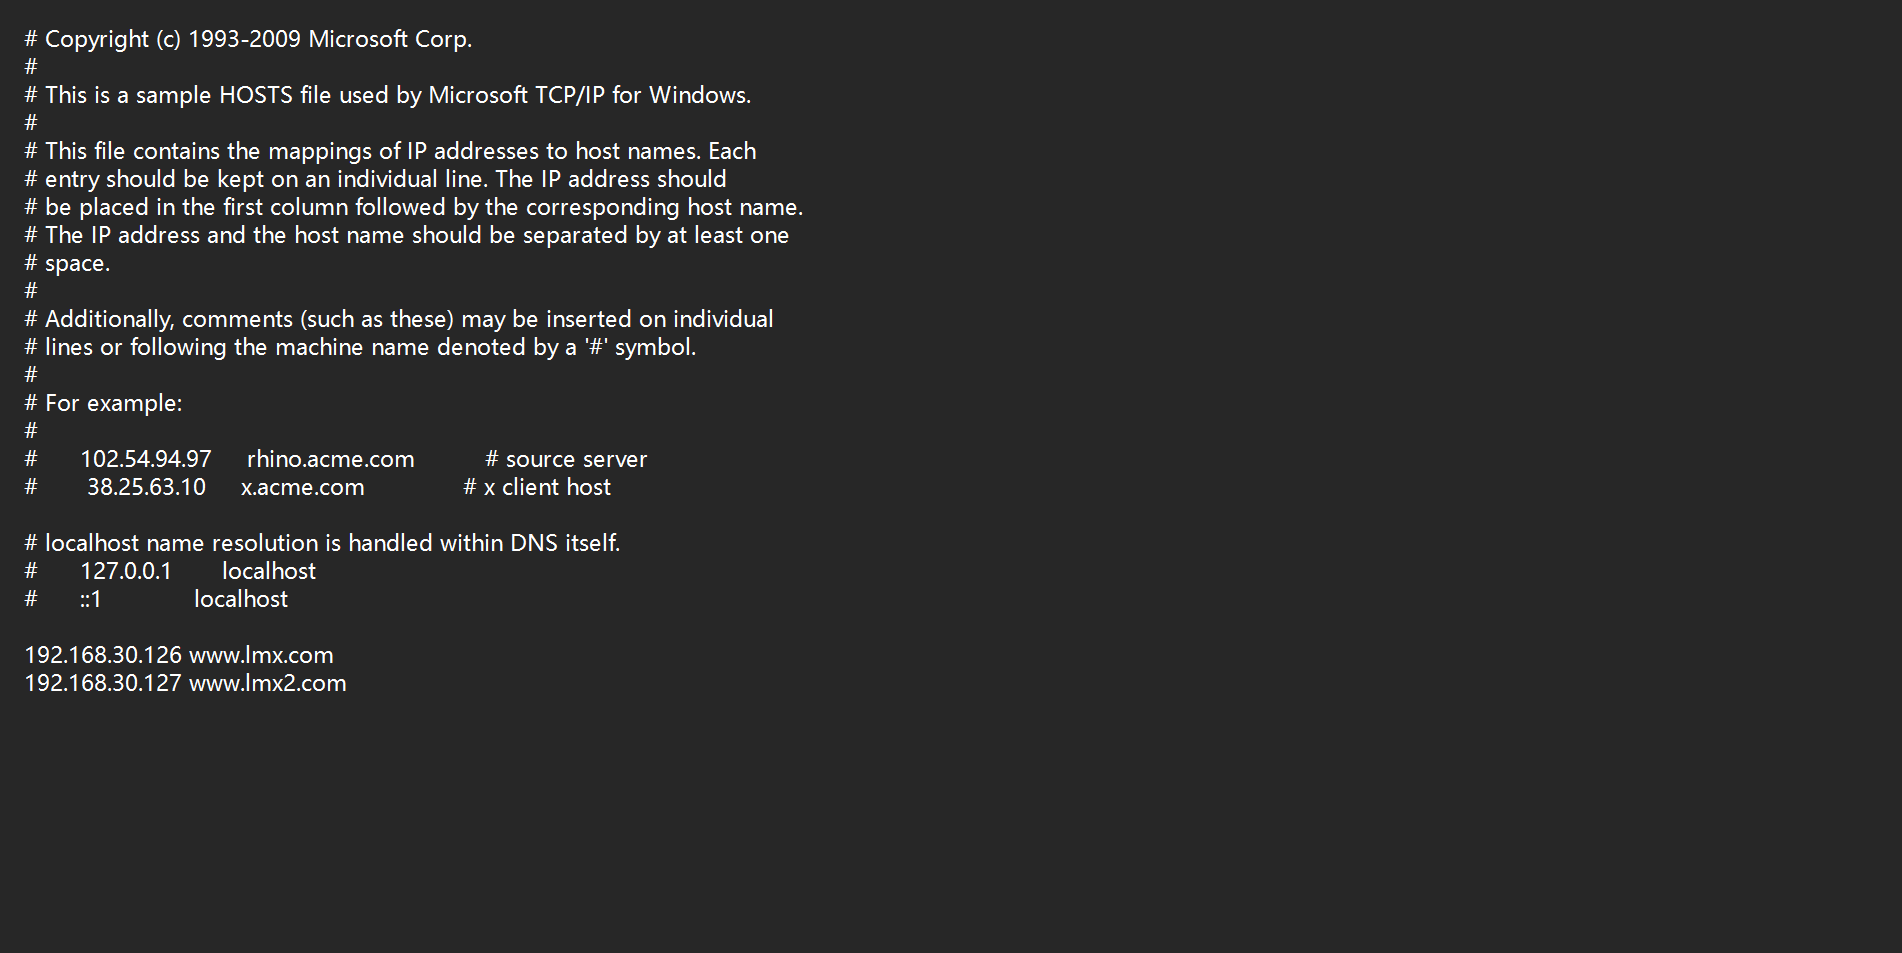
6.修改Hosts文件
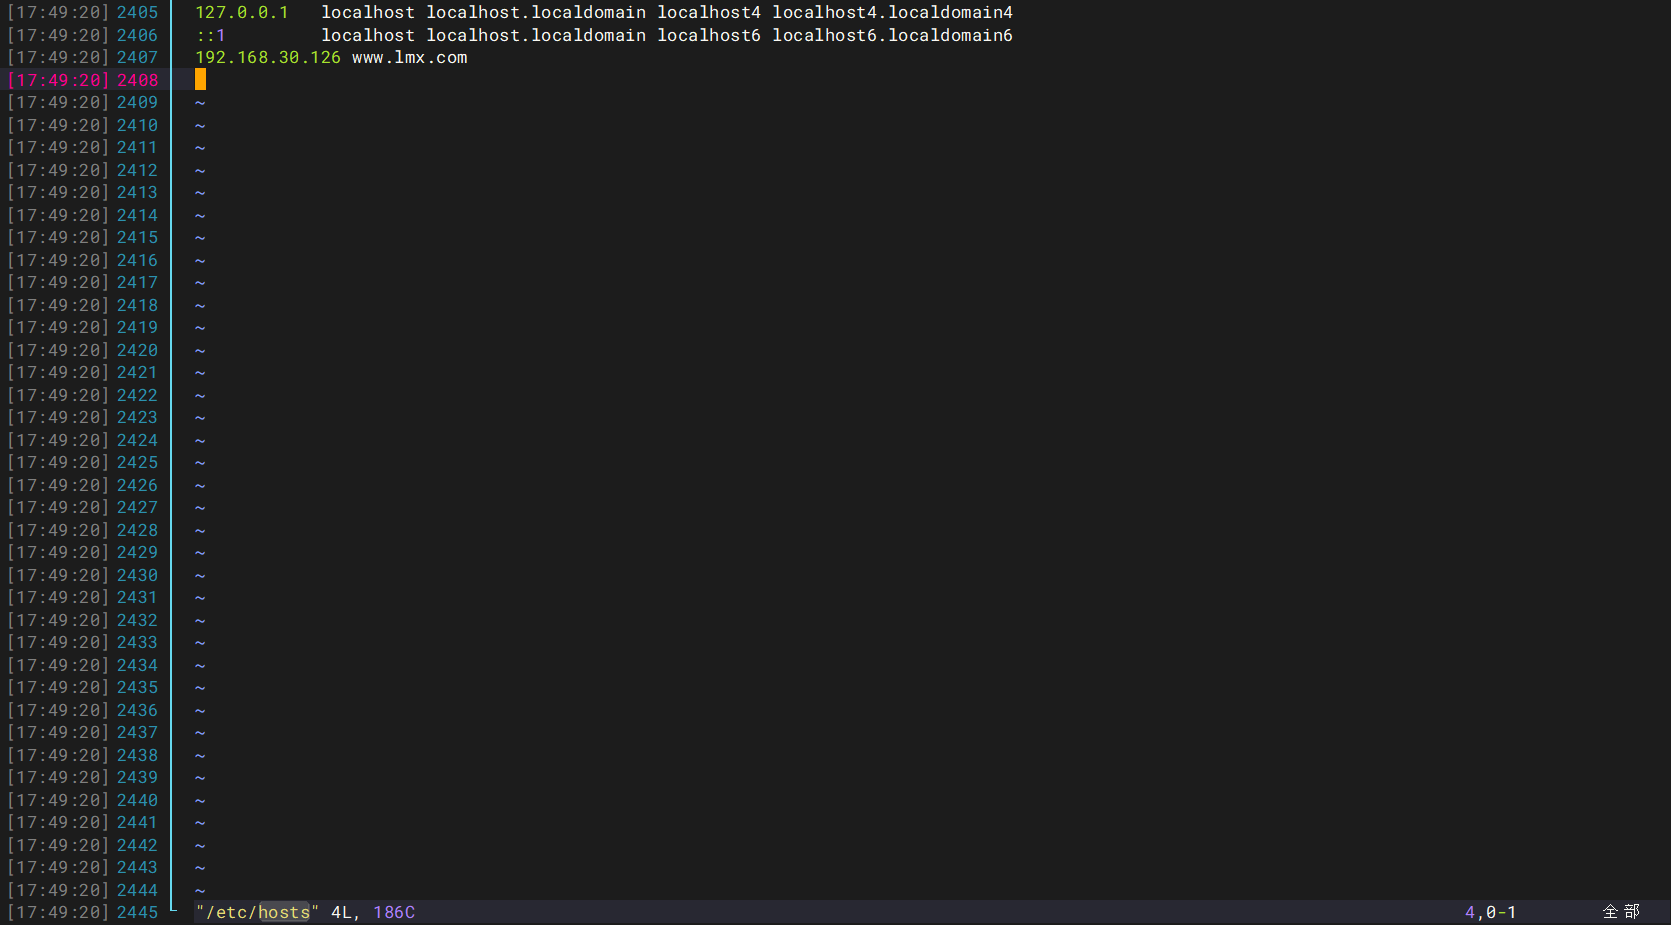
修改服务器hosts文件
vim /etc/hosts
192.168.30.126 www.lmx.com
修改客户机hosts文件
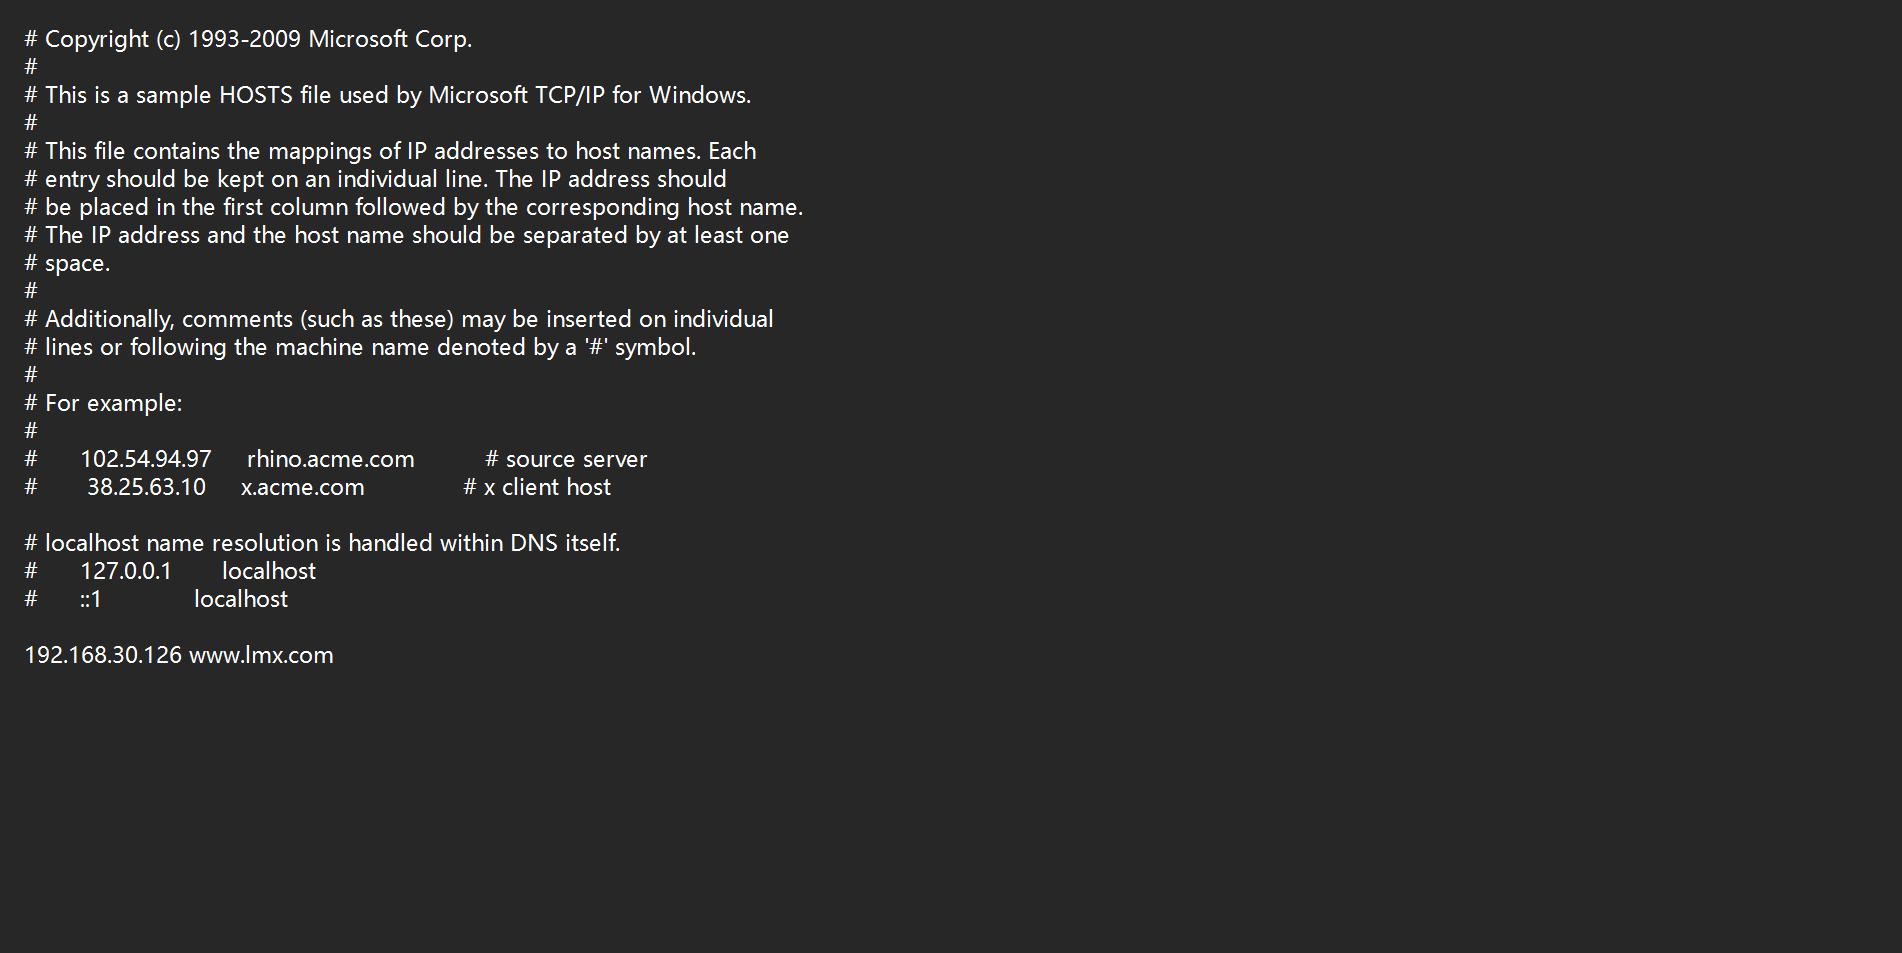
以管理员方式打开记事本,在C:\Windows\System32\drivers\etc中打开hosts
添加后保存
192.168.30.126 www.lmx.com
7.本机访问域名
www.lmx.com:8080
www.lmx.com:8080/test.jsp
www.lmx.com:8080/test1.jsp
3)Tomcat目录说明
|---bin:存放启动和关闭tomcat脚本;
			|---configtest.sh: 检测配置文件
 			|---startup.sh:启动tomcat
 			|---shutdown.sh:关闭tomcat
|---conf:存放Tomcat服务器的各种全局配置⽂文件,其中最重要的是server.xml和web.xml;
 			|---server.xml: tomcat的主配置文件 host配置
 			|---web.xml: tomcat的应用程序的部署描述符文件
|---lib:存放Tomcat服务器所需的各种jar文件;
|---logs:存放Tomcat执行时的日志文件;
|---temp:此目录是tomcat存放的临时文件;
|---webapps:tomcat默认存放应用程序的目录,好比apache的默认网页存放路径
是/var/www/html一样;
			|---docs: tomcat文档
			|---examples: tomcat自带的一个独立的web应用程序例子
			|---host-manager: tomcat的主机管理应用程序
			|---manager: tomcat的管理应用程序
			|---ROOT: 指tomcat的应用程序的根,如果应用程序部署在ROOT中,则可直接通过http://i
p:port 访问到
			|---work:用于存放JSP应用程序在部署时编译后产生的class文件
3. Nginx负载均衡实现
(1)环境规划
以下是本次部署的环境规划表:
| 主机 | IP地址 | 主要软件 |
|---|---|---|
| LNMP服务器 | 192.168.30.125 | nginx-1.16.1 mysql-5.7.32-el7-x86_64 php-7.3.9 |
| Tomcat服务器 1 | 192.168.30.126 | apache-tomcat-9.0.48 jdk-8u261-linux-x64 |
| Tomcat服务器 2 | 192.168.30.127 | apache-tomcat-9.0.48 jdk-8u261-linux-x64 |
| 客户端(用于测试) | 192.168.30.253 |
环境说明:
- LNMP服务器:运行Nginx作为反向代理和负载均衡器,同时部署MySQL和PHP服务,使用的是以往做的基于CentOS7.9——LNMP
- Tomcat服务器 1 & 2:两台应用服务器,运行相同的Tomcat和JDK版本,用于部署Java Web应用
- 网络规划:所有服务器位于同一网段(192.168.30.0/24),便于内部通信
(2)Nginx负载均衡的实现
1)Tomcat站点访问内容差异化修改
为了测试效果,对两台tomcat的站点访问的内容进行差异化修改
tomcat 1(192.168.30.126)
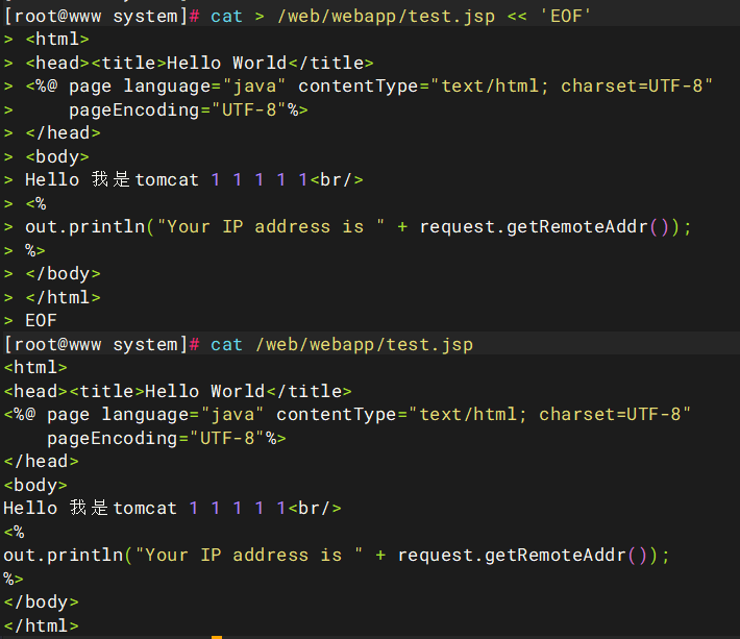
cat > /web/webapp/test.jsp << 'EOF'
<html>
<head><title>Hello World</title>
<%@ page language="java" contentType="text/html; charset=UTF-8"
    pageEncoding="UTF-8"%>
</head>
<body>
Hello 我是tomcat 1 1 1 1 1<br/>
<%
out.println("Your IP address is " + request.getRemoteAddr());
%>
</body>
</html>
EOF
cat /web/webapp/test.jsp
tomcat 2(192.168.30.127)
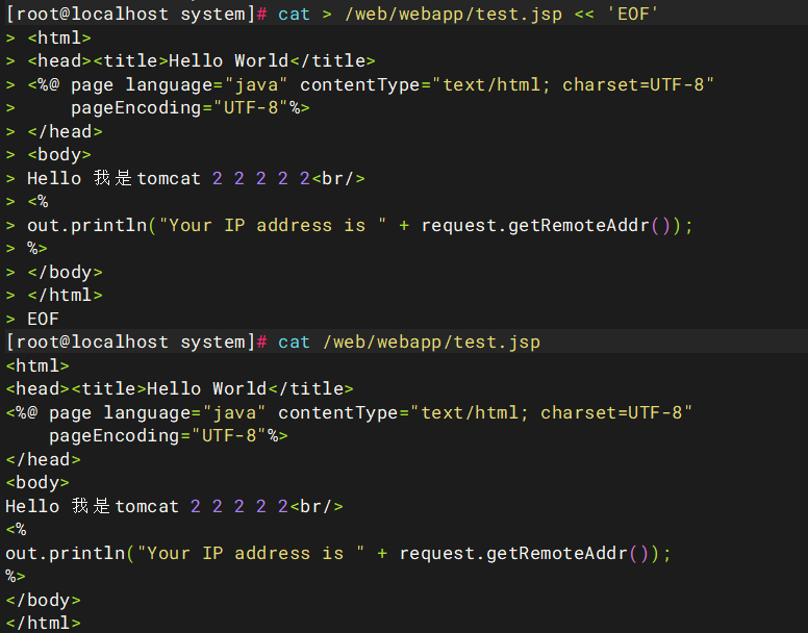
cat > /web/webapp/test.jsp << 'EOF'
<html>
<head><title>Hello World</title>
<%@ page language="java" contentType="text/html; charset=UTF-8"
    pageEncoding="UTF-8"%>
</head>
<body>
Hello 我是tomcat 2 2 2 2 2<br/>
<%
out.println("Your IP address is " + request.getRemoteAddr());
%>
</body>
</html>
EOF
cat /web/webapp/test.jsp
2)配置hosts文件
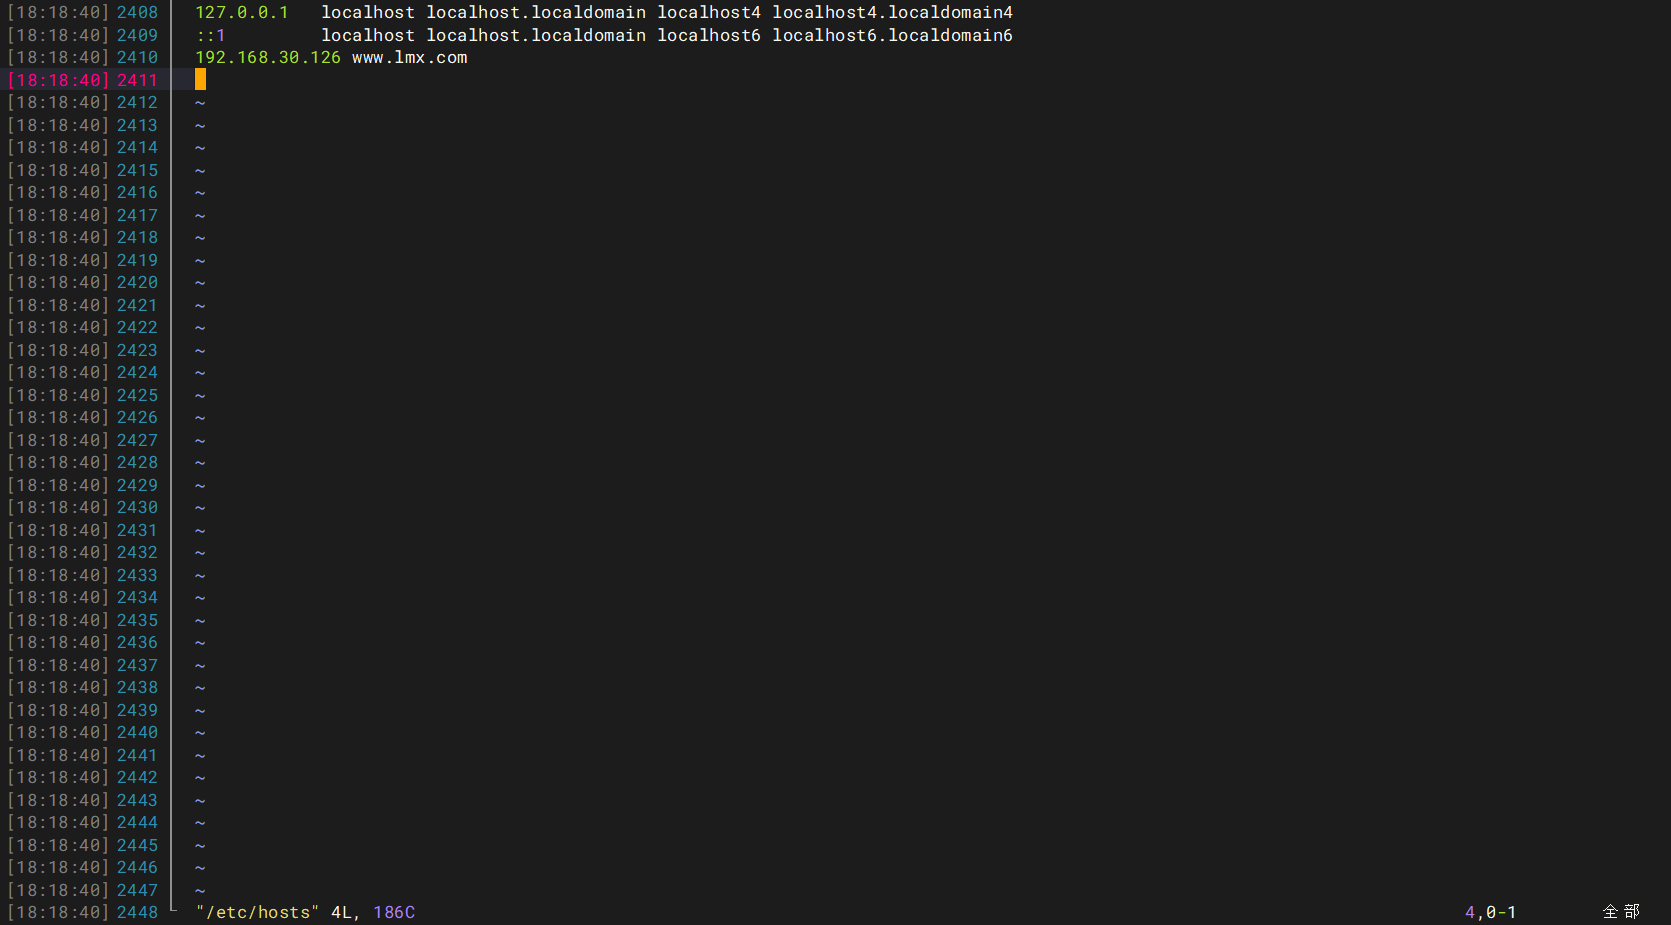
tomcat 1(192.168.30.126)
192.168.30.126 www.lmx.com
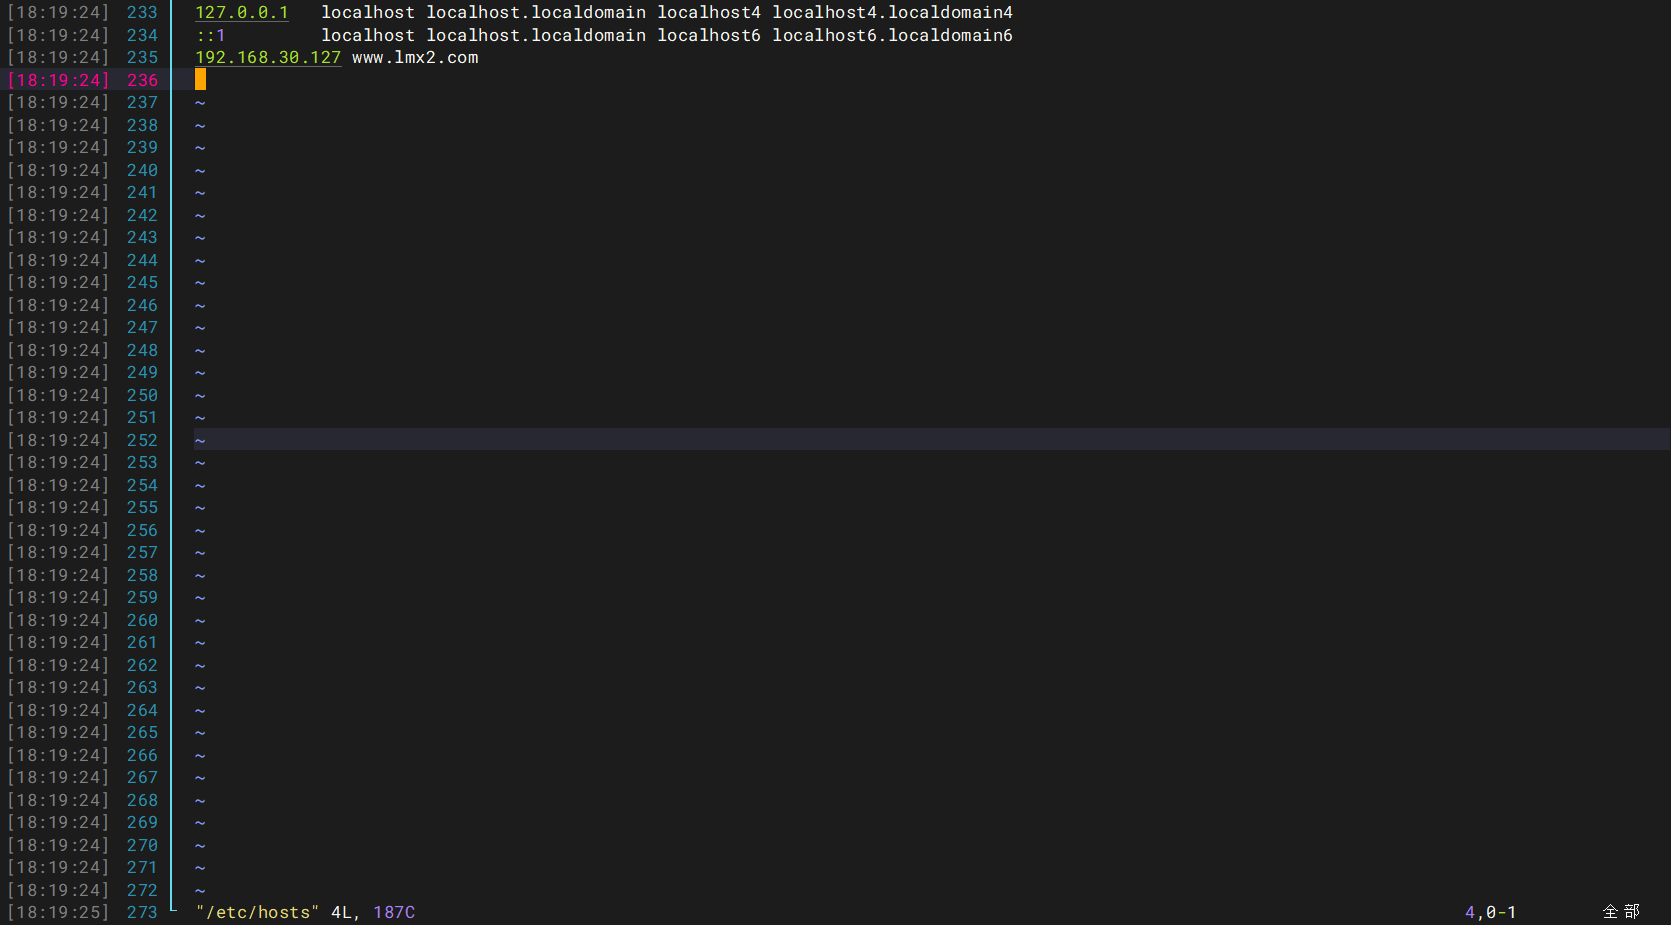
tomcat 2(192.168.30.127)
192.168.30.127 www.lmx2.com
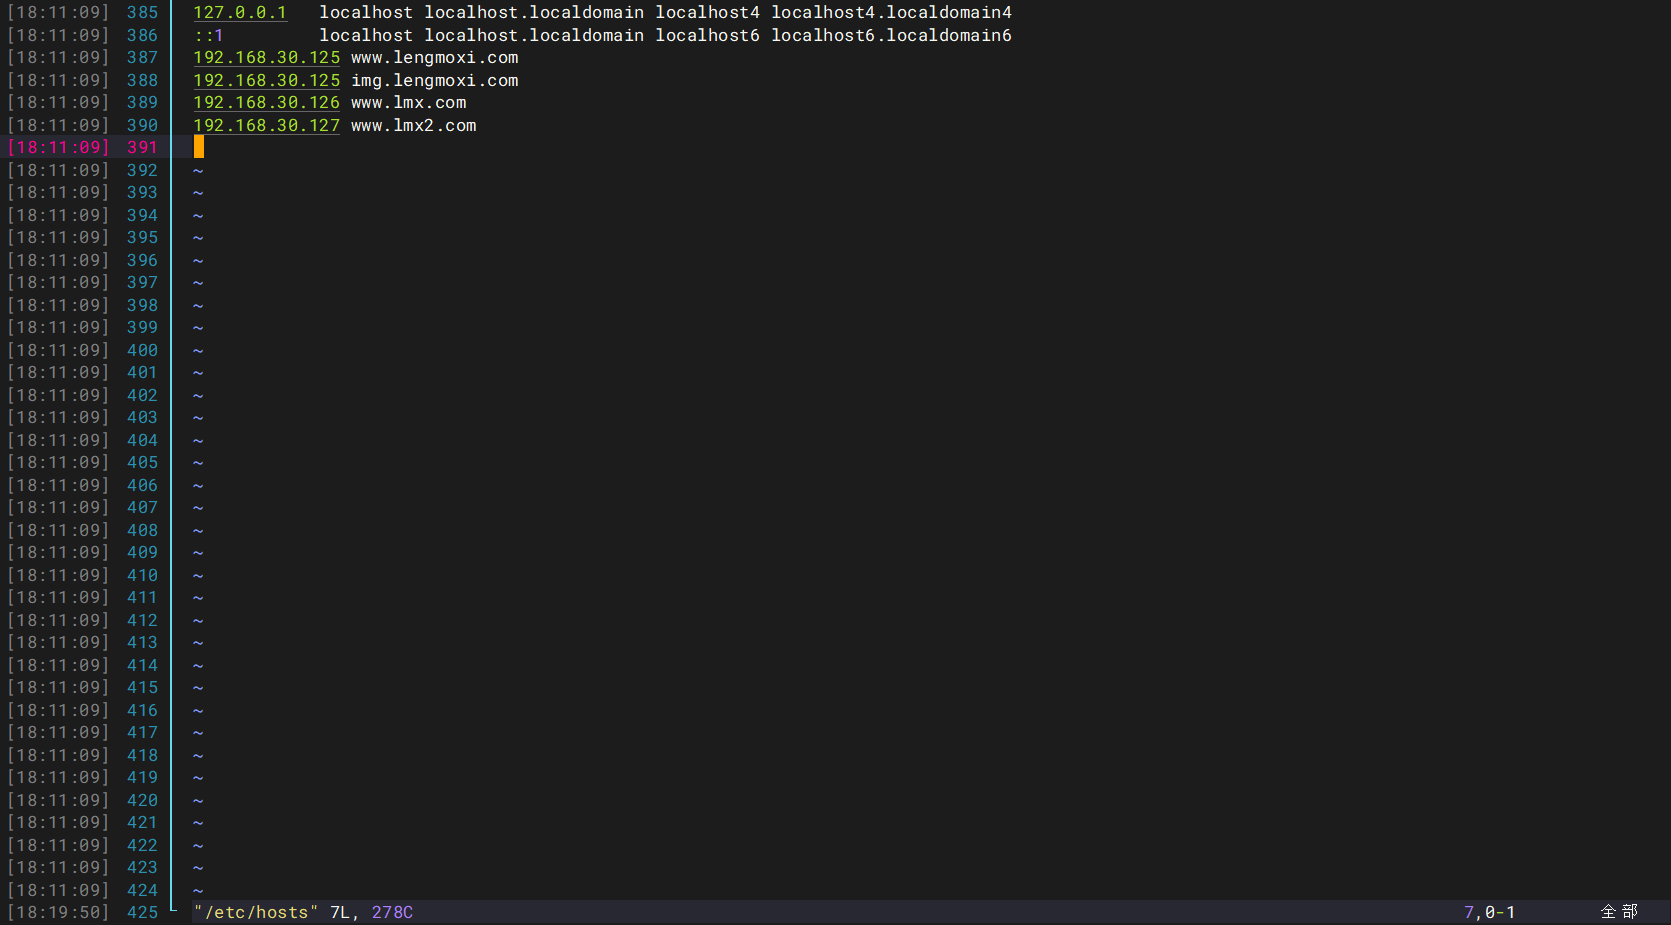
tomcat 2(192.168.30.125)
192.168.30.126 www.lmx.com
192.168.30.127 www.lmx2.com
客户端(192.168.30.253)
以管理员方式打开记事本,在C:\Windows\System32\drivers\etc中打开hosts
添加并保存
192.168.30.126 www.lmx.com
192.168.30.127 www.lmx2.com
3)Nginx负载均衡的实现
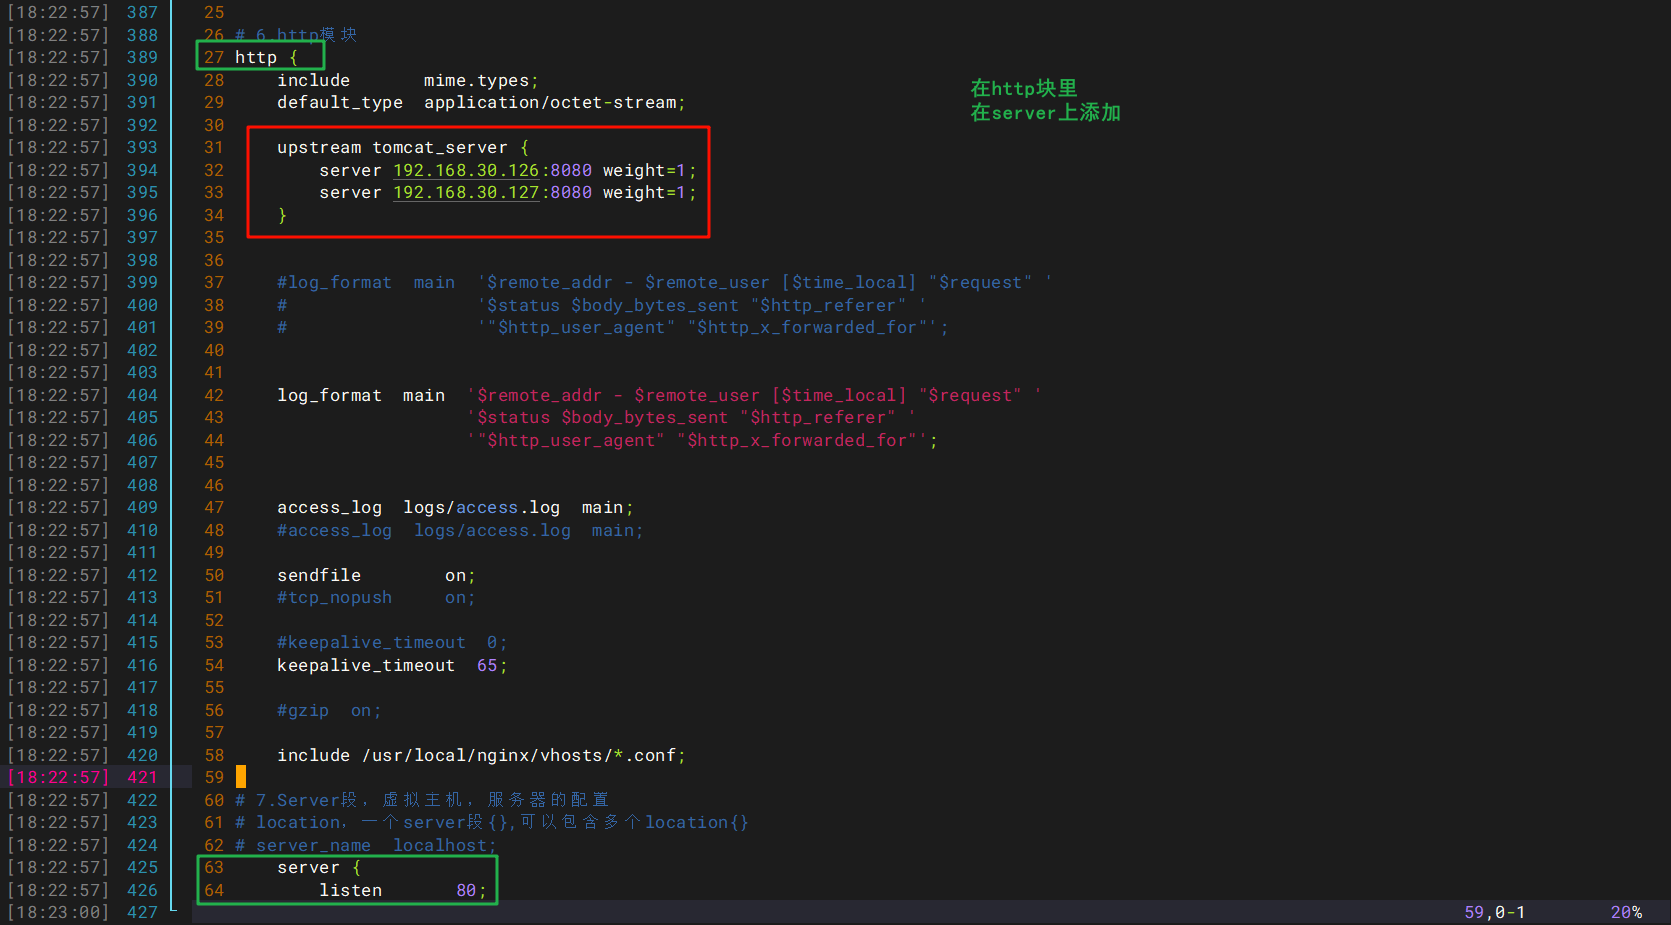
1.添加负载均衡的服务器列表
在lnmp服务器的Nginx配置文件中,添加设定负载均衡的服务器列表(在server块上面)
upstream tomcat_server {
    server 192.168.30.126:8080 weight=1;
    server 192.168.30.127:8080 weight=1;
}
在server块里面添加以jsp文件为后缀名的匹配请求的配置块
        location ~ \.jsp$ {
            proxy_pass http://tomcat_server;

            proxy_set_header Host $host;
            proxy_set_header X-Real-IP $remote_addr;
            proxy_set_header X-Forwarded-For $proxy_add_x_forwarded_for;
        }
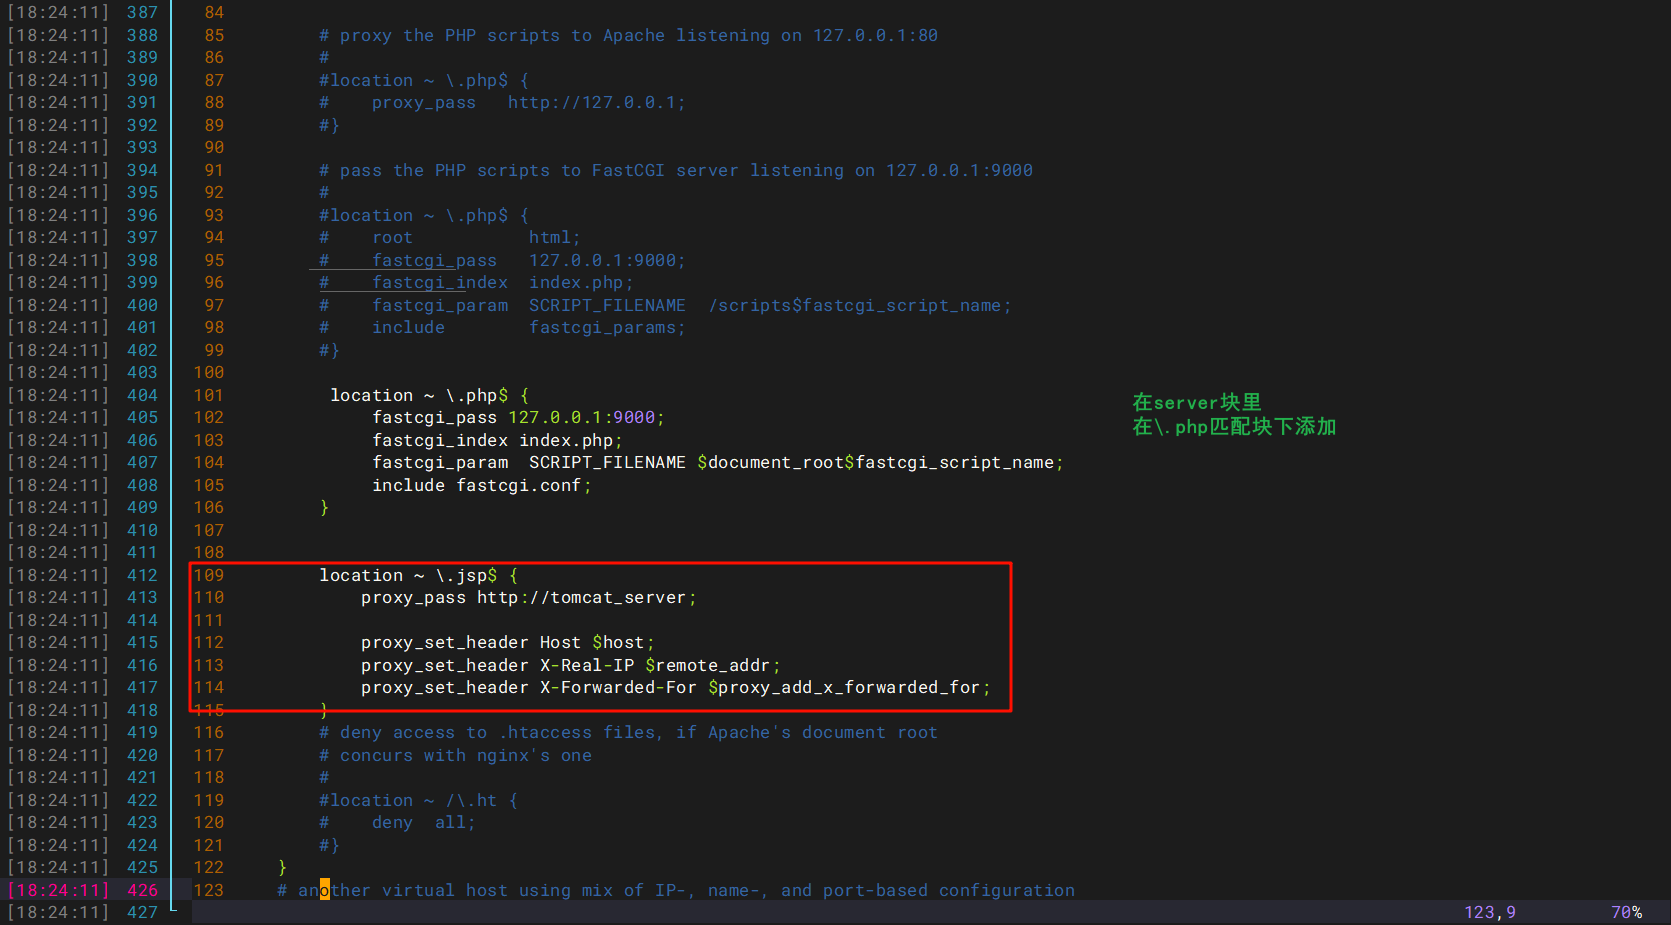
配置说明:
proxy_pass http://tomcat_server;:将匹配到的请求转发给名为tomcat_server的上游服务器组(Upstream)。proxy_set_header Host $host;:告诉后端 Tomcat,“我是代表哪个域名来访问你的”。proxy_set_header X-Real-IP $remote_addr;:$remote_addr是 Nginx 获取到的直接连接者的 IP(即用户的公网 IP),将其放入X-Real-IP请求头传给 Tomcat。proxy_set_header X-Forwarded-For $proxy_add_x_forwarded_for;:X-Forwarded-For(XFF) 是一个标准协议头,用于记录请求经过的所有代理服务器 IP。$proxy_add_x_forwarded_for变量会将“客户端真实 IP”追加到现有的 XFF 列表后面。
整体配置文件内容
# 1.用户
#user  nobody;
user nginx;

# 2.进程信息
#worker_processes  1; 20260610 9:58
worker_processes  auto;


# 3.全局错误日志
#error_log  logs/error.log;
#error_log  logs/error.log  notice;
#error_log  logs/error.log  info;

# 4.进程启动后的pid信息,pid是一组整数信息
#pid        logs/nginx.pid;


# 5.events模块,连接数信息,高并发、大流量的基础配置,默认每个work进程建立的连接数是1024个
events {
    worker_connections  1024;
}


# 6.http模块
http {
    include       mime.types;
    default_type  application/octet-stream;

    upstream tomcat_server {
        server 192.168.30.126:8080 weight=1;
        server 192.168.30.127:8080 weight=1;
    }


    #log_format  main  '$remote_addr - $remote_user [$time_local] "$request" '
    #                  '$status $body_bytes_sent "$http_referer" '
    #                  '"$http_user_agent" "$http_x_forwarded_for"';


    log_format  main  '$remote_addr - $remote_user [$time_local] "$request" '
                      '$status $body_bytes_sent "$http_referer" '
                      '"$http_user_agent" "$http_x_forwarded_for"';


    access_log  logs/access.log  main;
    #access_log  logs/access.log  main;

    sendfile        on;
    #tcp_nopush     on;

    #keepalive_timeout  0;
    keepalive_timeout  65;

    #gzip  on;

    include /usr/local/nginx/vhosts/*.conf;

# 7.Server段,虚拟主机,服务器的配置
# location,一个server段{},可以包含多个location{}
# server_name  localhost;
    server {
        listen       80;
        server_name  www.lengmoxi.com;
        root /data/www/lengmoxi;
        #charset koi8-r;

        #access_log  logs/host.access.log  main;

        location / {
           # root   html;
            index index.jsp index.php index.html index.htm;
        }

        #error_page  404              /404.html;

        # redirect server error pages to the static page /50x.html
        #
        error_page   500 502 503 504  /50x.html;
        location = /50x.html {
            root   html;
        }

        # proxy the PHP scripts to Apache listening on 127.0.0.1:80
        #
        #location ~ \.php$ {
        #    proxy_pass   http://127.0.0.1;
        #}

        # pass the PHP scripts to FastCGI server listening on 127.0.0.1:9000
        #
        #location ~ \.php$ {
        #    root           html;
        #    fastcgi_pass   127.0.0.1:9000;
        #    fastcgi_index  index.php;
        #    fastcgi_param  SCRIPT_FILENAME  /scripts$fastcgi_script_name;
        #    include        fastcgi_params;
        #}

         location ~ \.php$ {
             fastcgi_pass 127.0.0.1:9000;
             fastcgi_index index.php;
             fastcgi_param  SCRIPT_FILENAME $document_root$fastcgi_script_name;
             include fastcgi.conf;
        }


        location ~ \.jsp$ {
            proxy_pass http://tomcat_server;

            proxy_set_header Host $host;
            proxy_set_header X-Real-IP $remote_addr;
            proxy_set_header X-Forwarded-For $proxy_add_x_forwarded_for;
        }
        # deny access to .htaccess files, if Apache's document root
        # concurs with nginx's one
        #
        #location ~ /\.ht {
        #    deny  all;
        #}
    }
    # another virtual host using mix of IP-, name-, and port-based configuration
    #
    #server {
    #    listen       8000;
    #    listen       somename:8080;
    #    server_name  somename  alias  another.alias;

    #    location / {
    #        root   html;
    #        index  index.html index.htm;
    #    }
    #}


    # HTTPS server
    #
    #server {
    #    listen       443 ssl;
    #    server_name  localhost;

    #    ssl_certificate      cert.pem;
    #    ssl_certificate_key  cert.key;

    #    ssl_session_cache    shared:SSL:1m;
    #    ssl_session_timeout  5m;

    #    ssl_ciphers  HIGH:!aNULL:!MD5;
    #    ssl_prefer_server_ciphers  on;

    #    location / {
    #        root   html;
    #        index  index.html index.htm;
    #    }
    #}

}

2.负载均衡效果测试
使用lnmp的域名访问Tomcat的测试文件
www.lengmoxi.com:8080/test.jsp
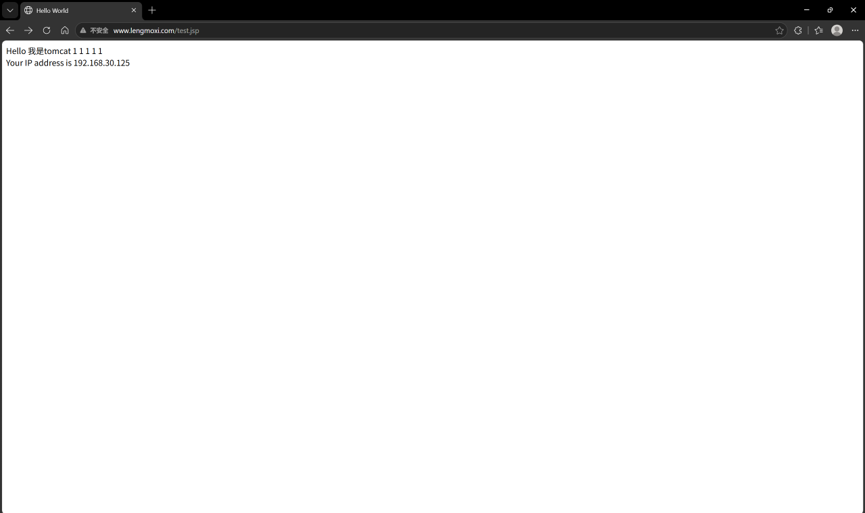
Ctrl+F5 强制刷新测试负载均衡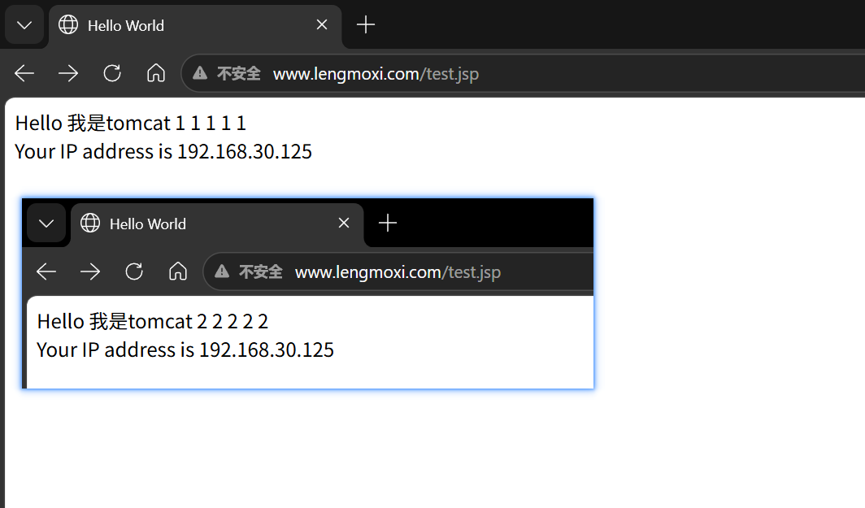

openEuler 是由开放原子开源基金会孵化的全场景开源操作系统项目,面向数字基础设施四大核心场景(服务器、云计算、边缘计算、嵌入式),全面支持 ARM、x86、RISC-V、loongArch、PowerPC、SW-64 等多样性计算架构
更多推荐
 28
28 0
0- 0


 已为社区贡献6条内容

所有评论(0)