Next Terminal 开源轻量级堡垒机
Next Terminal 开源轻量级堡垒机
Next Terminal 是一款简单、好用、安全的开源交互审计系统,也是轻量级堡垒机系统docs.next-terminal.typesafe.cn
-
基本信息
-
开源协议:采用 AGPL - 3.0 开源协议,在 GitHub 上已收获近 5000 Star。
-
开发语言:使用 Golang 和 React 开发,编译后只有一个二进制文件,部署简单。
-
环境需求:支持 Linux、Windows、macOS 操作系统,推荐使用 Linux。依赖 Docker 19.03 + 和 Docker Compose 1.25+,硬件要求为 2 核 CPU、4GB 内存、50GB 磁盘空间。
-
-
功能特点
-
多协议支持docs.next-terminal.typesafe.cn:支持 RDP、SSH、VNC、Telnet、Kubernetes 等多种协议,用户可通过浏览器访问多种协议资产,无需安装插件。
-
实时监控与阻断:可随时查看活跃会话,并进行监控和阻断,针对字符协议,还能限制禁止某些命令的执行和记录。
-
全面审计功能:记录所有运维操作,支持录像回放和命令级操作记录与回放,便于查看和追溯责任人,满足合规审计需求。
-
授权凭证与资产管理:对各种访问凭证进行集中管理,支持对 RDP、SSH、VNC、Telnet 协议的资产进行添加、编辑、删除等操作,还可进行资产标签和授权管理。
-
用户管理:支持多用户使用,并可对用户进行分组管理,方便进行权限分配,还支持双因素认证,增强用户登录的安全性。
-
自动化运维:支持批量执行脚本任务,提高运维效率,还可与 LDAP/AD 集成,实现自动化权限分配与回收。
-
-
部署方式
-
Docker 部署:支持通过 Docker 进行快速部署,也支持多种数据库存储方式,如 SQLite 和 MySQL 等。以 SQLite 为例,使用 Docker Compose 安装时,只需将相关的 docker - compose.yml 文件保存好,执行相应命令即可完成部署。
-
-
应用场景
-
远程运维:为 IT 部门提供一站式的远程访问解决方案,方便对大量服务器进行统一管理和安全控制。
-
协作工作:团队成员可以通过共享会话和批量执行命令进行协同工作,提高工作效率。
-
云基础设施管理:针对 Kubernetes 等容器管理系统,提供直接访问接口,方便开发者和管理员进行集群管理。
-
安全审计:其详细的会话记录和录屏功能,有助于满足合规要求和事故排查,可应用于金融、中大型企业等对安全要求较高的场景。
-
一、编译 Apache Guacamole-Server
参考 Apache Guacamole-Server 官方编译文档 https://guacamole.apache.org/doc/gug/installing-guacamole.html#building-guacamole-server
安装依赖
1、安装依赖
[root@localhost ~]# yum install -y make gcc g++ \
  cairo-devel libjpeg-turbo-devel libjpeg-devel libpng-devel libtool libuuid-devel \
  freerdp-devel libvncserver-devel pulseaudio-libs-devel libvorbis-devel libwebp-devel
2、下载源码
[root@localhost ~]# wget https://downloads.apache.org/guacamole/1.6.0/source/guacamole-server-1.6.0.tar.gz
3、解压
[root@localhost ~]# tar -xvf guacamole-server-1.6.0.tar.gz
4、编译安装
[root@localhost ~]# cd guacamole-server-1.6.0
[root@localhost guacamole-server-1.6.0]# ./configure --with-init-dir=/etc/init.d
[root@localhost guacamole-server-1.6.0]# make
[root@localhost guacamole-server-1.6.0]# make install
[root@localhost guacamole-server-1.6.0]# ldconfig     # 更新系统动态链接库缓存,让系统识别新安装的共享库文件。
5、生成配置文件
[root@localhost guacamole-server-1.6.0]# mkdir /etc/guacamole/ && cat <<EOF > /etc/guacamole/guacd.conf [daemon] pid_file = /var/run/guacd.pid log_level = info [server] bind_host = 127.0.0.1 bind_port = 4822 EOF
6、安装服务
[root@localhost guacamole-server-1.6.0]# cat <<EOF > /etc/systemd/system/guacd.service [Unit] Description=Guacamole proxy daemon Documentation=man:guacd(8) After=network.target [Service] User=root ExecStart=/usr/local/sbin/guacd -f /etc/guacamole/guacd.conf TimeoutSec=0 RestartSec=10 Restart=always LimitNOFILE=1048576 [Install] WantedBy=multi-user.target EOF [root@localhost ~]# systemctl daemon-reload [root@localhost ~]# systemctl enable guacd.service [root@localhost ~]# systemctl start guacd.service
二、安装 Next Terminal
1、安装 Next Terminal
[root@localhost ~]# wget https://github.com/dushixiang/next-terminal/releases/latest/download/next-terminal.tar.gz
2、解压
[root@localhost ~]# mkdir -p /usr/local/next-terminal/
[root@localhost ~]# tar -zxvf next-terminal.tar.gz -C /usr/local/next-terminal
提示
请自行安装
postgres数据库,支持 16.x 及以上版本。安装完成后,请修改
config.yaml文件中的database配置。
3、数据库安装
选项一:安装 PostgreSQL 数据库(16.x 及以上版本)
1. 配置 PostgreSQL yum 源(以 CentOS 为例)

# 安装 PostgreSQL 官方仓库
[root@localhost ~]# yum install -y https://download.postgresql.org/pub/repos/yum/reporpms/EL-7-x86_64/pgdg-redhat-repo-latest.noarch.rpm

# 禁用系统默认 PostgreSQL 模块(若有)
[root@localhost ~]# yum module disable -y postgresql

2. 安装 PostgreSQL 16
[root@localhost ~]# yum install -y postgresql16-server postgresql16

3. 初始化数据库
[root@localhost ~]# /usr/pgsql-16/bin/postgresql-16-setup initdb

4. 启动并设置开机自启
[root@localhost ~]# systemctl enable postgresql-16
[root@localhost ~]# systemctl start postgresql-16

5. 创建数据库及用户(匹配 Next Terminal 配置)
# 切换至 postgres 系统用户
[root@localhost ~]# su - postgres

# 进入 PostgreSQL 命令行
[postgres@localhost ~]$ psql

# 创建数据库用户 nextuser(密码替换为实际密码)
postgres=# CREATE USER nextuser WITH PASSWORD 'your_password';

# 创建数据库 nextterminal 并授权给 nextuser
postgres=# CREATE DATABASE nextterminal OWNER nextuser;

# 授予用户数据库权限
postgres=# GRANT ALL PRIVILEGES ON DATABASE nextterminal TO nextuser;

# 退出 PostgreSQL 命令行
postgres=# \q

# 退出 postgres 用户
[postgres@localhost ~]$ exit

6. 配置 PostgreSQL 远程访问(如需非本地连接,可选)
# 修改配置文件允许密码认证
[root@localhost ~]# vi /var/lib/pgsql/16/data/pg_hba.conf
# 在文件末尾添加(允许本地密码登录)
local   all             all                                     md5
host    all             all             127.0.0.1/32            md5

# 重启 PostgreSQL 使配置生效
[root@localhost ~]# systemctl restart postgresql-16


7、编辑配置文件
vim /usr/local/next-terminal/config.yaml

# 修改数据库配置(替换your_password为实际密码)
db:
  driver: postgres
  host: localhost
  port: 5432
  username: nextuser
  password: your_password
  database: next_terminal
  charset: utf8mb4
选项二:mariadb以 10.11 版本(当前稳定版)
1、安装MariaDB以及配置repo仓库
sudo vi /etc/yum.repos.d/MariaDB.repo  #配置仓库
[mariadb]
name = MariaDB
baseurl = https://mirrors.aliyun.com/mariadb/yum/10.11/centos7-amd64/
gpgkey = https://mirrors.aliyun.com/mariadb/yum/RPM-GPG-KEY-MariaDB
gpgcheck = 1
enabled = 1

# 清除 yum 缓存
sudo yum clean all
sudo yum makecache

# 安装 MariaDB 服务器和客户端
sudo yum install -y MariaDB-server MariaDB-client


2、启动服务并设置开机自启
systemctl start mariadb
systemctl enable mariadb.service

3、初始化数据库
# 进入MySQL命令行(首次登录无密码,直接回车)
mysql -u root -p

# 执行SQL语句(替换your_password为实际密码)
CREATE DATABASE next_terminal DEFAULT CHARACTER SET utf8mb4 COLLATE utf8mb4_unicode_ci;
CREATE USER 'next_terminal'@'localhost' IDENTIFIED BY 'your_password';
GRANT ALL PRIVILEGES ON next_terminal.* TO 'next_terminal'@'localhost';
FLUSH PRIVILEGES;
exit;


4、编辑配置文件
vim /usr/local/next-terminal/conf/app.conf

# 注释SQLite配置
# db_type = sqlite3
# db_path = data/next-terminal.db

# 添加MySQL配置(替换your_password为实际密码)
db_type = mysql
db_host = 127.0.0.1
db_port = 3306
db_username = next_terminal
db_password = your_password
db_name = next_terminal
db_params = charset=utf8mb4&parseTime=True&loc=Local


==========================修改以下文件====================
Database:
  Enabled: true
  Type: mysql  # 改为 mysql
  # 移除原 PostgreSQL 配置,添加 MySQL 配置
  Mysql:
    Hostname: localhost  # MySQL 地址
    Port: 3306           # MySQL 端口
    Username: nextuser   # 你的 MySQL 用户名
    Password: your_password  # 你的 MySQL 密码
    Database: next_terminal  # 数据库名
    Charset: utf8mb4     # 字符集
  ShowSql: false  # 保持不变


=========================================================================================

 2. 执行以下 SQL 语句(复制粘贴,替换 new_password 为你要的密码,比如 123456)
DROP USER IF EXISTS 'nextuser'@'localhost';
CREATE DATABASE IF NOT EXISTS next_terminal DEFAULT CHARACTER SET utf8mb4 COLLATE utf8mb4_unicode_ci;
CREATE USER 'nextuser'@'localhost' IDENTIFIED BY 'new_password';
GRANT ALL PRIVILEGES ON next_terminal.* TO 'nextuser'@'localhost';
FLUSH PRIVILEGES;
exit;
4、使用系统服务方式启动
[root@localhost ~]# cat <<EOF > /etc/systemd/system/next-terminal.service
[Unit]
Description=next-terminal service
After=network.target

[Service]
User=root
WorkingDirectory=/usr/local/next-terminal
ExecStart=/usr/local/next-terminal/next-terminal -c /usr/local/next-terminal/config.yaml
TimeoutSec=0
RestartSec=10
Restart=always
LimitNOFILE=1048576

[Install]
WantedBy=multi-user.target
EOF
5、启动 Next-Terminal 服务
[root@localhost next-terminal]#  ./next-terminal -c ./config.yaml  # 启动next-terminal服务

在此有个报错需要:
[root@localhost next-terminal]# pwd
/usr/local/next-terminal
[root@localhost next-terminal]# mkdir -p ./data


[root@localhost ~]# systemctl daemon-reload
[root@localhost ~]# systemctl enable next-terminal
[root@localhost ~]# systemctl start next-terminal


root@localhost ~]# cd /usr/local/next-terminal/
[root@localhost next-terminal]# ./next-terminal -c config.yaml &  #启动next-terminal
6、访问:
安装成功后
http://192.168.48.129:8088/setup #进行用户初始化设置
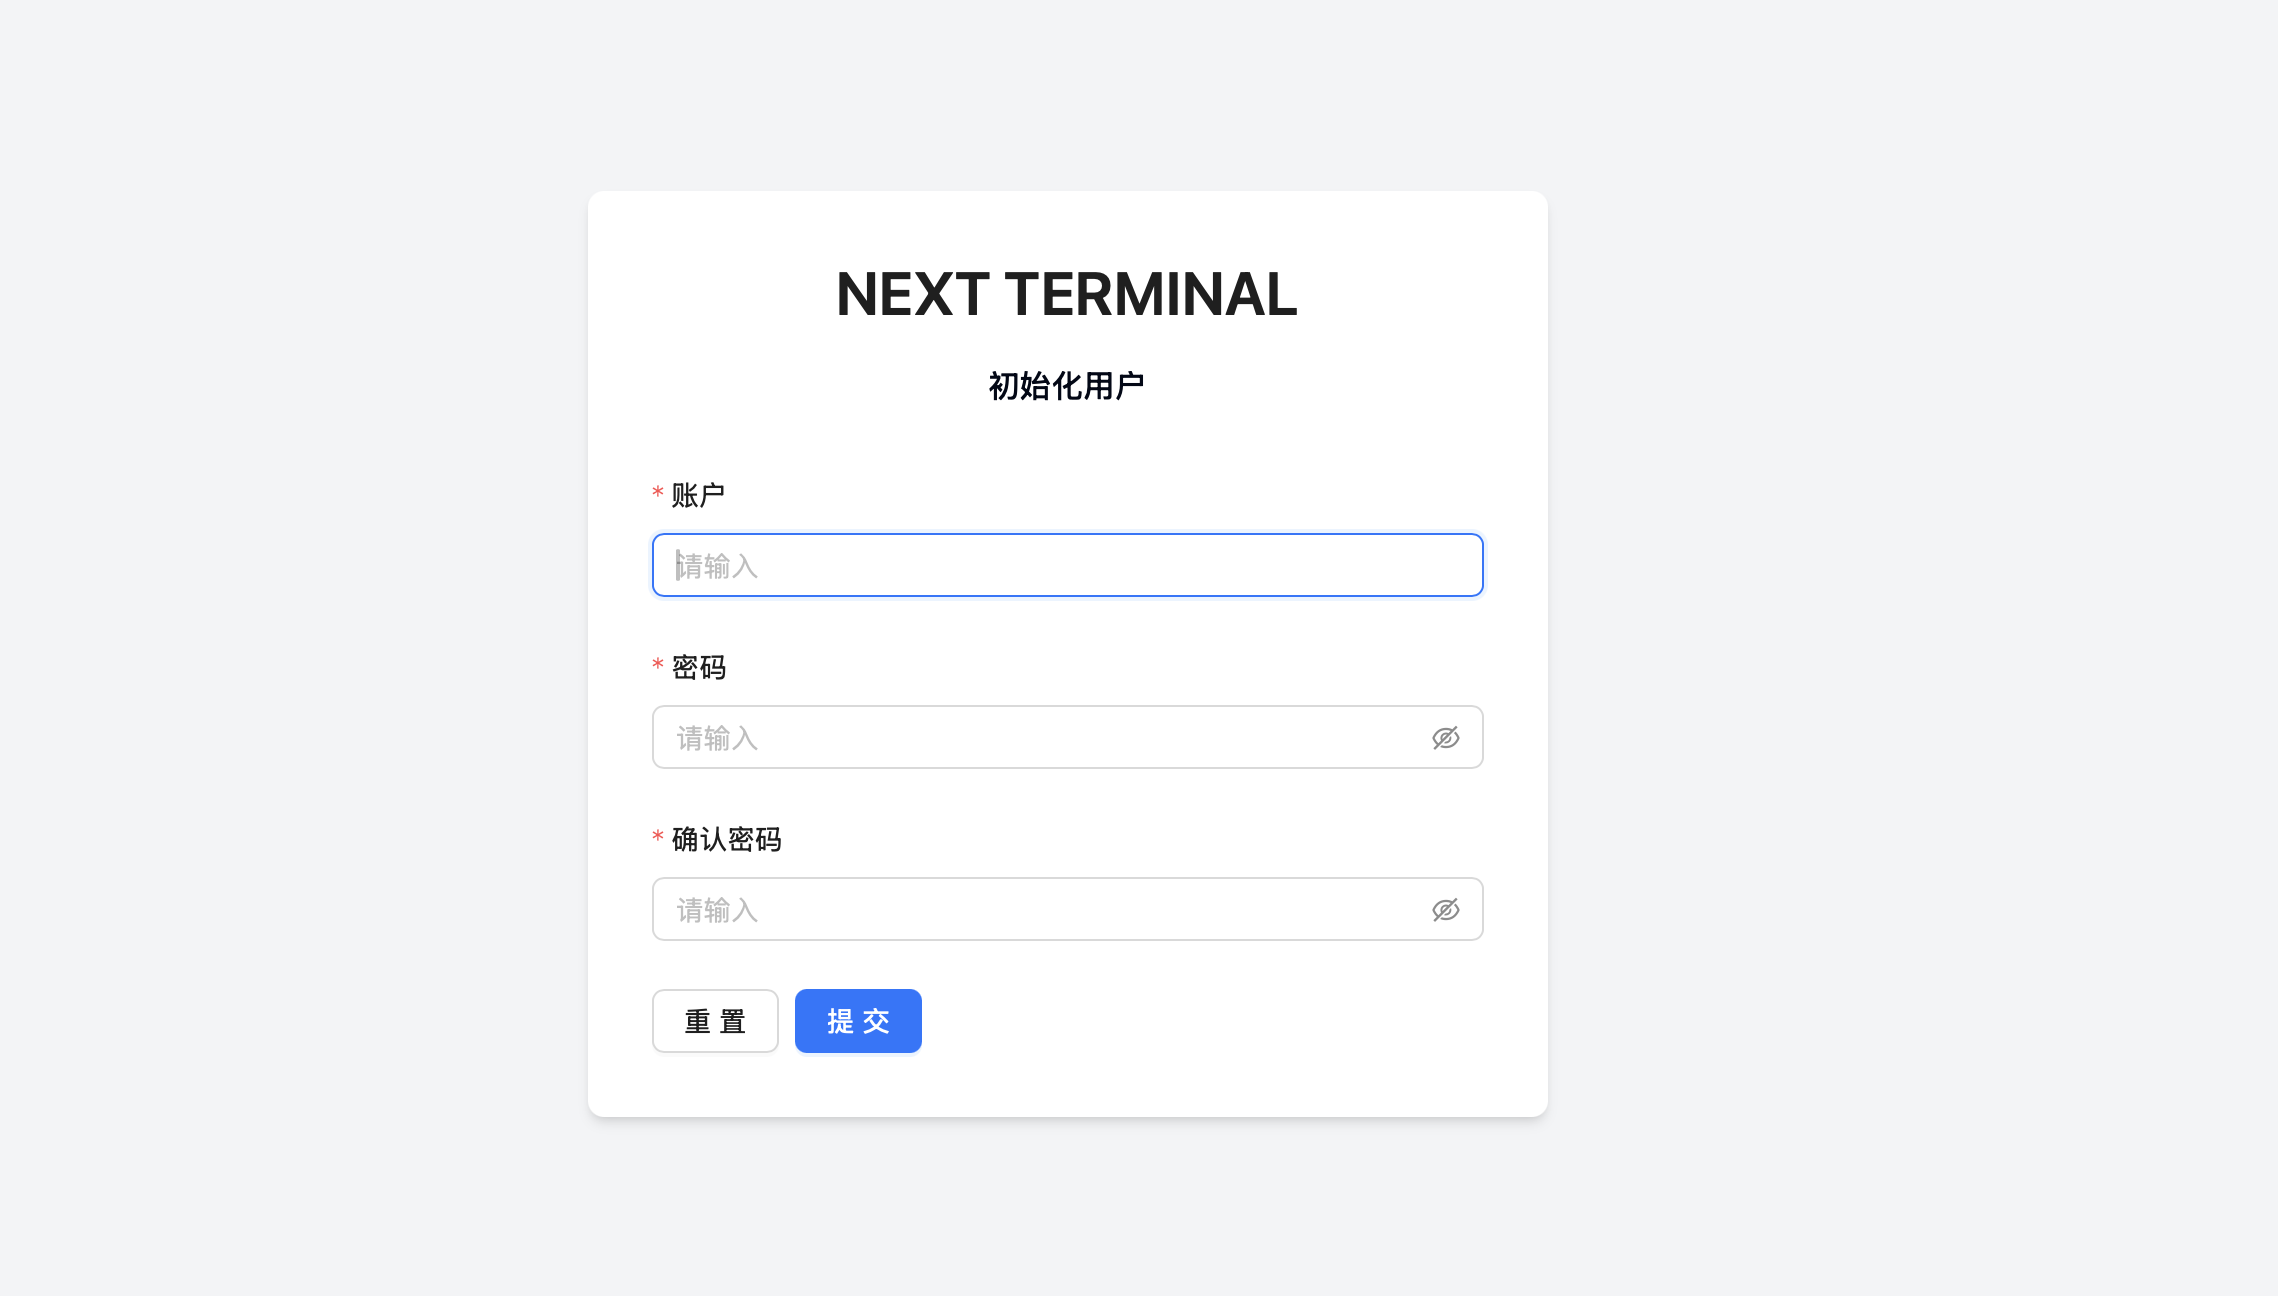
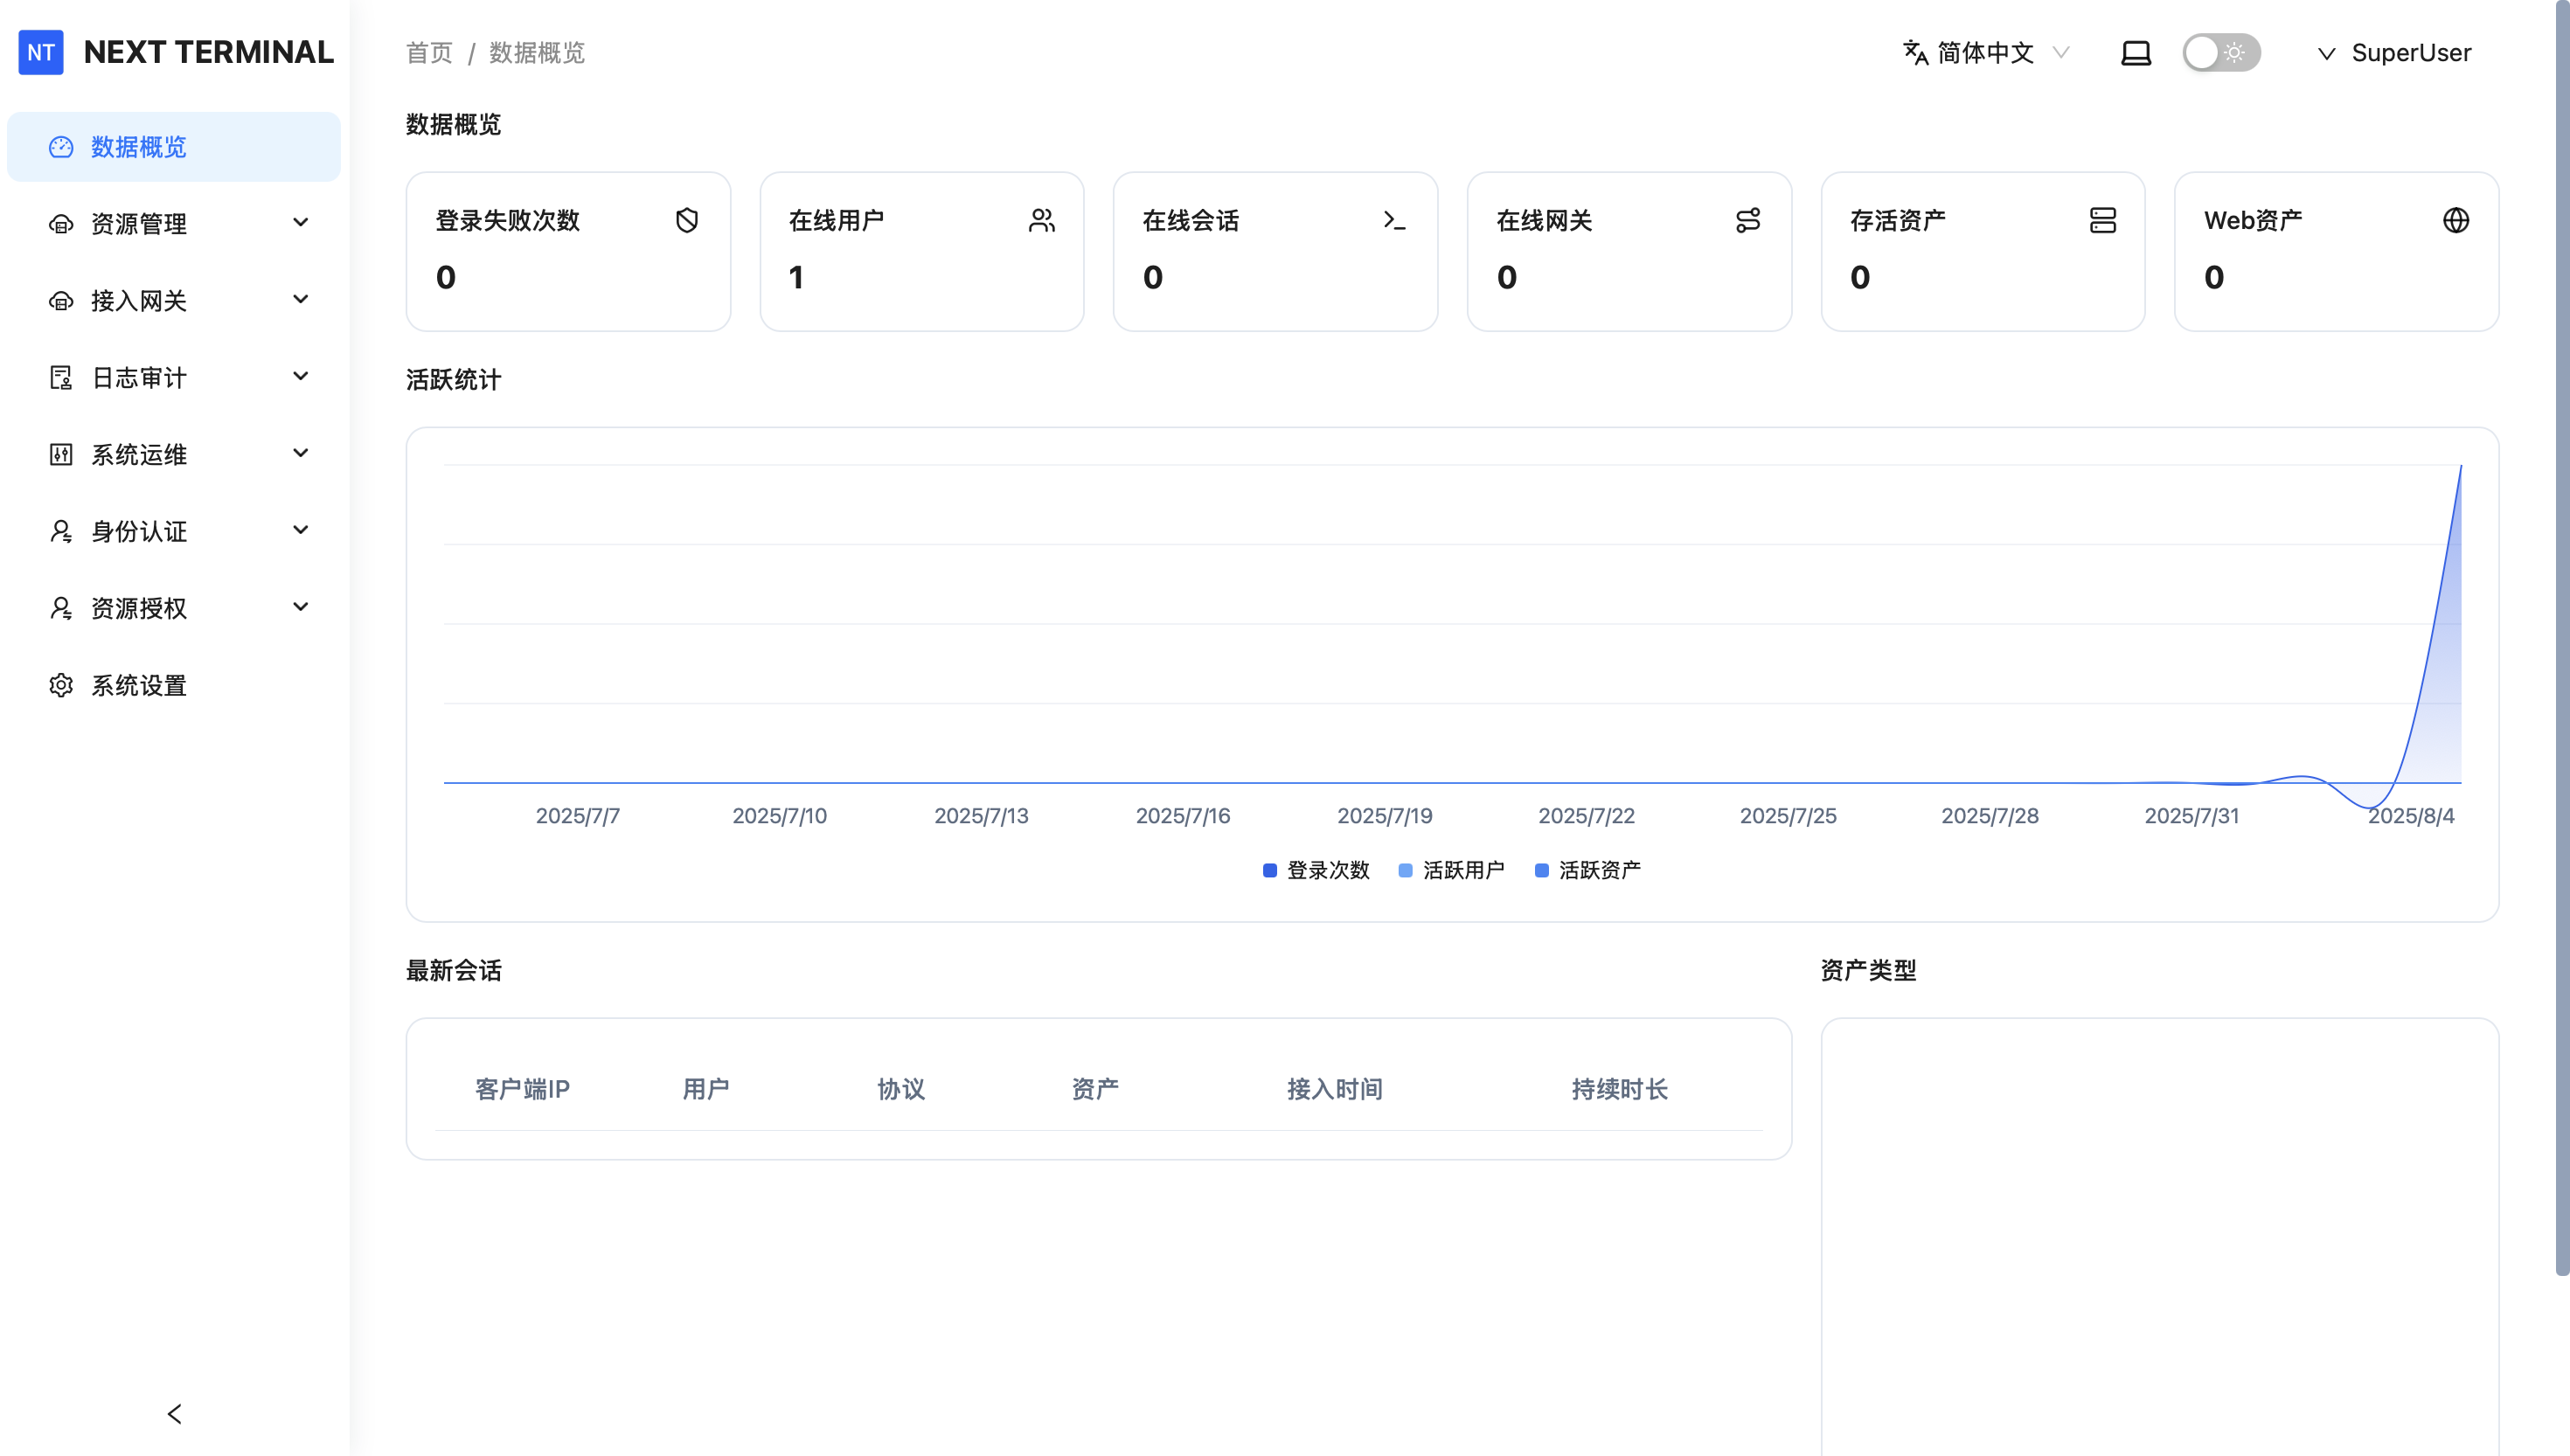
随便设置账号密码:
账号:admin 密码:admin
官方部署操作文档:原生安装 | Next Terminal

openEuler 是由开放原子开源基金会孵化的全场景开源操作系统项目,面向数字基础设施四大核心场景(服务器、云计算、边缘计算、嵌入式),全面支持 ARM、x86、RISC-V、loongArch、PowerPC、SW-64 等多样性计算架构
更多推荐

 6
6 0
0- 0


 已为社区贡献1条内容

所有评论(0)