Dify1.6基于ubuntu系统的部署实战
📢📢📢📣📣📣
哈喽!大家好,我是【IT邦德】,江湖人称jeames007,10余年DBA及大数据工作经验
一位上进心十足的【大数据领域博主】!😜😜😜
中国DBA联盟(ACDU)成员,目前服务于工业互联网
擅长主流Oracle、MySQL、PG、高斯及GP 运维开发,备份恢复,安装迁移,性能优化、故障应急处理等。
✨ 如果有对【数据库】感兴趣的【小可爱】,欢迎关注【IT邦德】💞💞💞
❤️❤️❤️感谢各位大可爱小可爱!❤️❤️❤️
文章目录
1.dify的介绍
Dify 是一个开源的 LLM 应用开发平台,因其开源、可控、全功能的特性,已成为全球最流行的 AI 应用开发平台之一。它的目标是将 AI 应用开发从“手工作坊”升级为“标准化流水线”。
Dify 提供了构建 AI 应用所需的全套工具链。
可视化编排引擎:通过拖拽式界面,可以组合 LLM、知识库、工具等节点,快速构建复杂的 AI 工作流。
内置 RAG 引擎:简化了私域数据的接入。支持自动清洗、分段、索引多种格式的文档,并提供混合检索和重排序功能,以提升问答准确性。
强大的 Agent 框架:支持构建能够自主分解任务、调用外部工具(目前有50多种内置工具)来完成复杂目标的智能体。
模型无关 (Model-Agnostic):作为“模型网关”,统一接入了 OpenAI、Claude、Llama、通义千问等数百种主流模型。
全生命周期管理:提供从应用开发、测试、部署到上线的全流程管理,包括日志审计、成本监控、权限管理等。
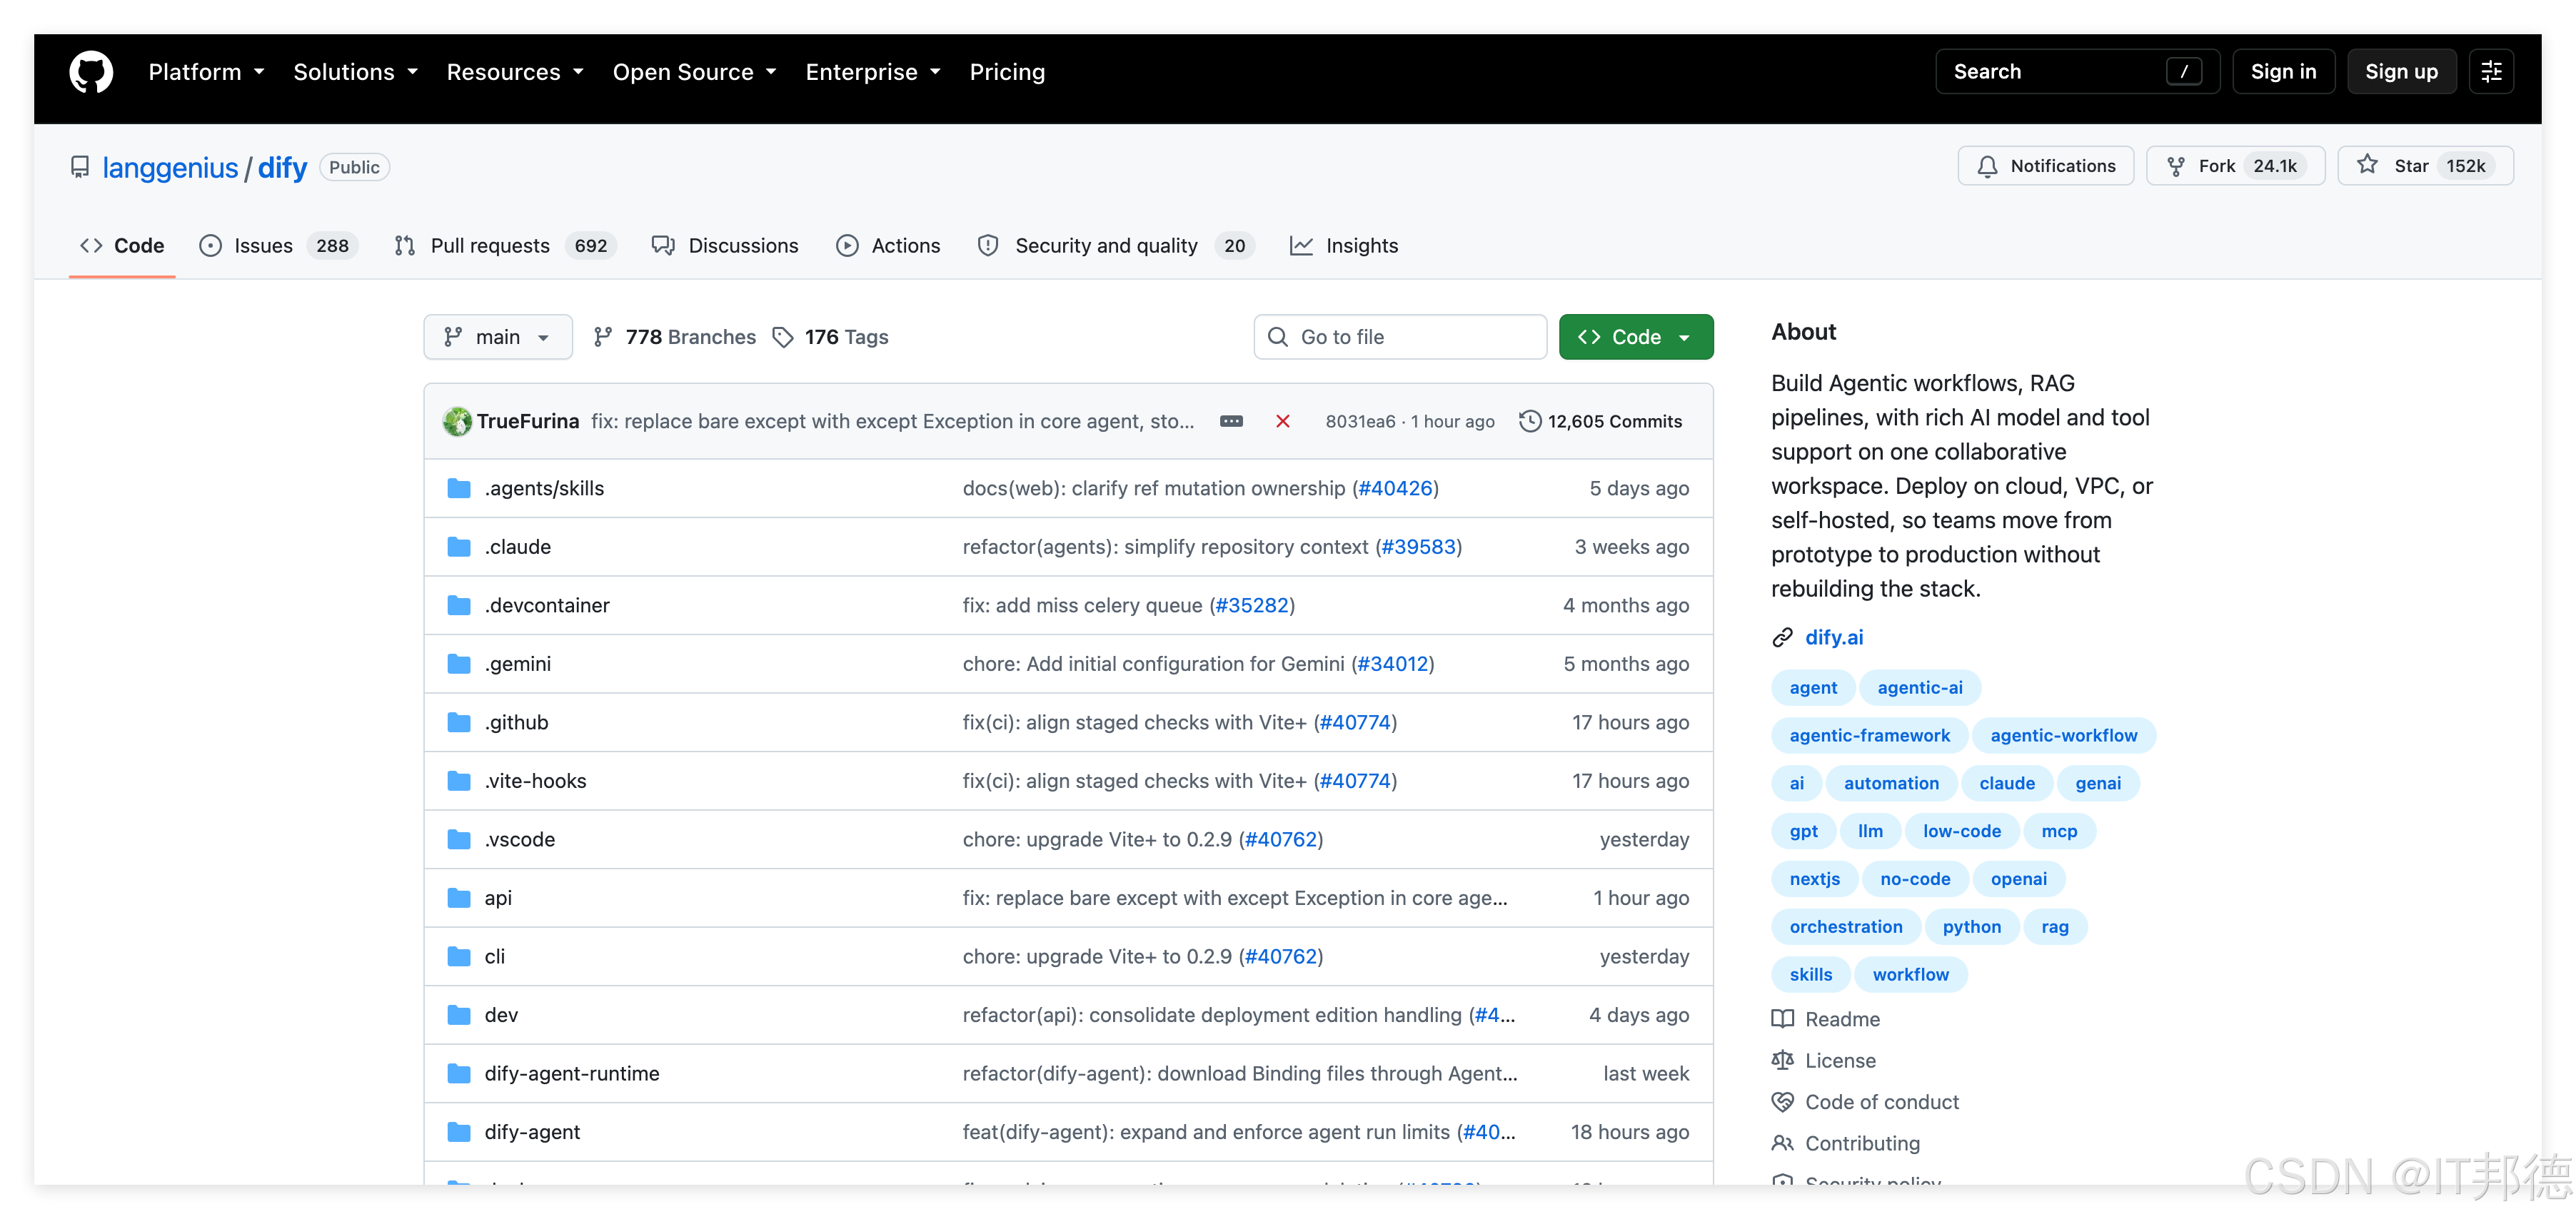
https://github.com/langgenius/dify
2.ubuntu环境的准备
–关闭防火墙
sudo ufw status
sudo systemctl stop ufw.service
sudo systemctl disable ufw.service
–修改root密码,beijing
sudo passwd root
–安装并重启SSH
sudo apt install openssh-server && sudo systemctl restart ssh
sudo apt install net-tools
vi /etc/ssh/sshd_config
PermitRootLogin yes
sudo systemctl restart ssh
--记得DNS解析
echo "nameserver 8.8.8.8" | sudo tee /etc/resolv.conf
echo "nameserver 114.114.114.114" | sudo tee -a /etc/resolv.conf
sudo systemctl restart systemd-resolved
–更新yum
cp /etc/apt/sources.list /etc/apt/sources.list.bak
sudo nano /etc/apt/sources.list

sudo tee /etc/apt/sources.list <<-'EOF'
deb http://mirrors.aliyun.com/ubuntu/ jammy main restricted universe multiverse
deb http://mirrors.aliyun.com/ubuntu/ jammy-security main restricted universe multiverse
deb http://mirrors.aliyun.com/ubuntu/ jammy-updates main restricted universe multiverse
deb http://mirrors.aliyun.com/ubuntu/ jammy-backports main restricted universe multiverse
EOF

sudo apt update
3.docker容器部署
如果之前安装了容器,通过以下方式卸载
sudo apt-get purge docker.io containerd runc -y
sudo apt-get autoremove -y
sudo rm -rf /var/lib/docker /var/lib/containerd /etc/docker
3.1 Add Docker’s official GPG key:
sudo apt update
sudo apt install ca-certificates curl
sudo install -m 0755 -d /etc/apt/keyrings
sudo curl -fsSL https://download.docker.com/linux/ubuntu/gpg -o /etc/apt/keyrings/docker.asc
sudo chmod a+r /etc/apt/keyrings/docker.asc
3.2 Add the repository to Apt sources:
sudo tee /etc/apt/sources.list.d/docker.sources <<EOF
Types: deb
URIs: https://download.docker.com/linux/ubuntu
Suites: $(. /etc/os-release && echo "${UBUNTU_CODENAME:-$VERSION_CODENAME}")
Components: stable
Architectures: $(dpkg --print-architecture)
Signed-By: /etc/apt/keyrings/docker.asc
EOF
sudo apt update
3.3 Install the Docker packages.
sudo apt install docker-ce docker-ce-cli containerd.io docker-buildx-plugin docker-compose-plugin
3.4 Install Docker Compose
先看 apt 源里有哪些版本
apt-cache madison docker-compose-plugin
sudo apt-get install docker-compose-plugin=2.28.1-1~ubuntu.22.04~jammy
–卸载
sudo apt remove docker-compose-plugin
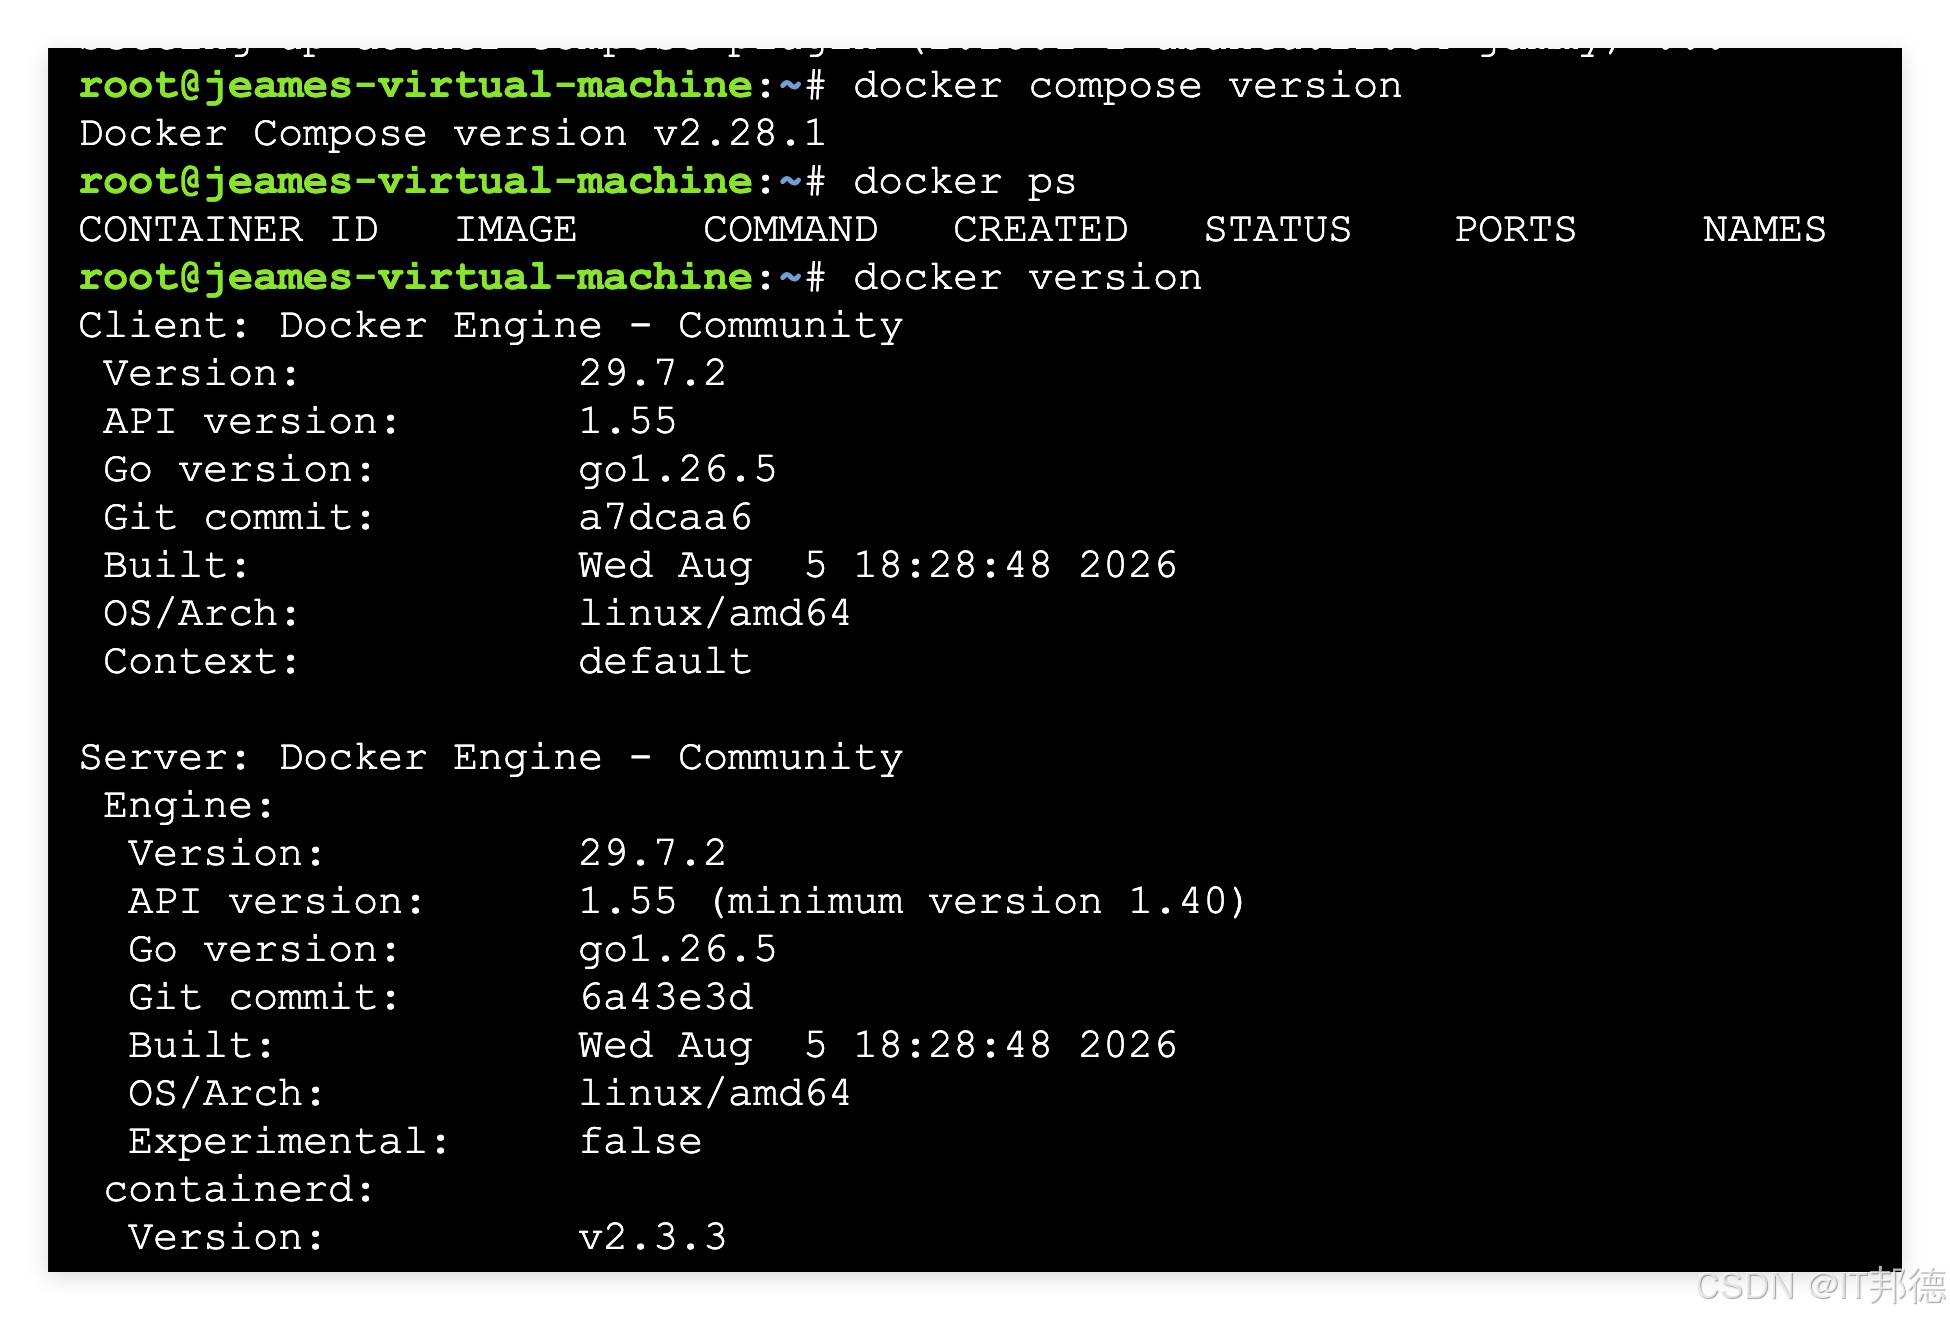
验证版本
docker compose version
Docker Compose version v2.28.1
4.Dify的部署
4.1 克隆Dify代码库
git clone https://github.com/langgenius/dify.git
cd dify/docker
cp .env.example .env
4.2 配置 Docker 镜像加速器
sudo tee /etc/docker/daemon.json <<-‘EOF’
{
“registry-mirrors”: [
“https://docker.m.daocloud.io”,
“https://hub-mirror.c.163.com”,
“https://dockerproxy.com”
]
}
EOF
重新启动docker
sudo systemctl daemon-reload
sudo systemctl restart docker
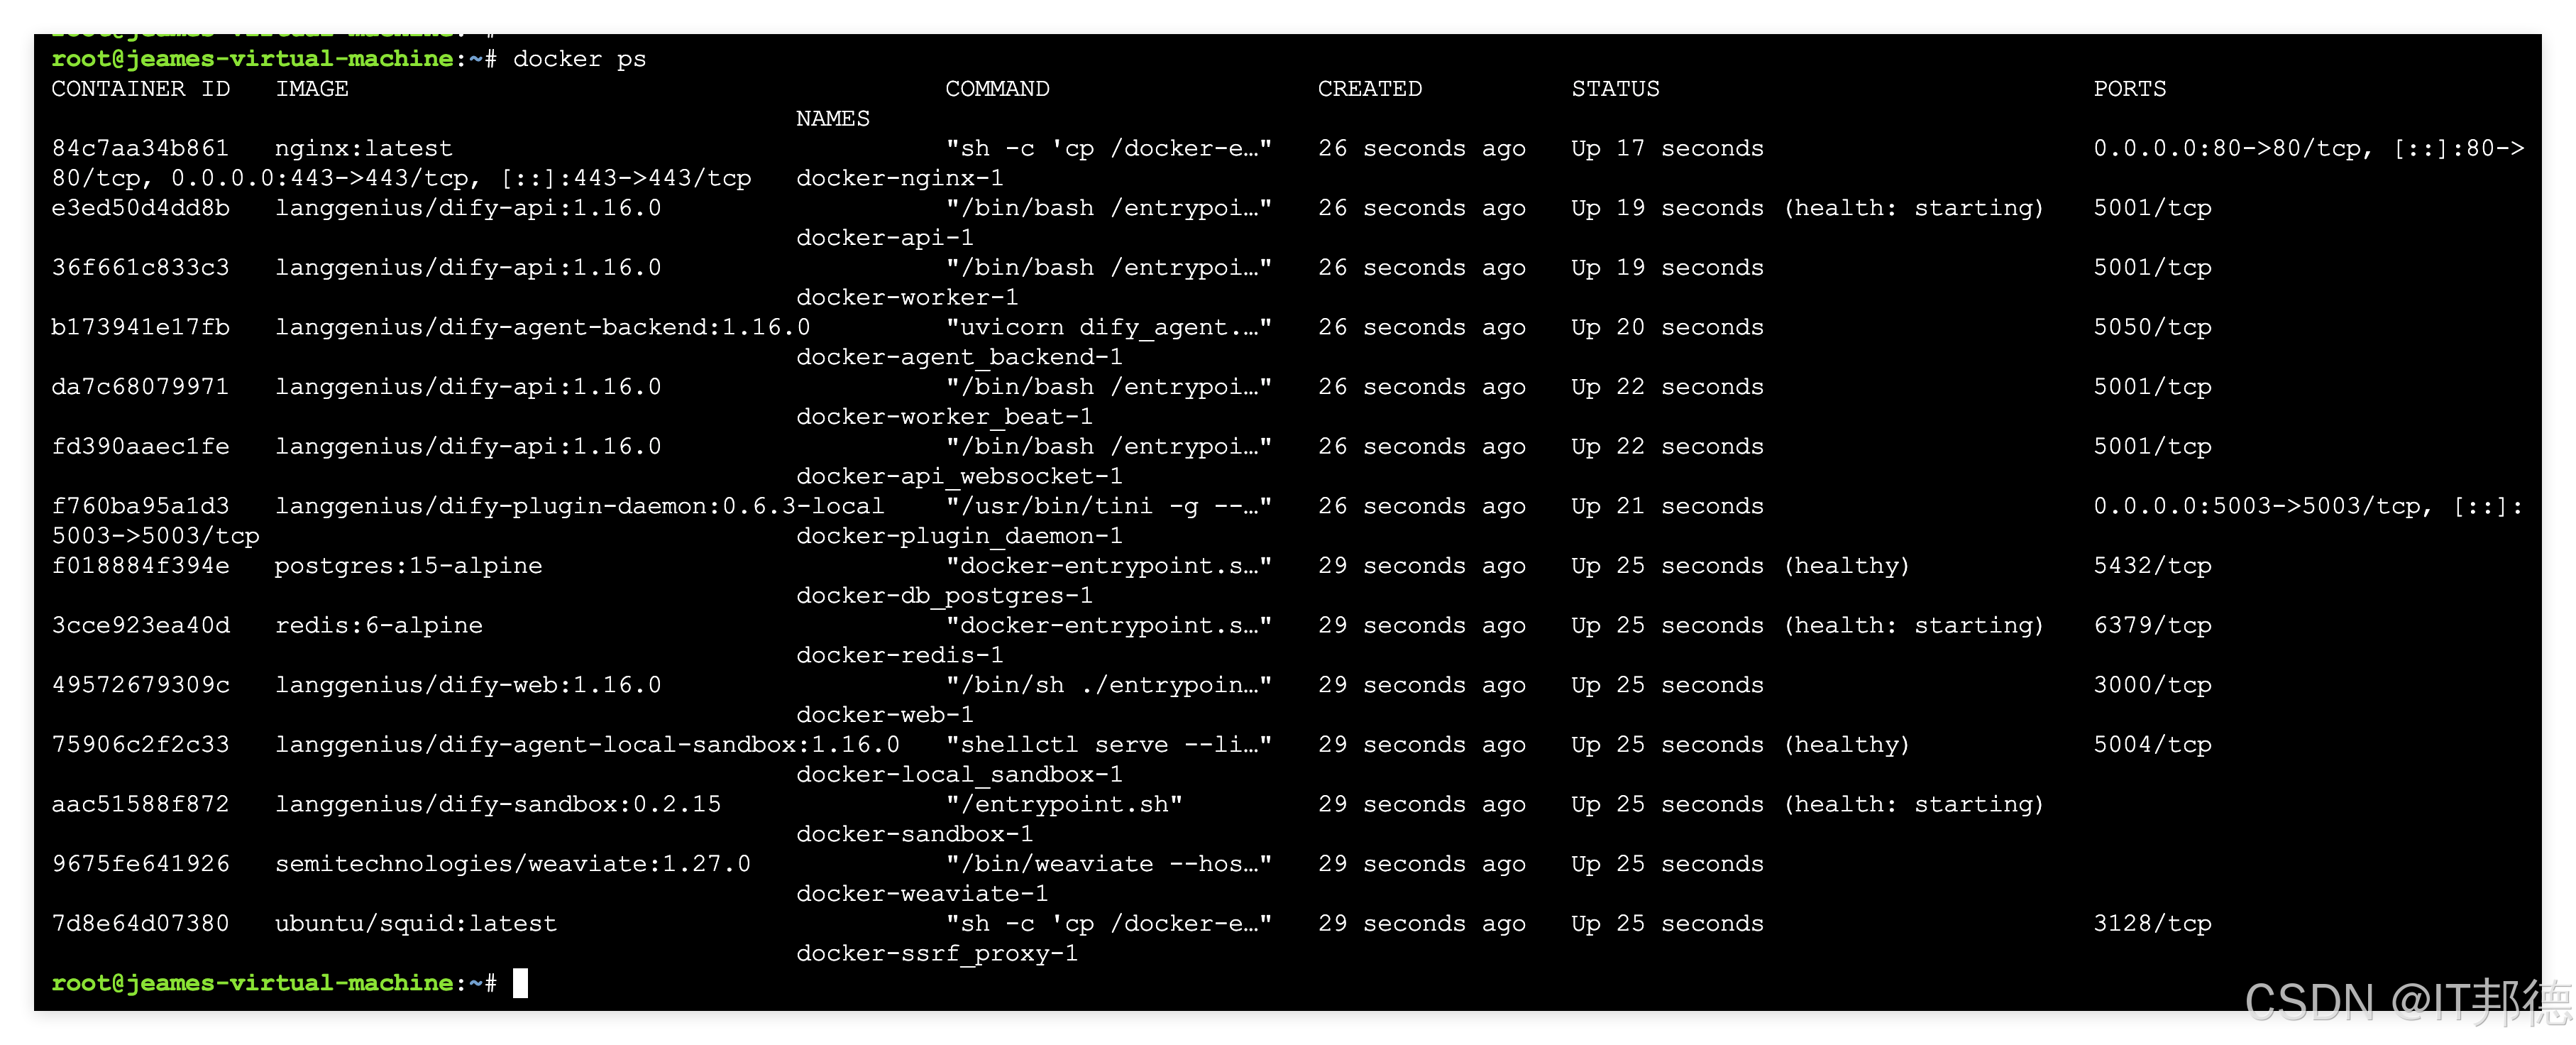
4.3 启动Dify服务(默认端口80)
docker compose up -d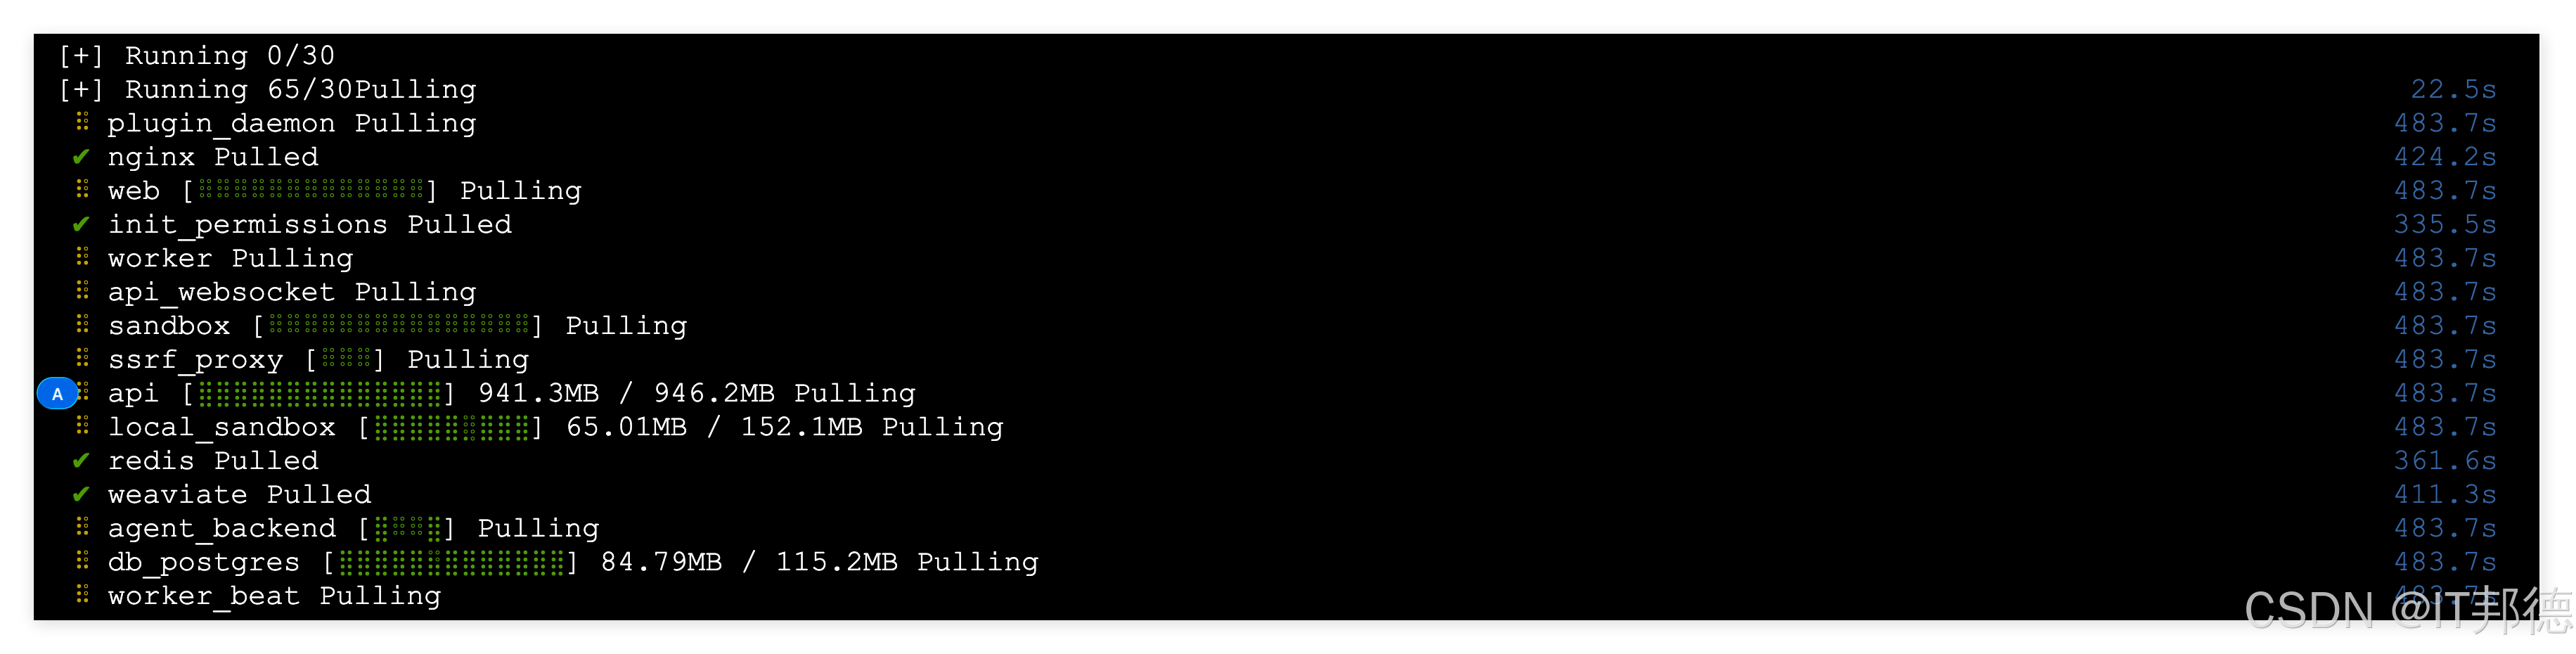
关闭Dify服务
docker compose down
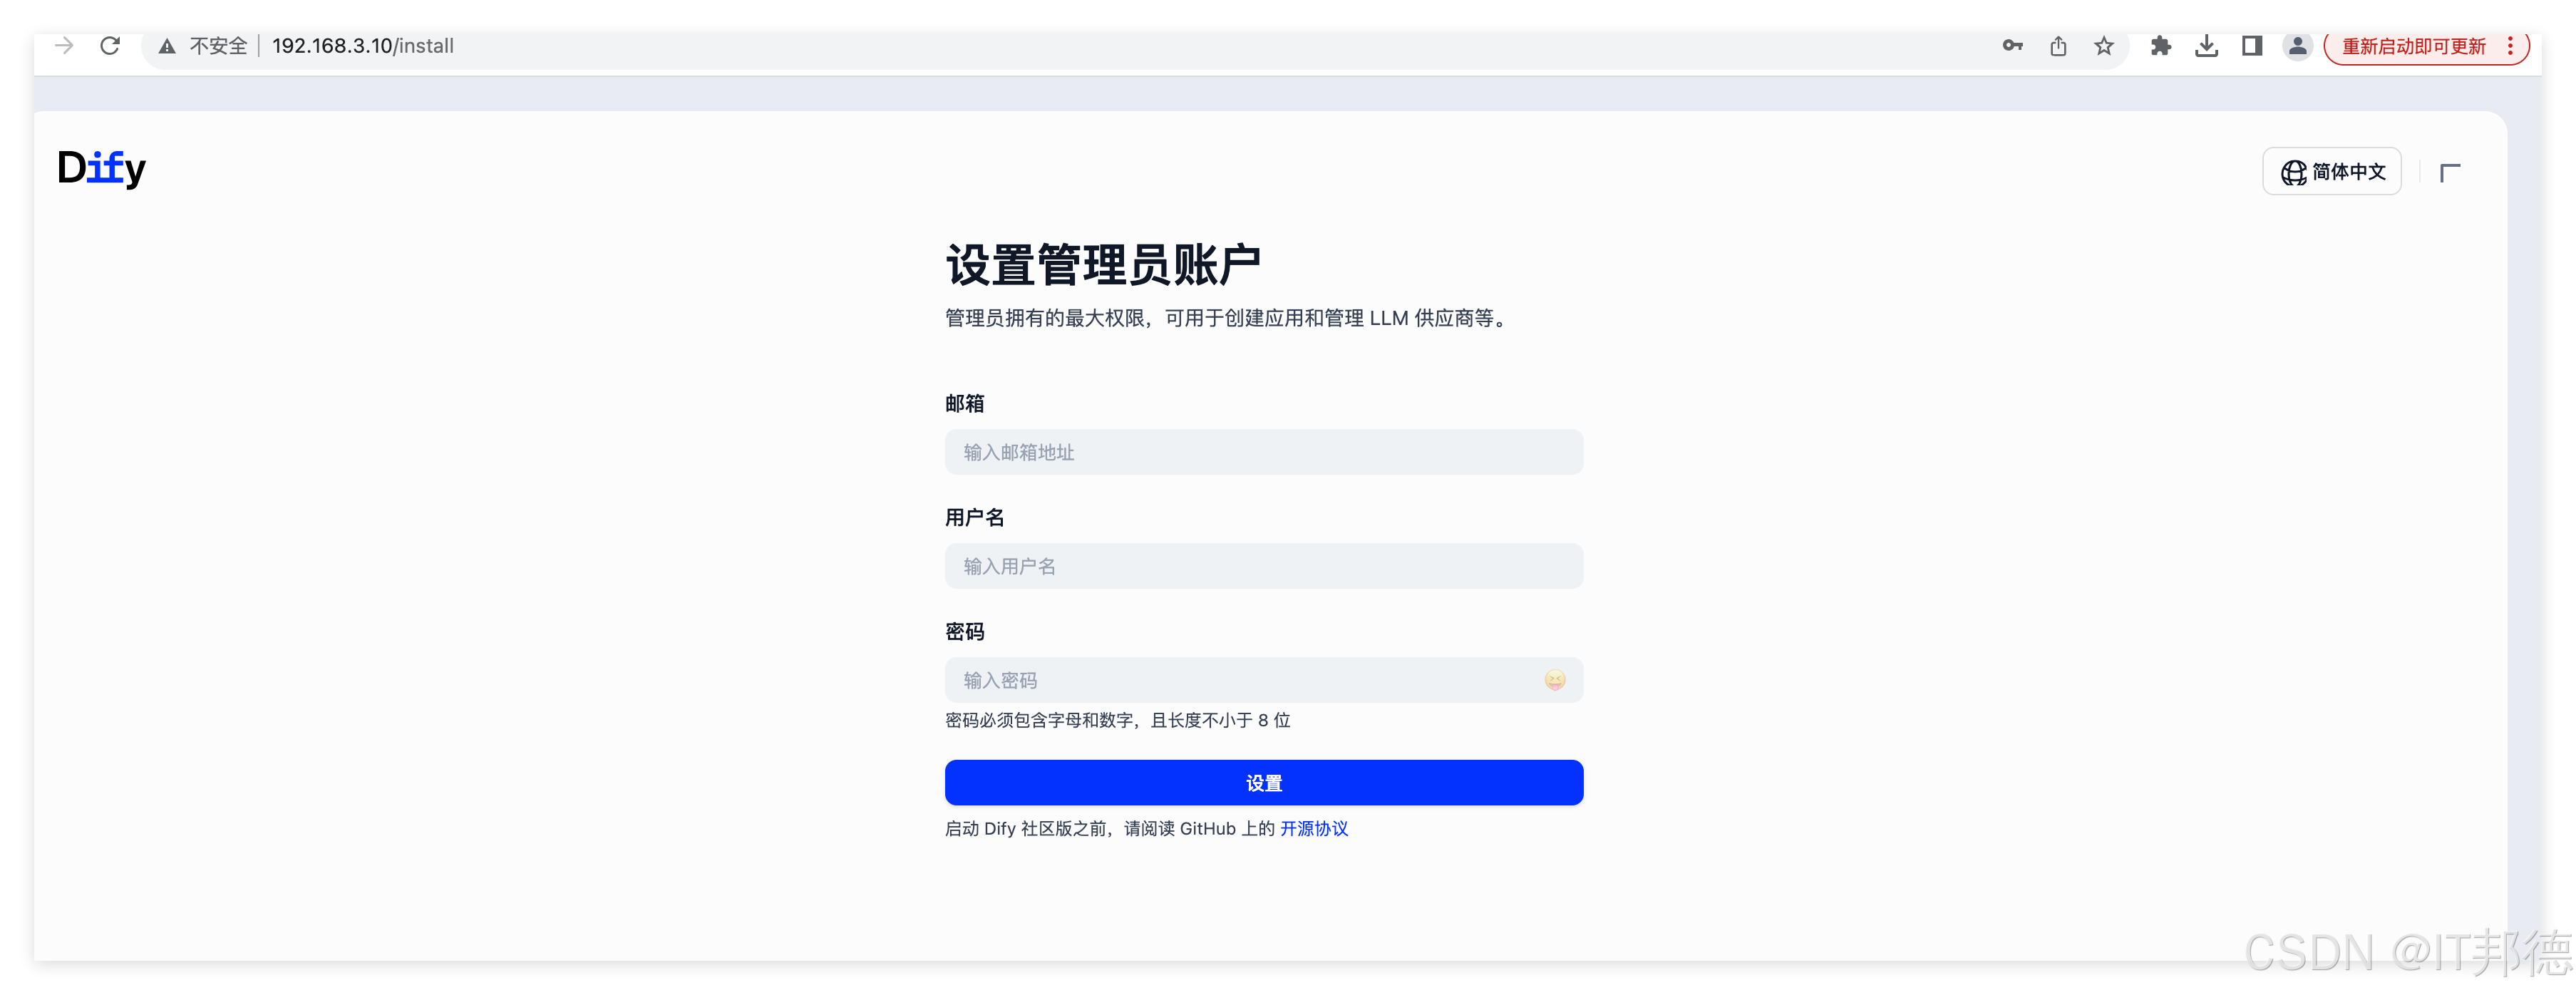
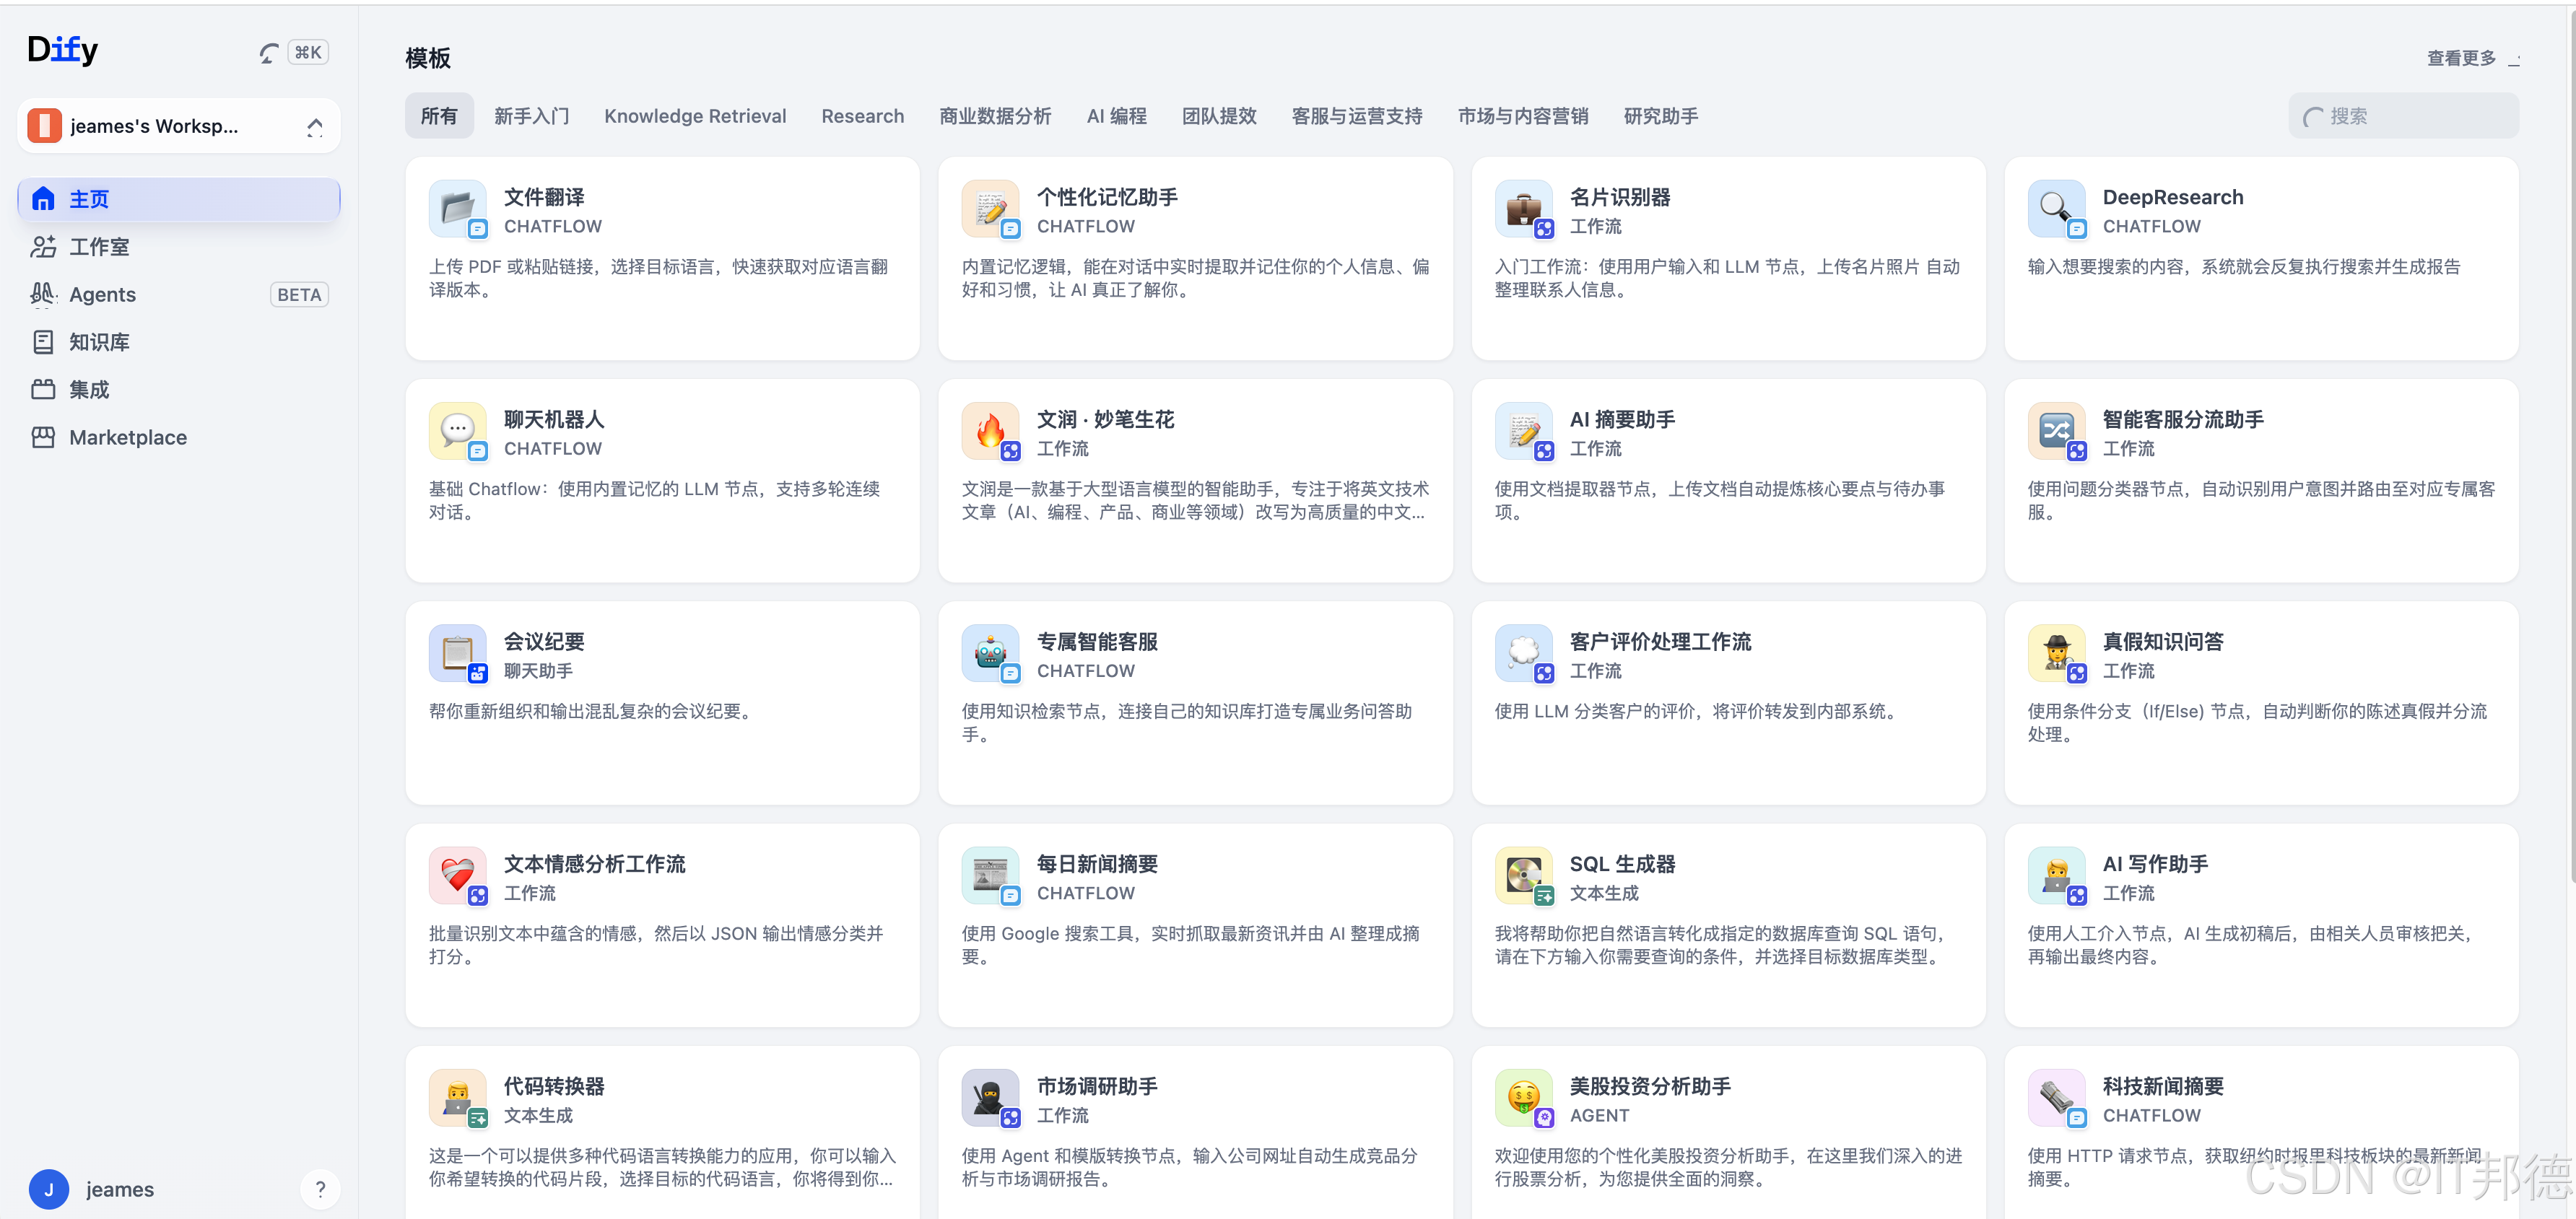
安装后登陆设置账号及密码
http://192.168.3.10/plugins

openEuler 是由开放原子开源基金会孵化的全场景开源操作系统项目,面向数字基础设施四大核心场景(服务器、云计算、边缘计算、嵌入式),全面支持 ARM、x86、RISC-V、loongArch、PowerPC、SW-64 等多样性计算架构
更多推荐


 1
1 0
0- 0


 已为社区贡献2条内容

所有评论(0)